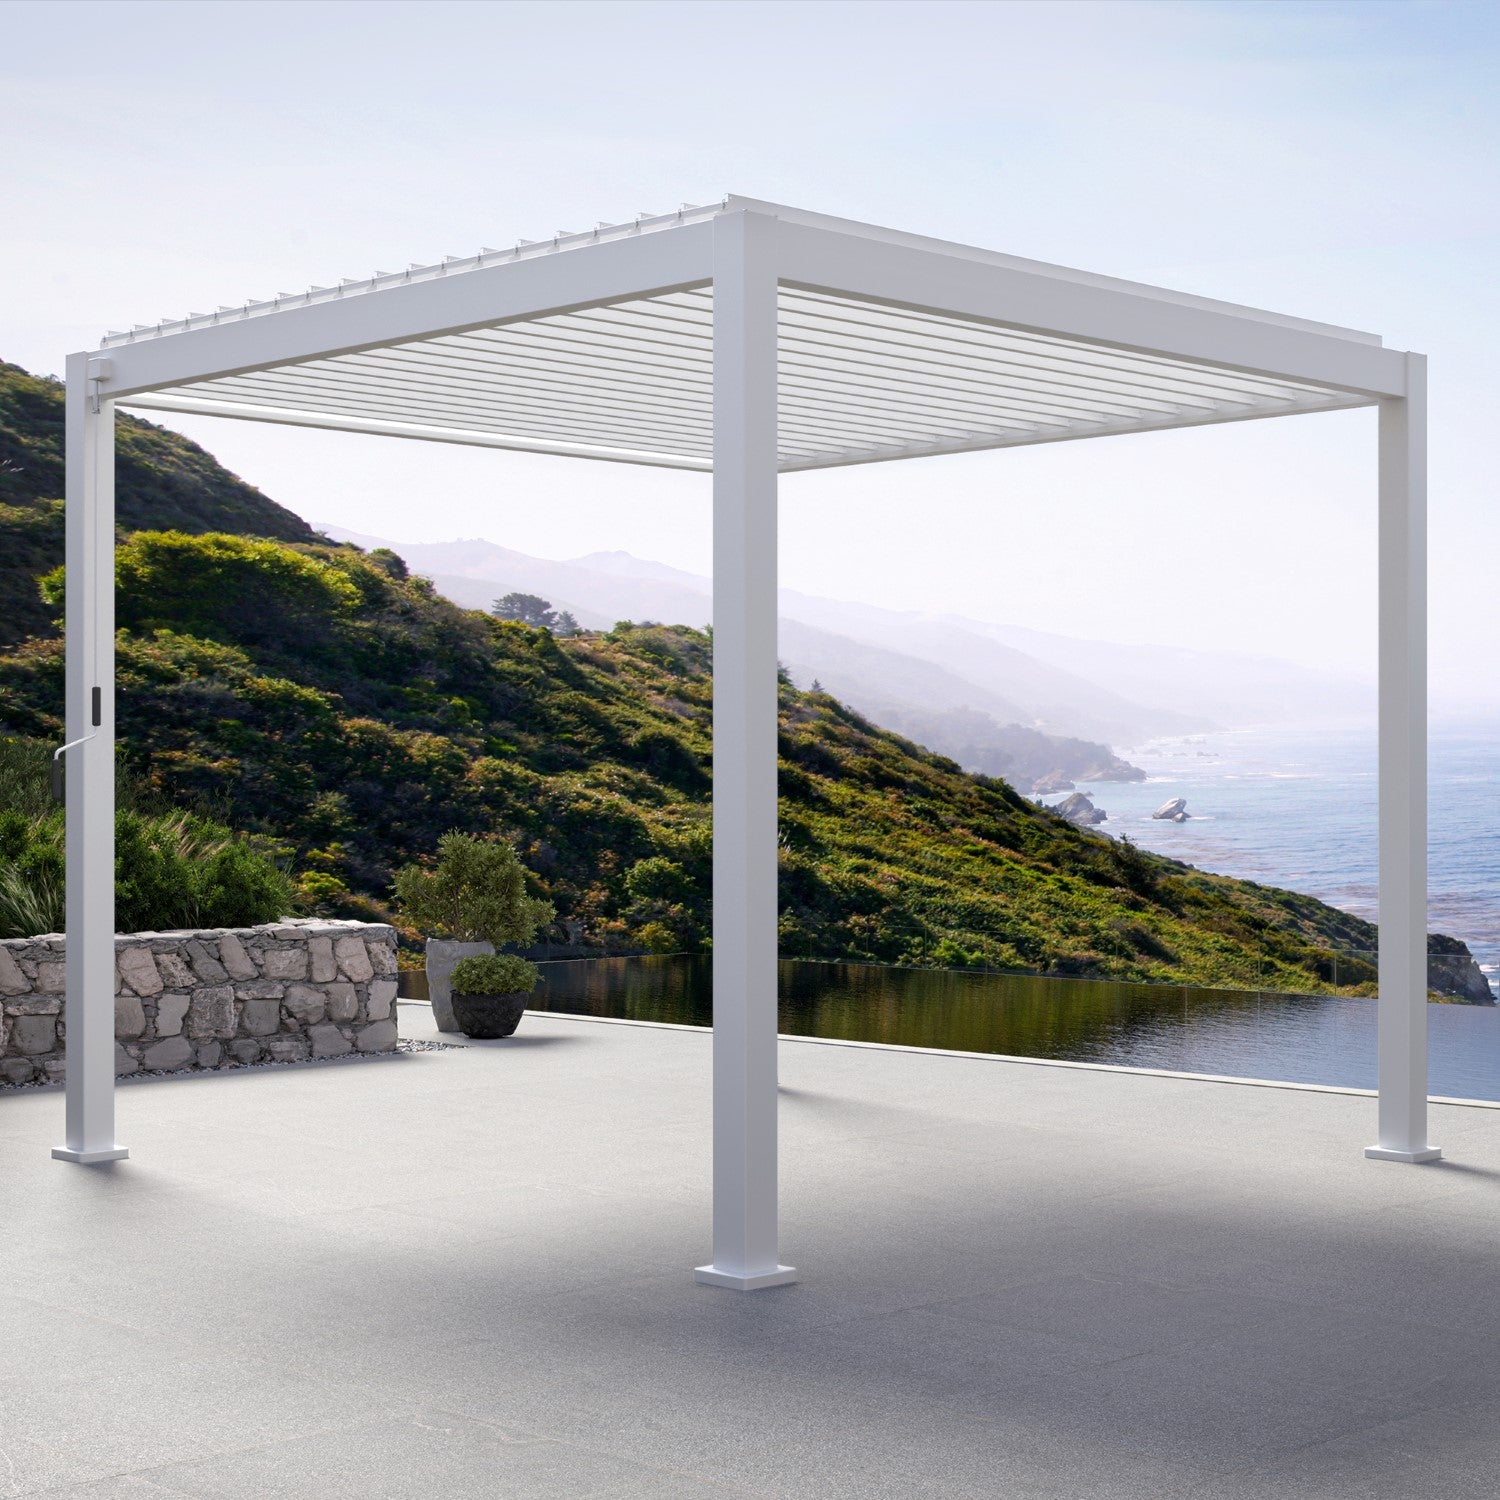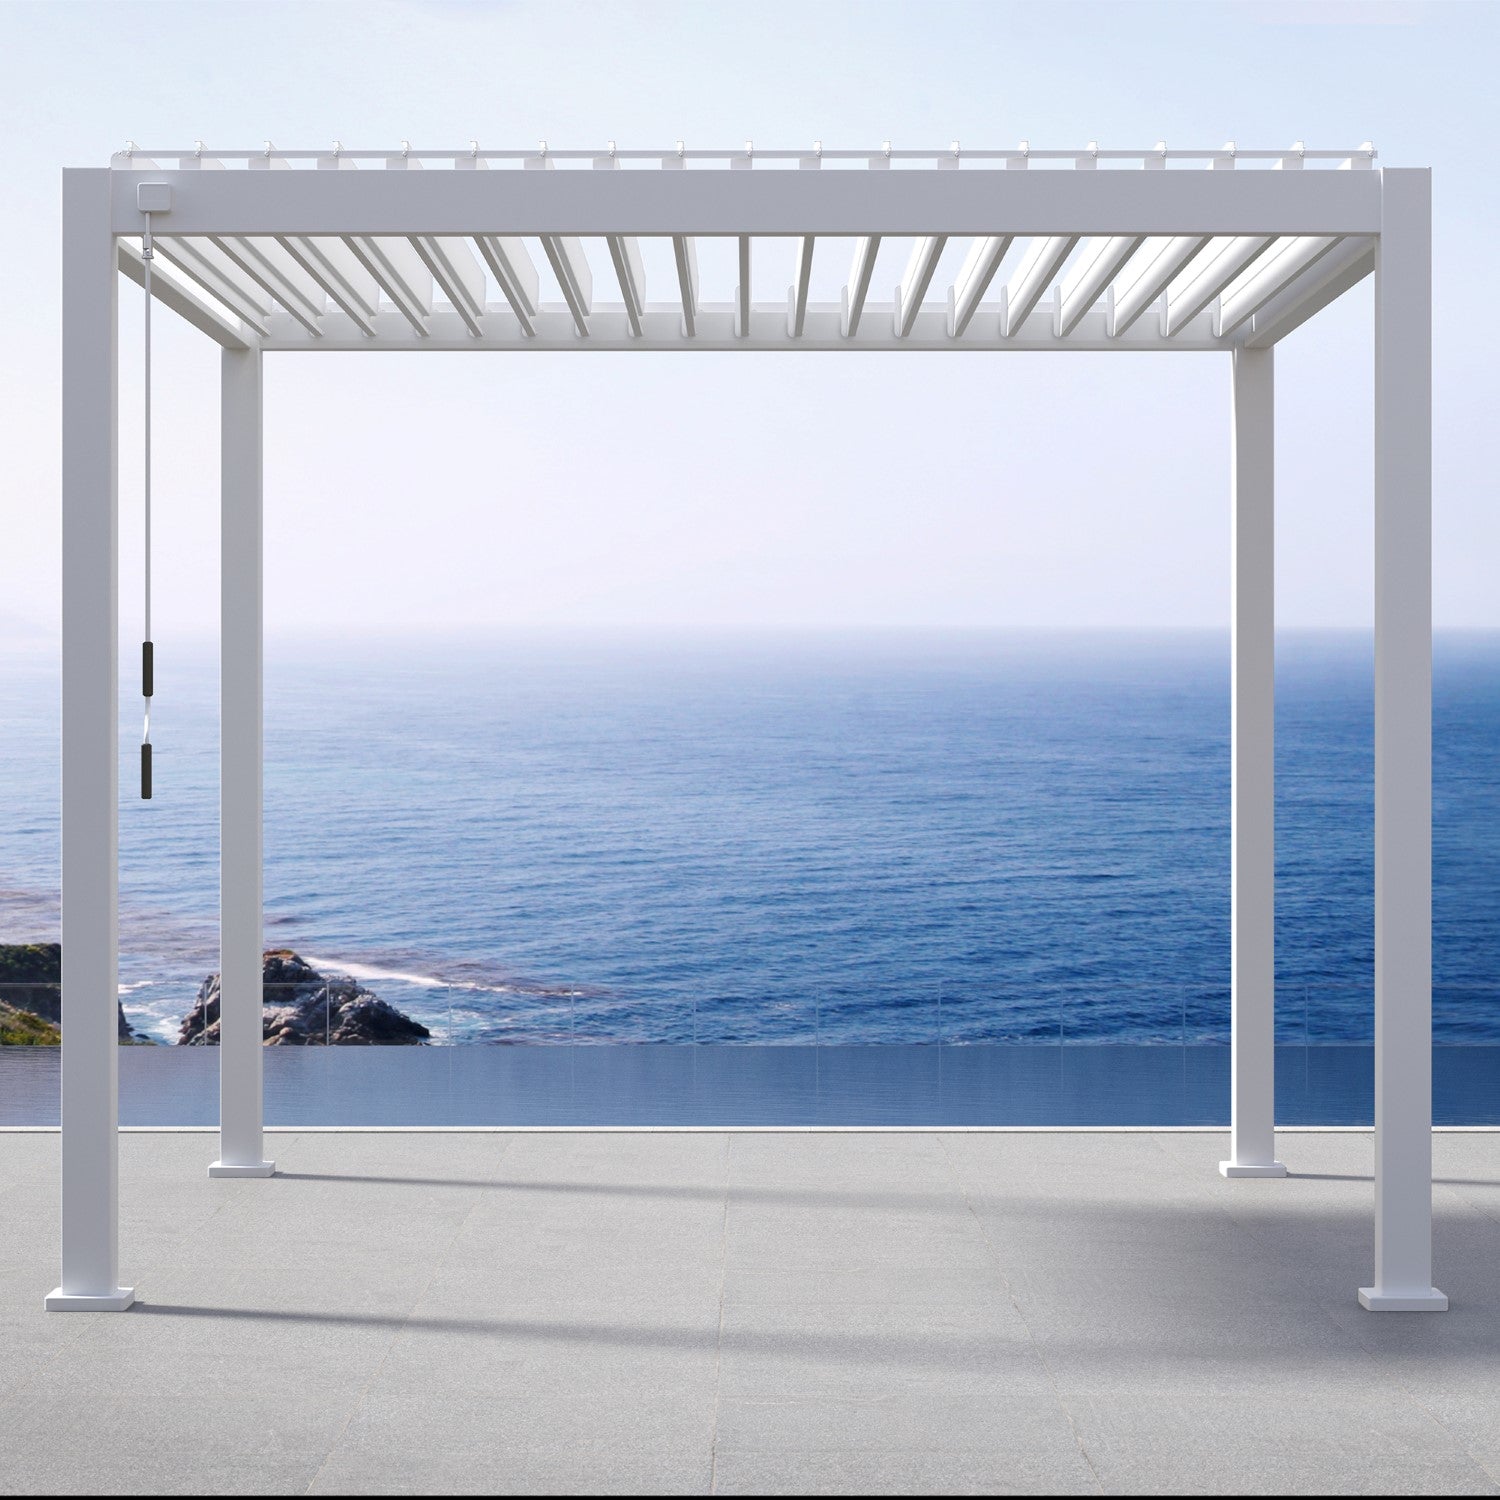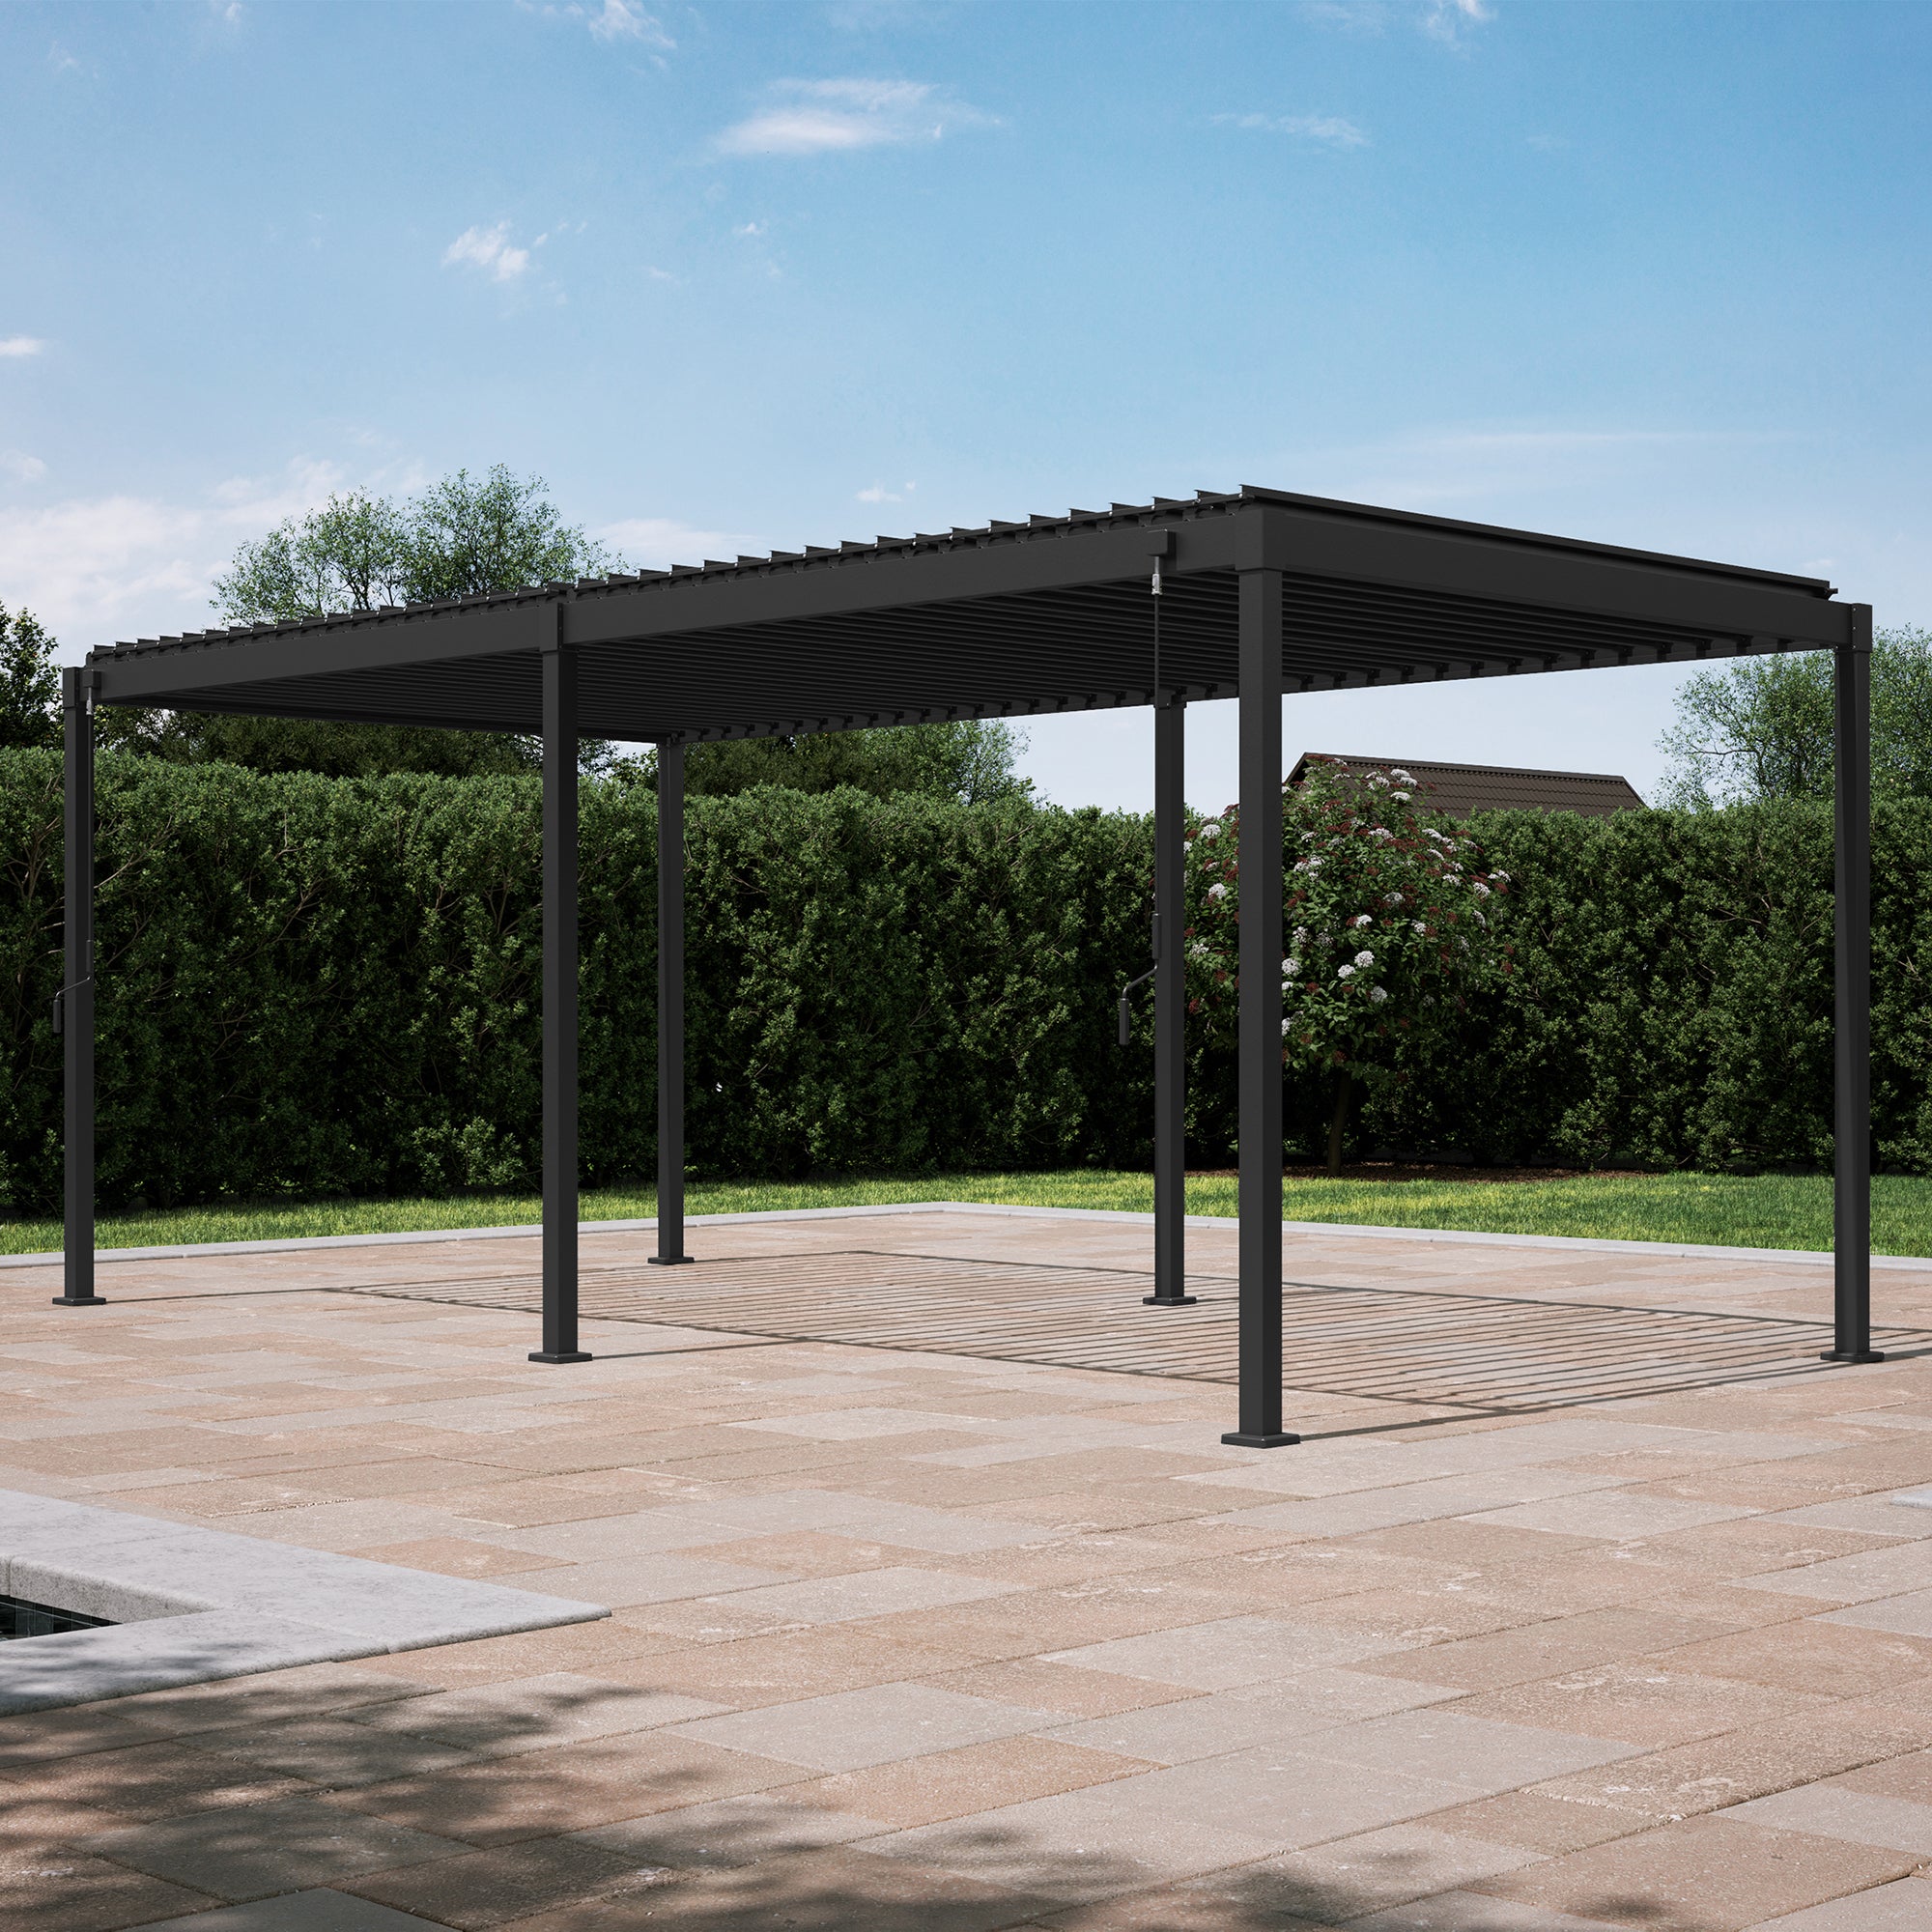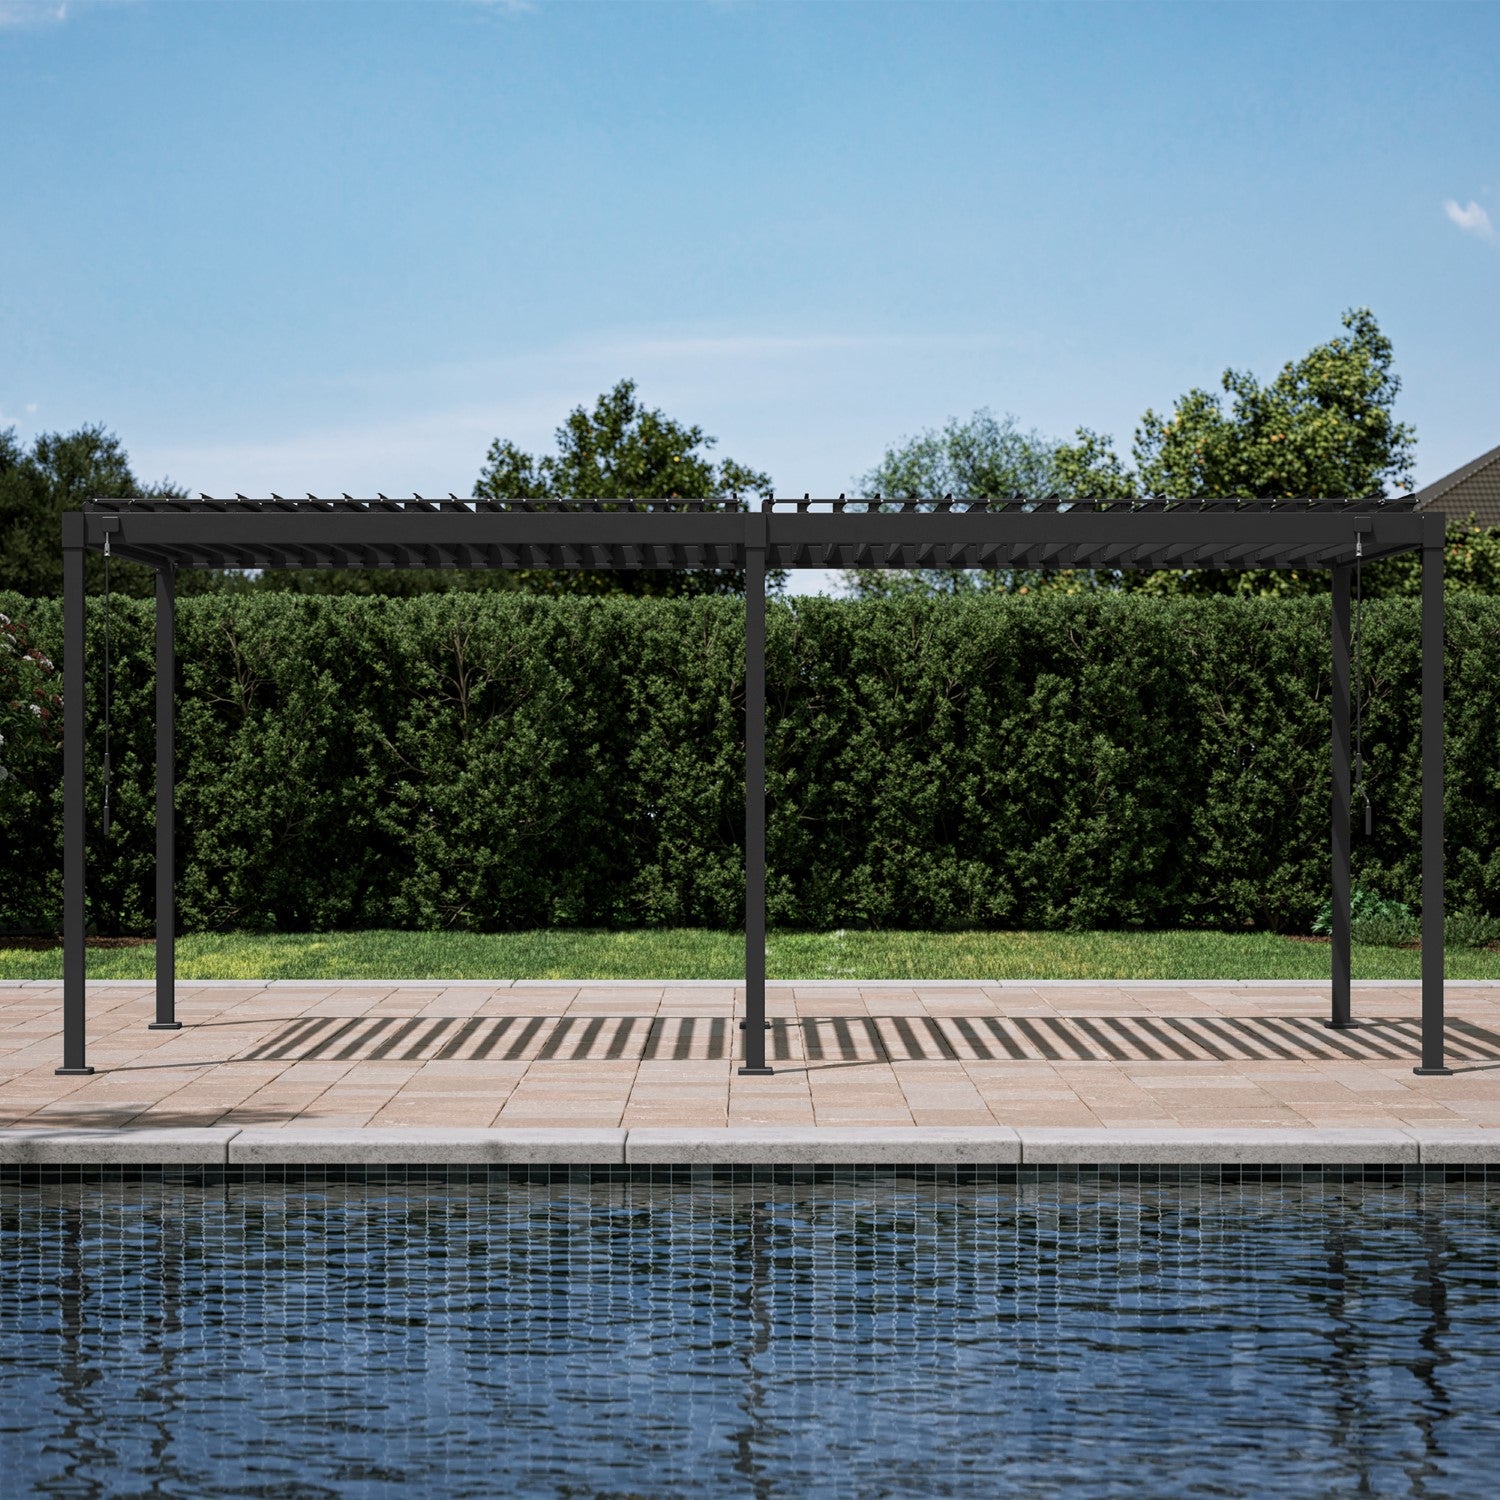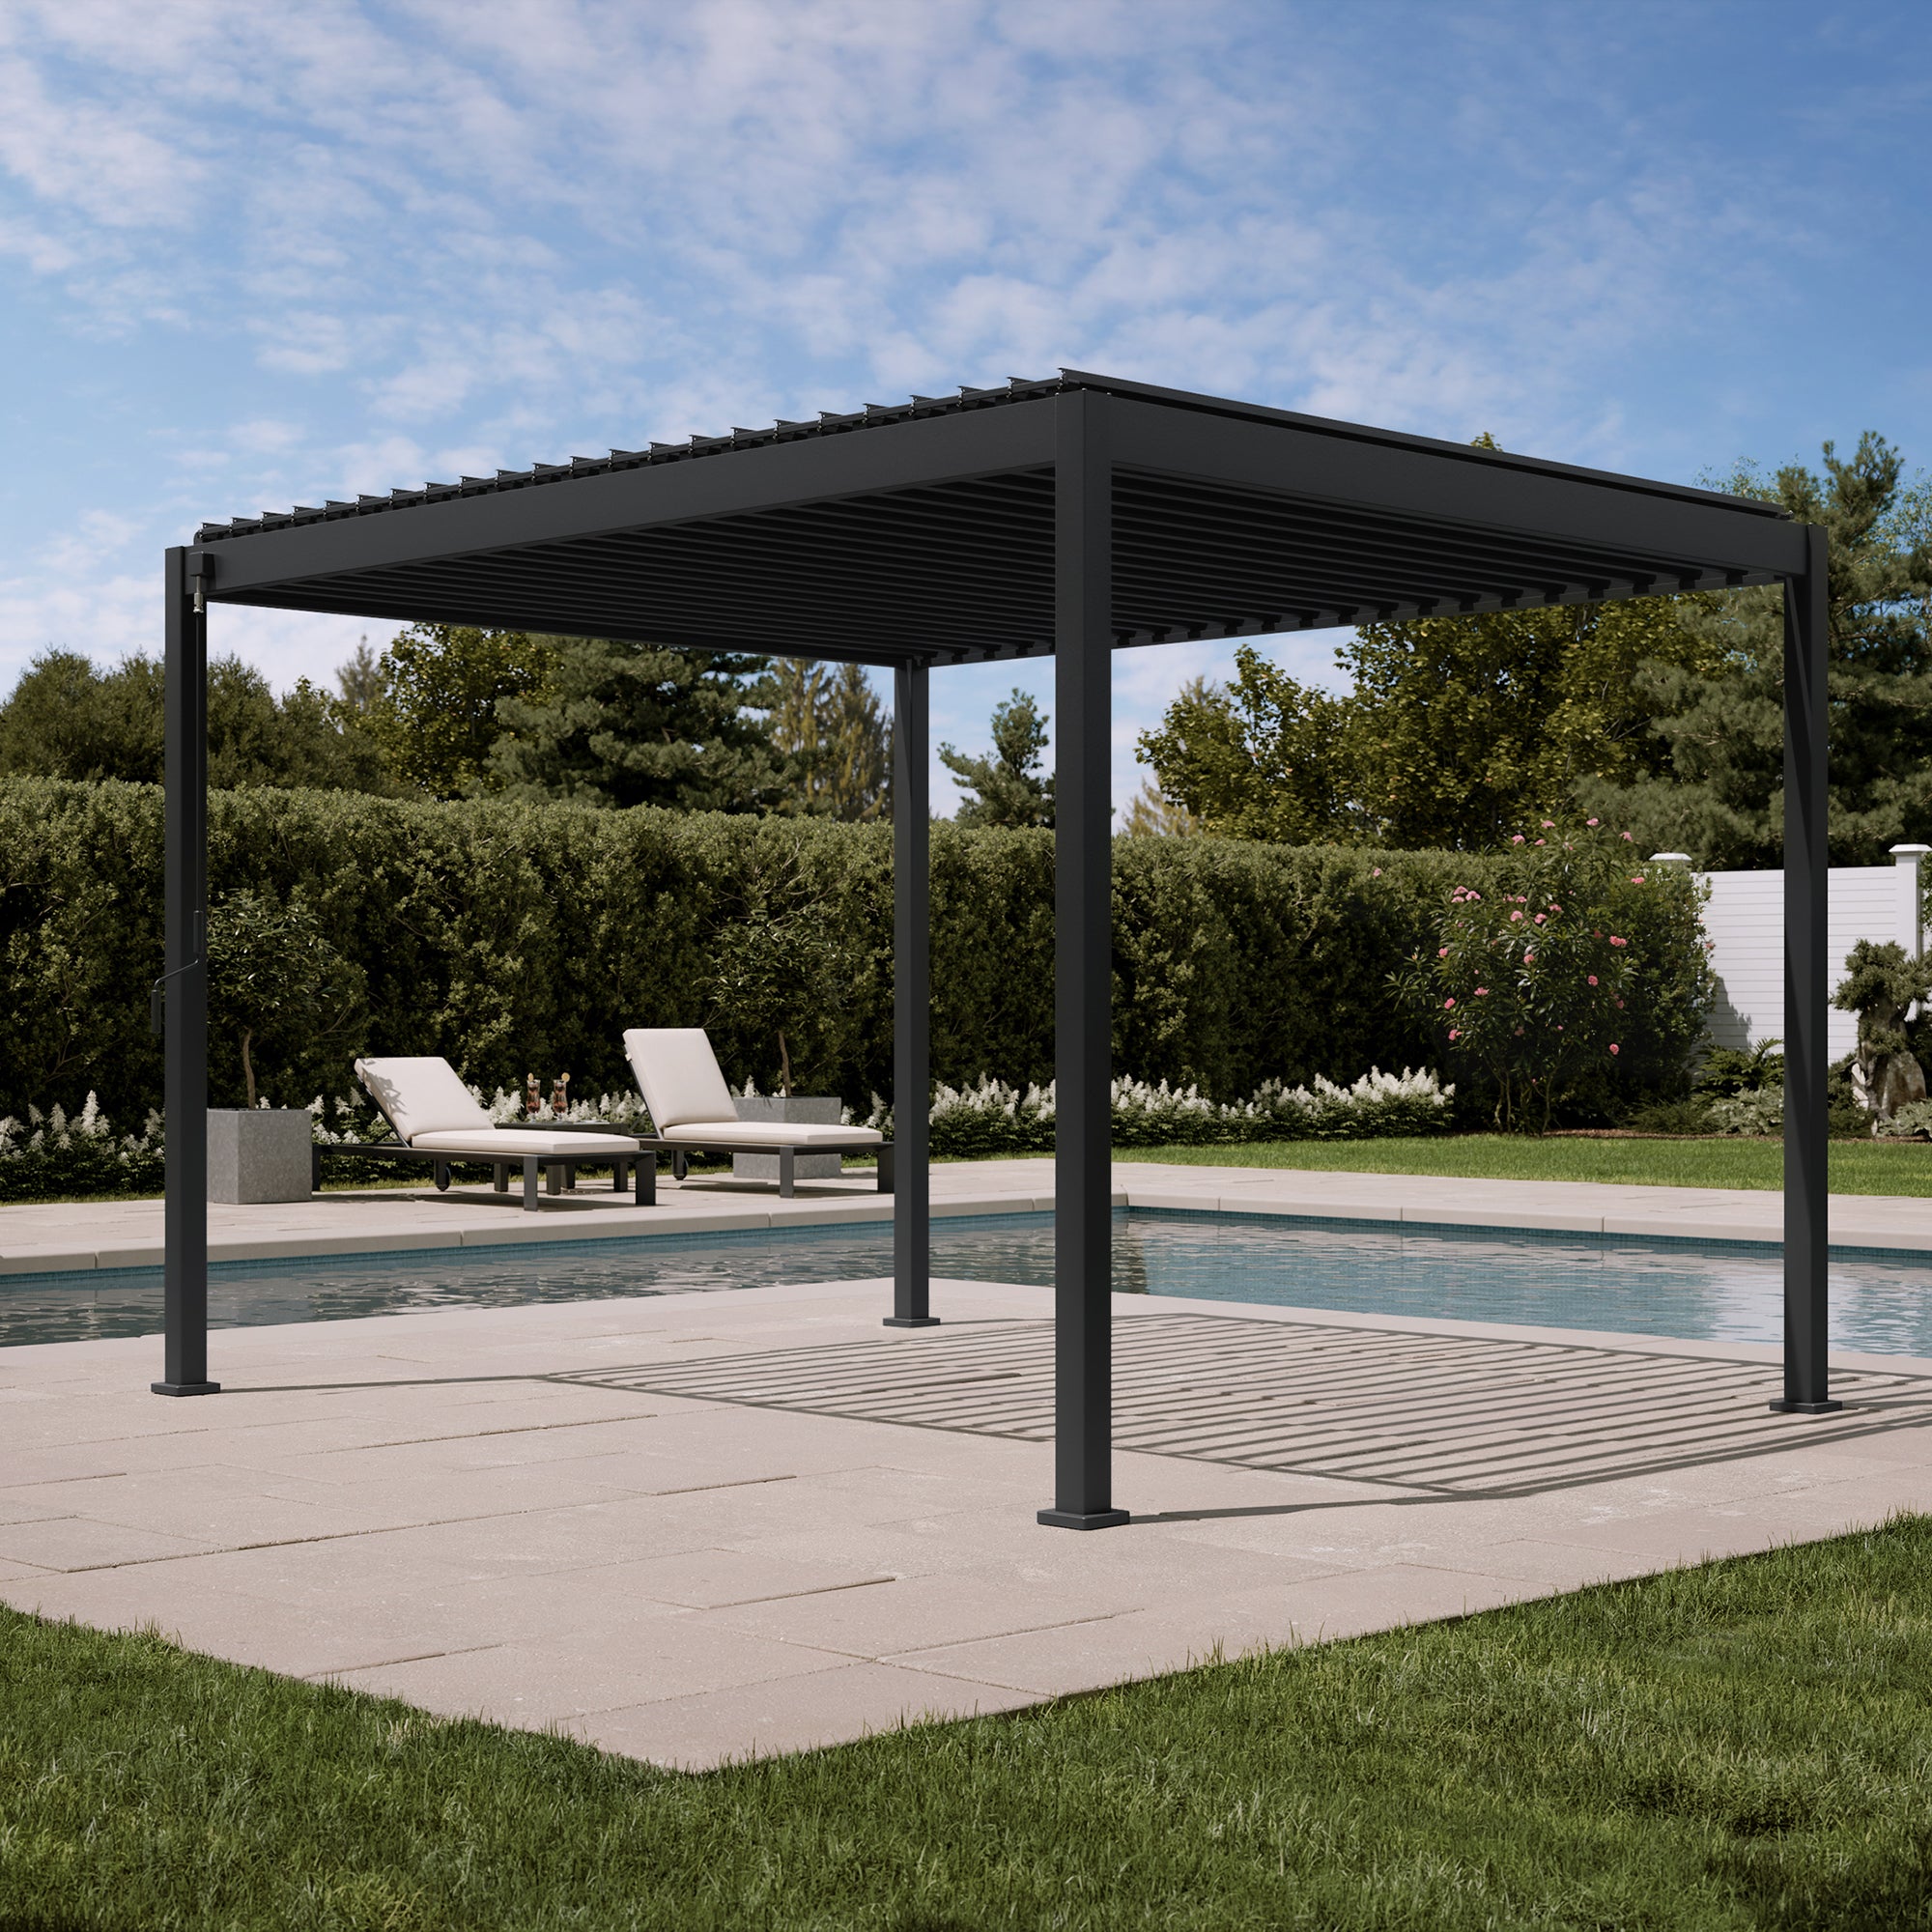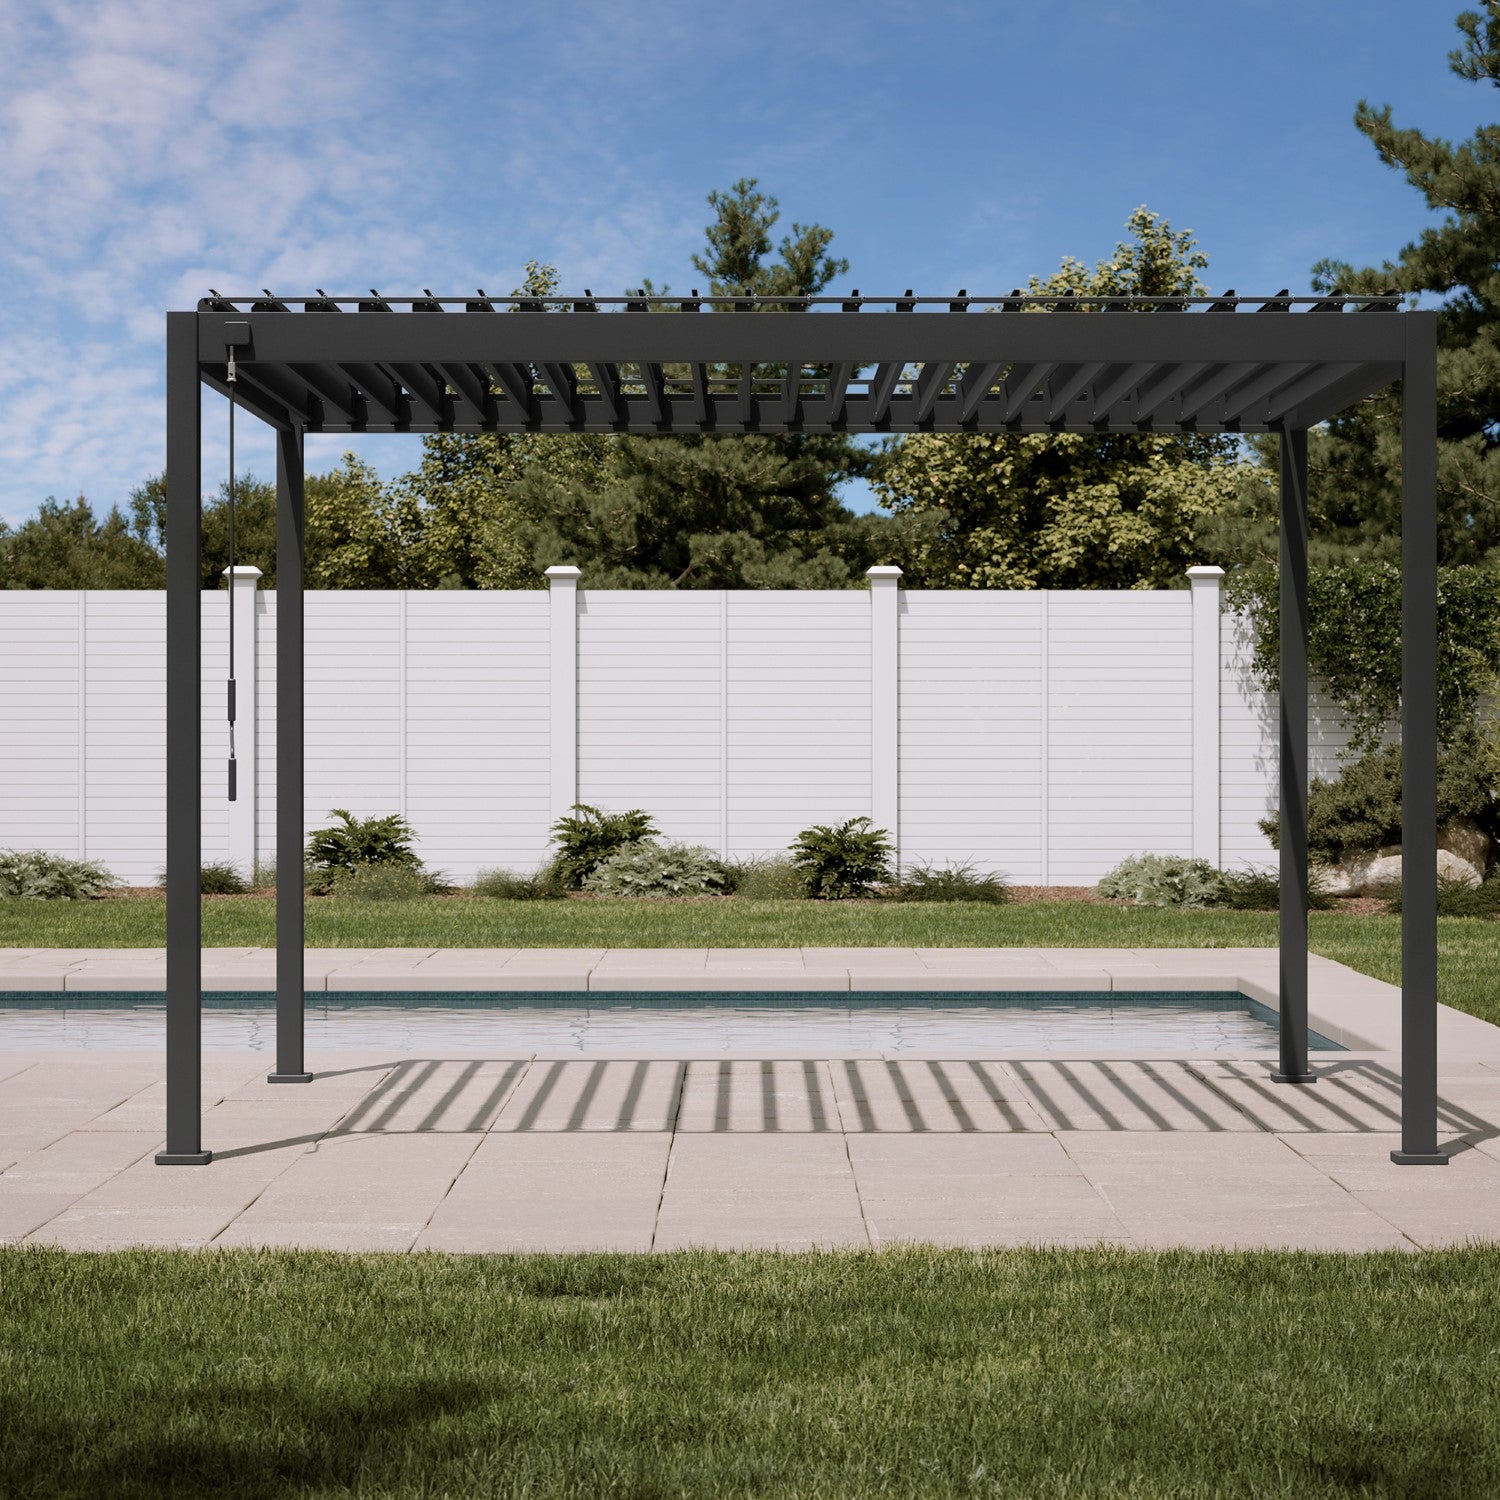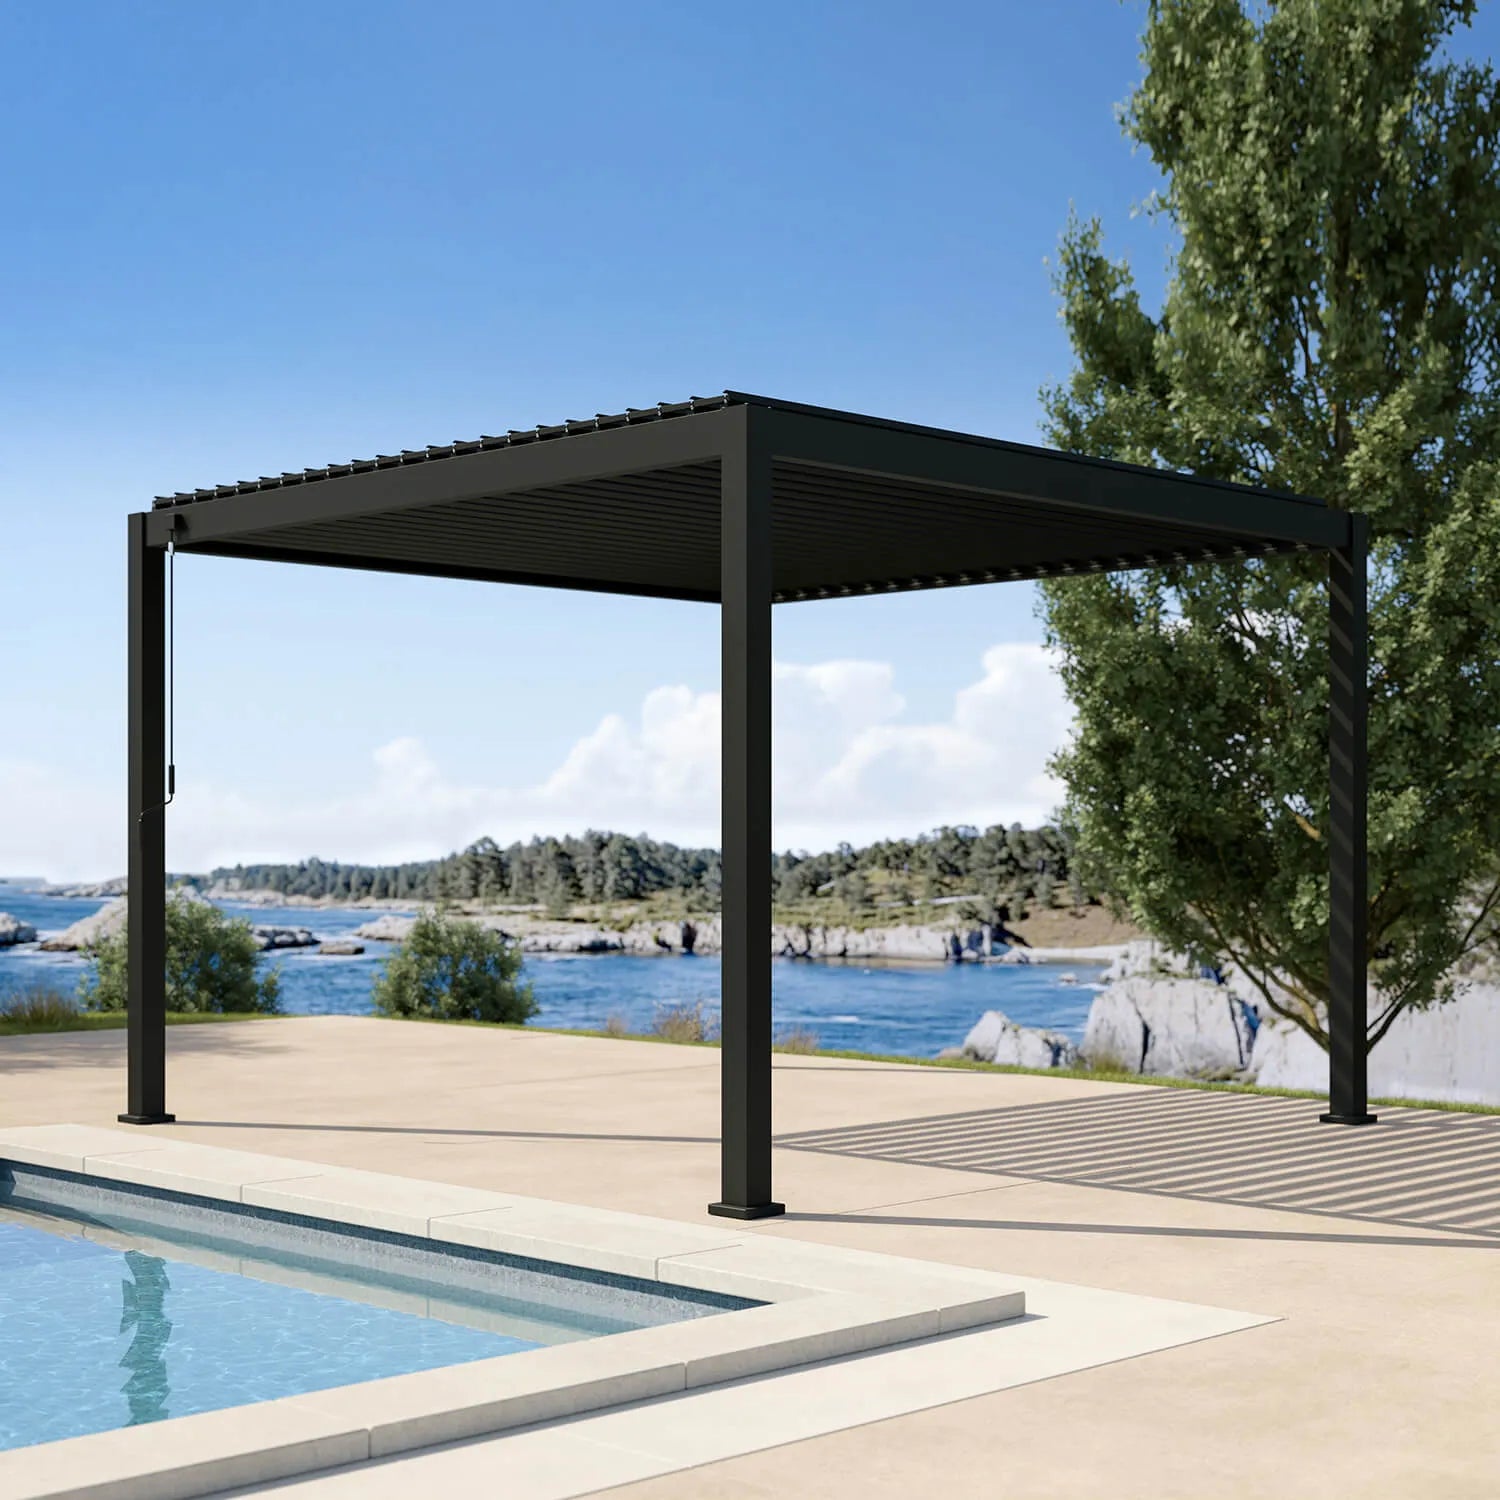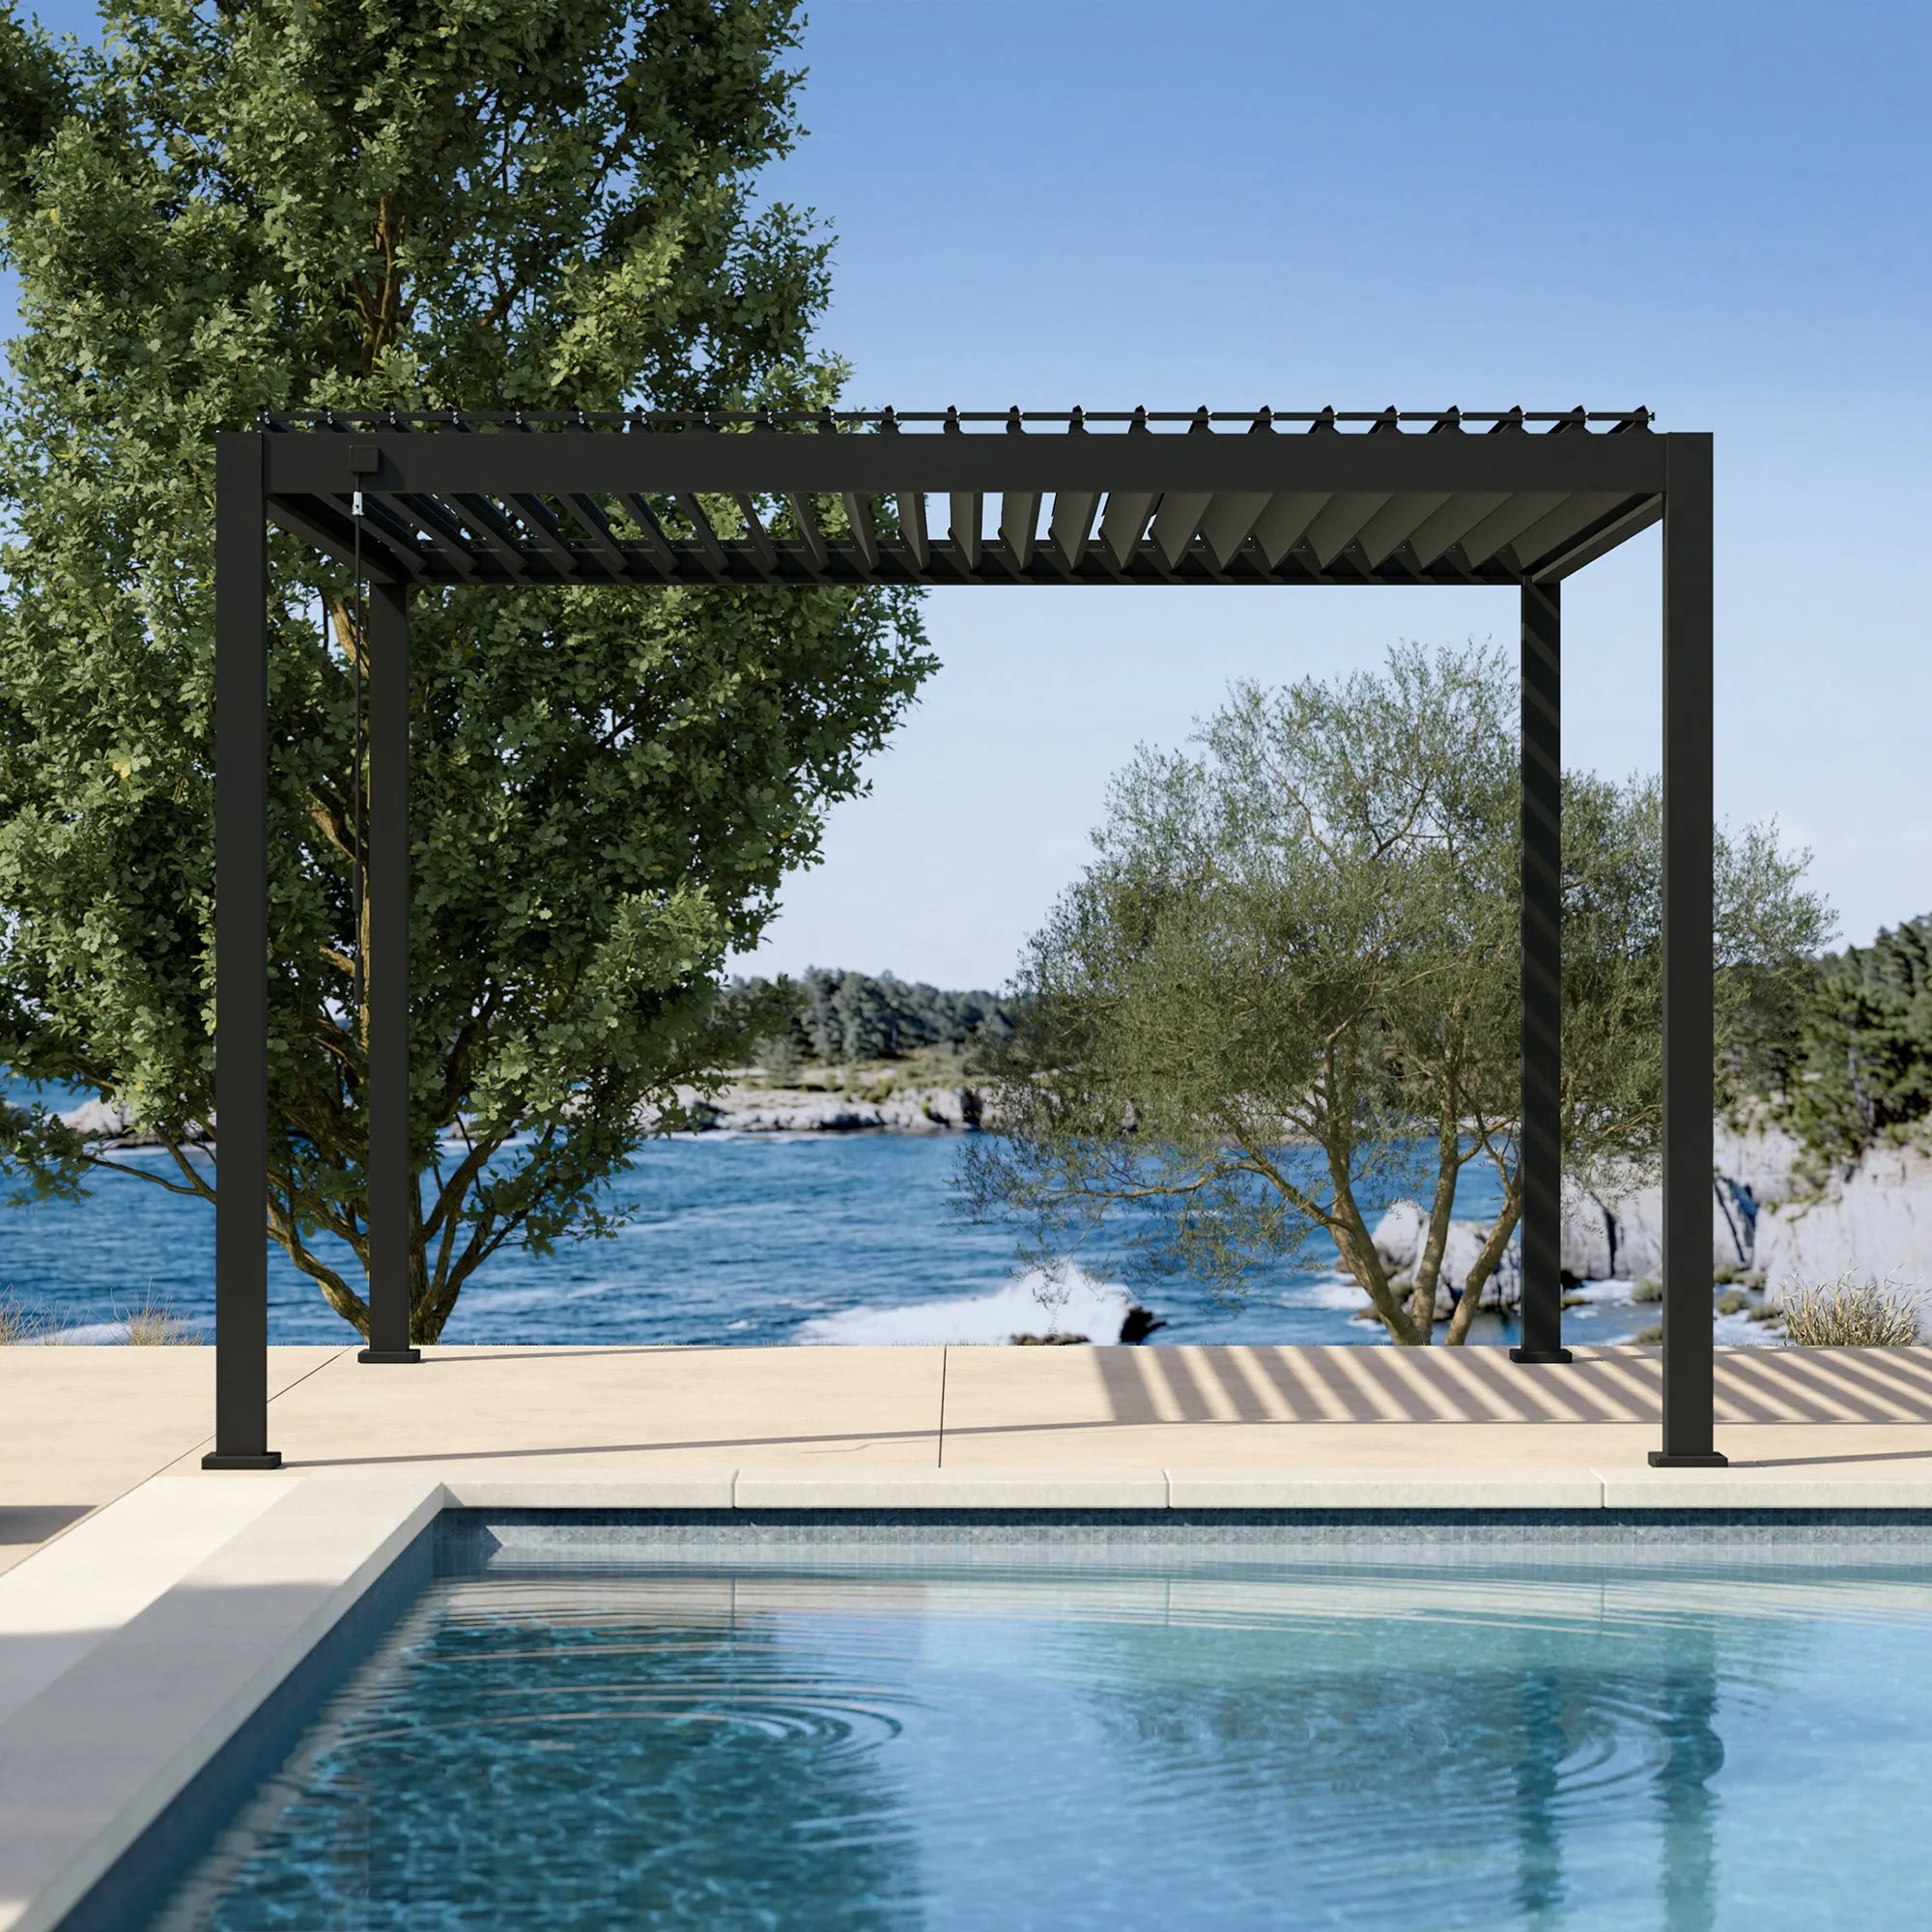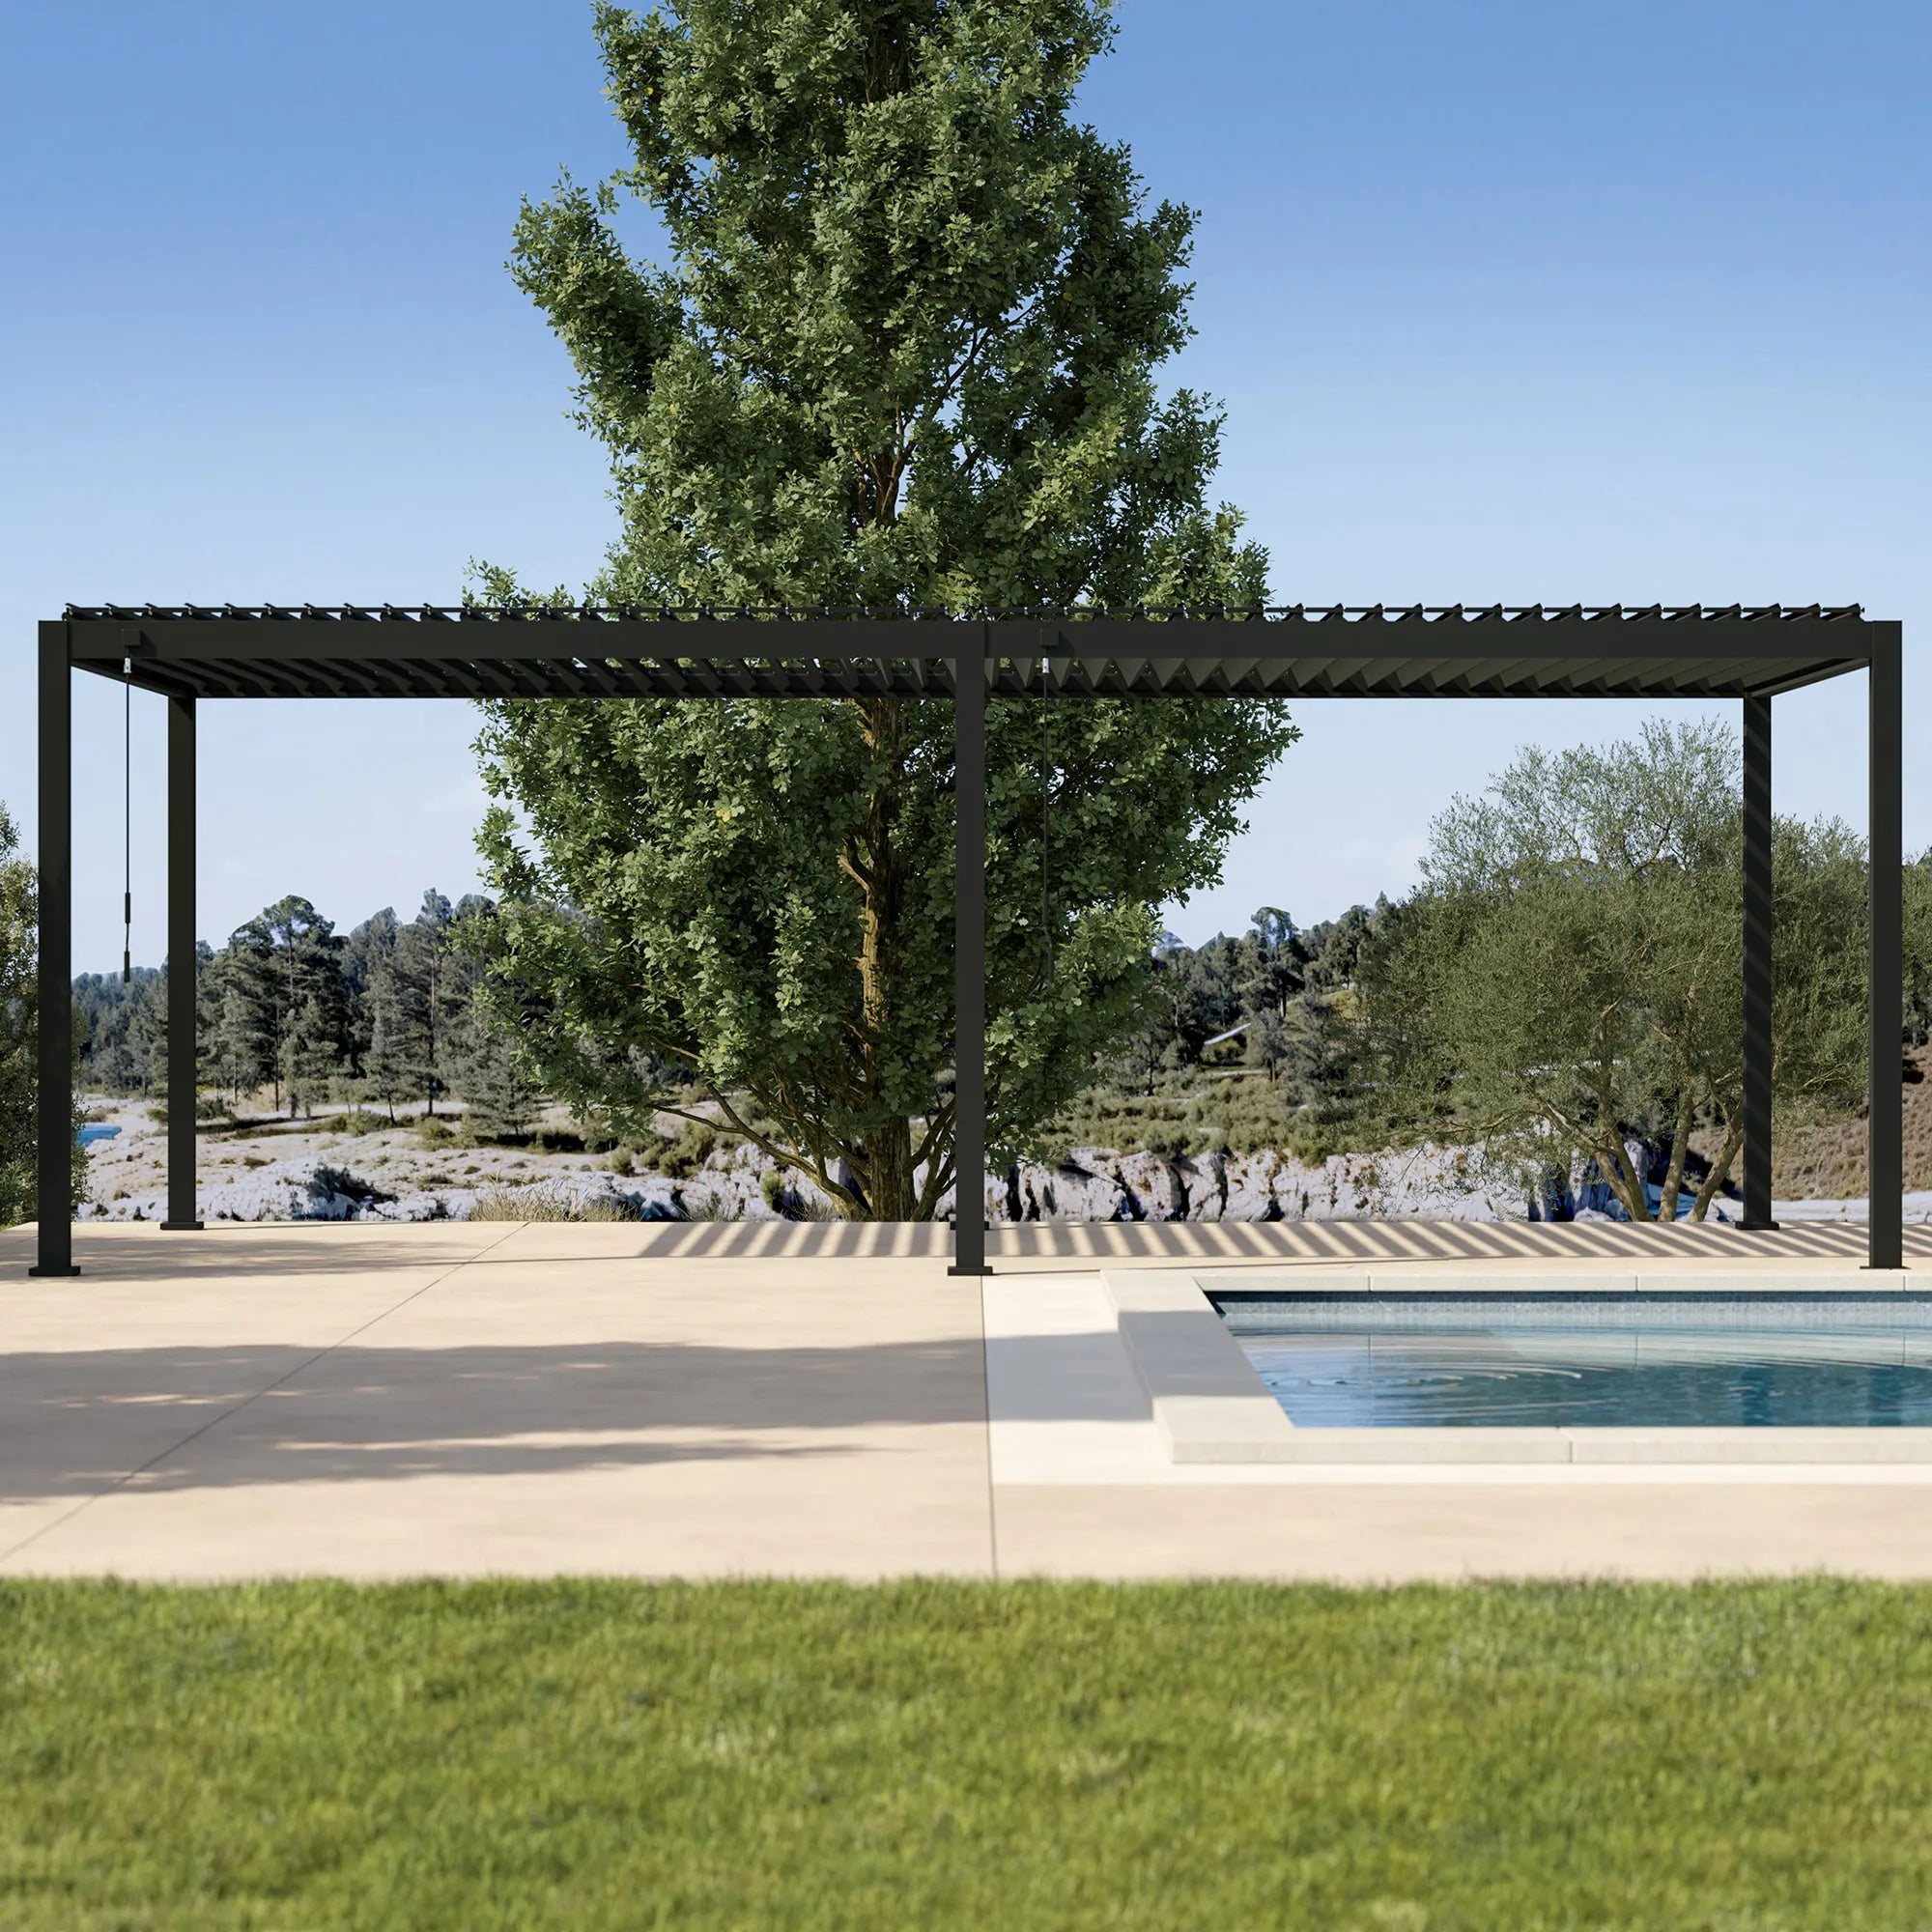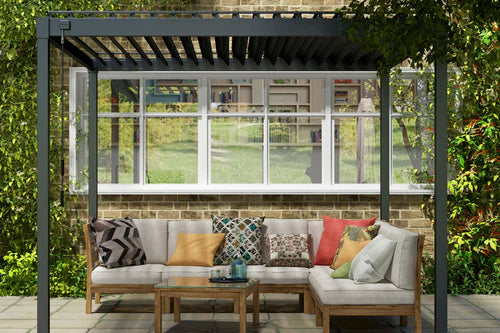

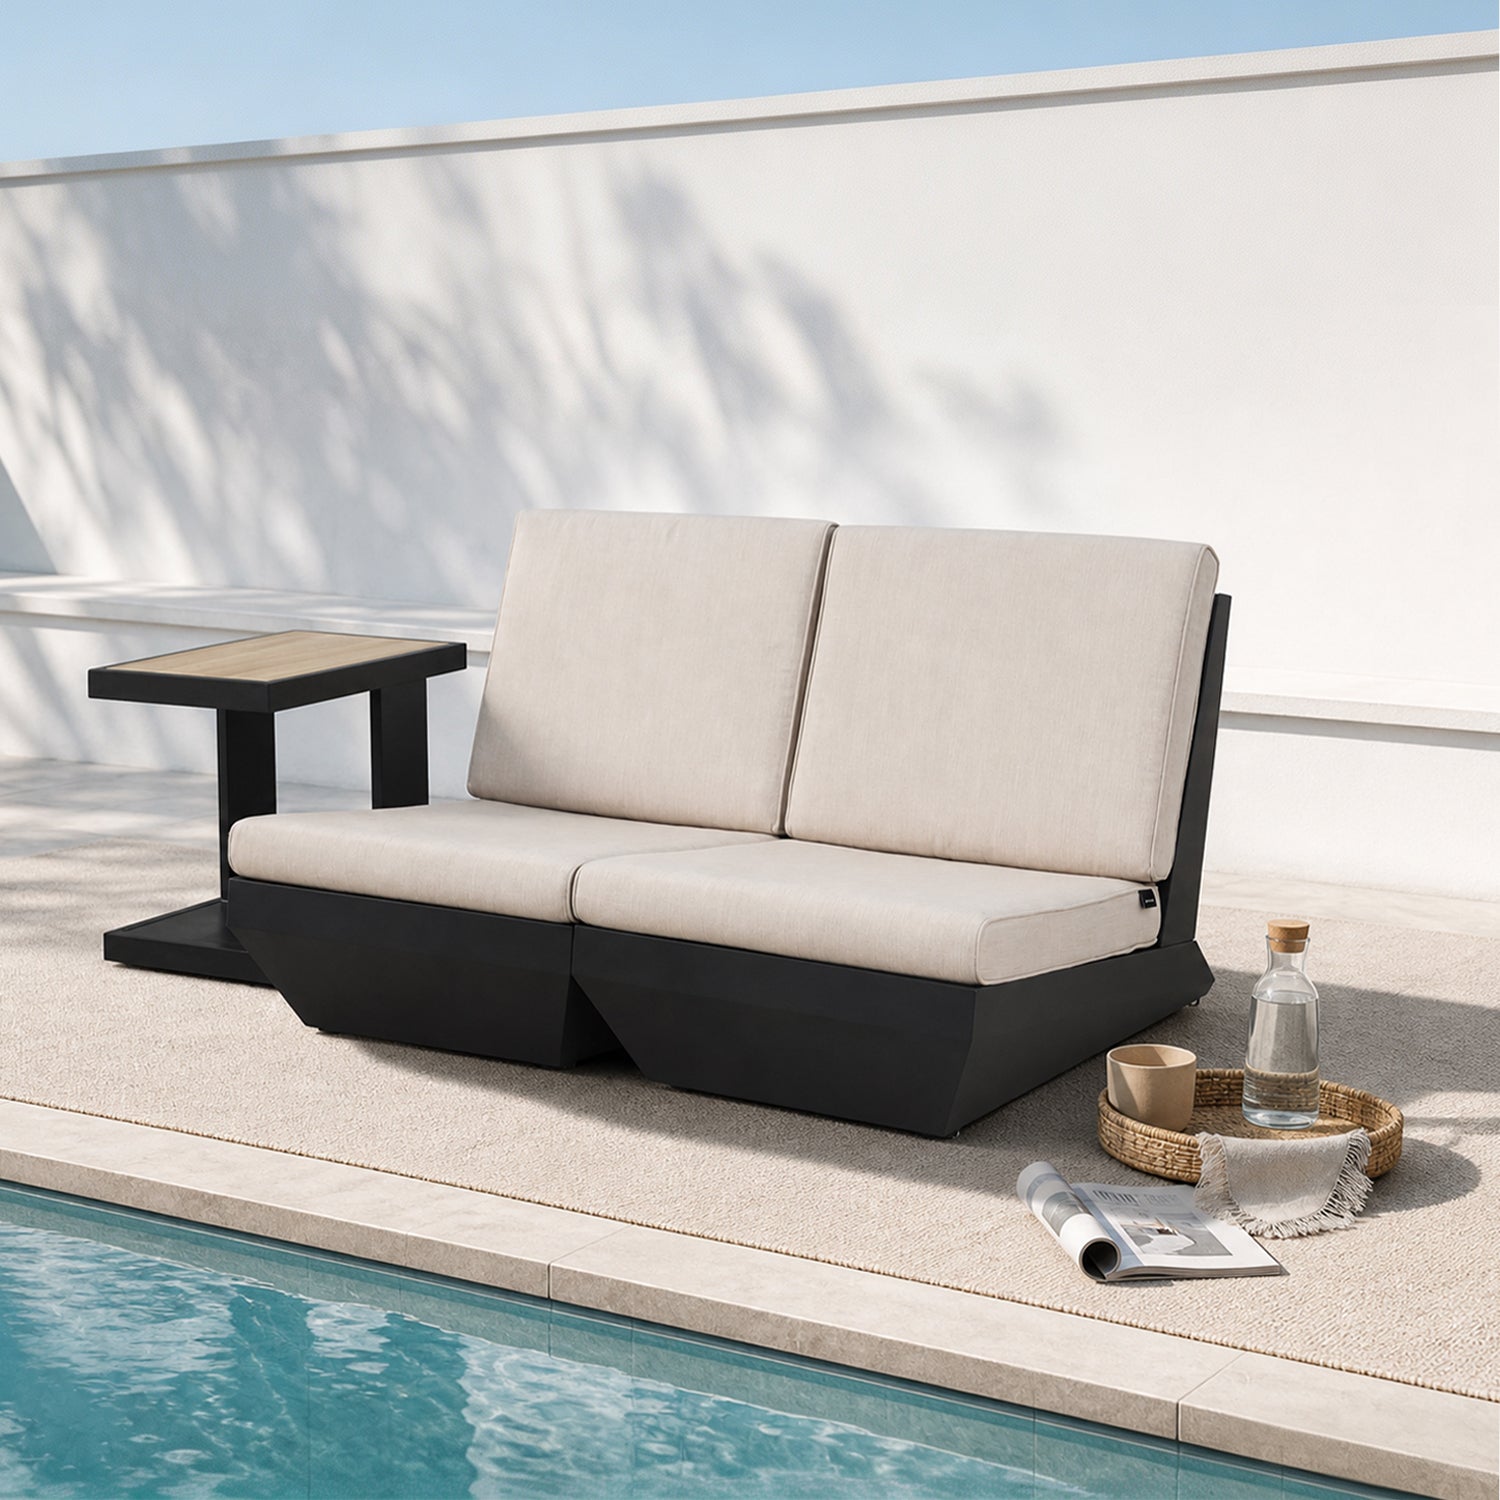
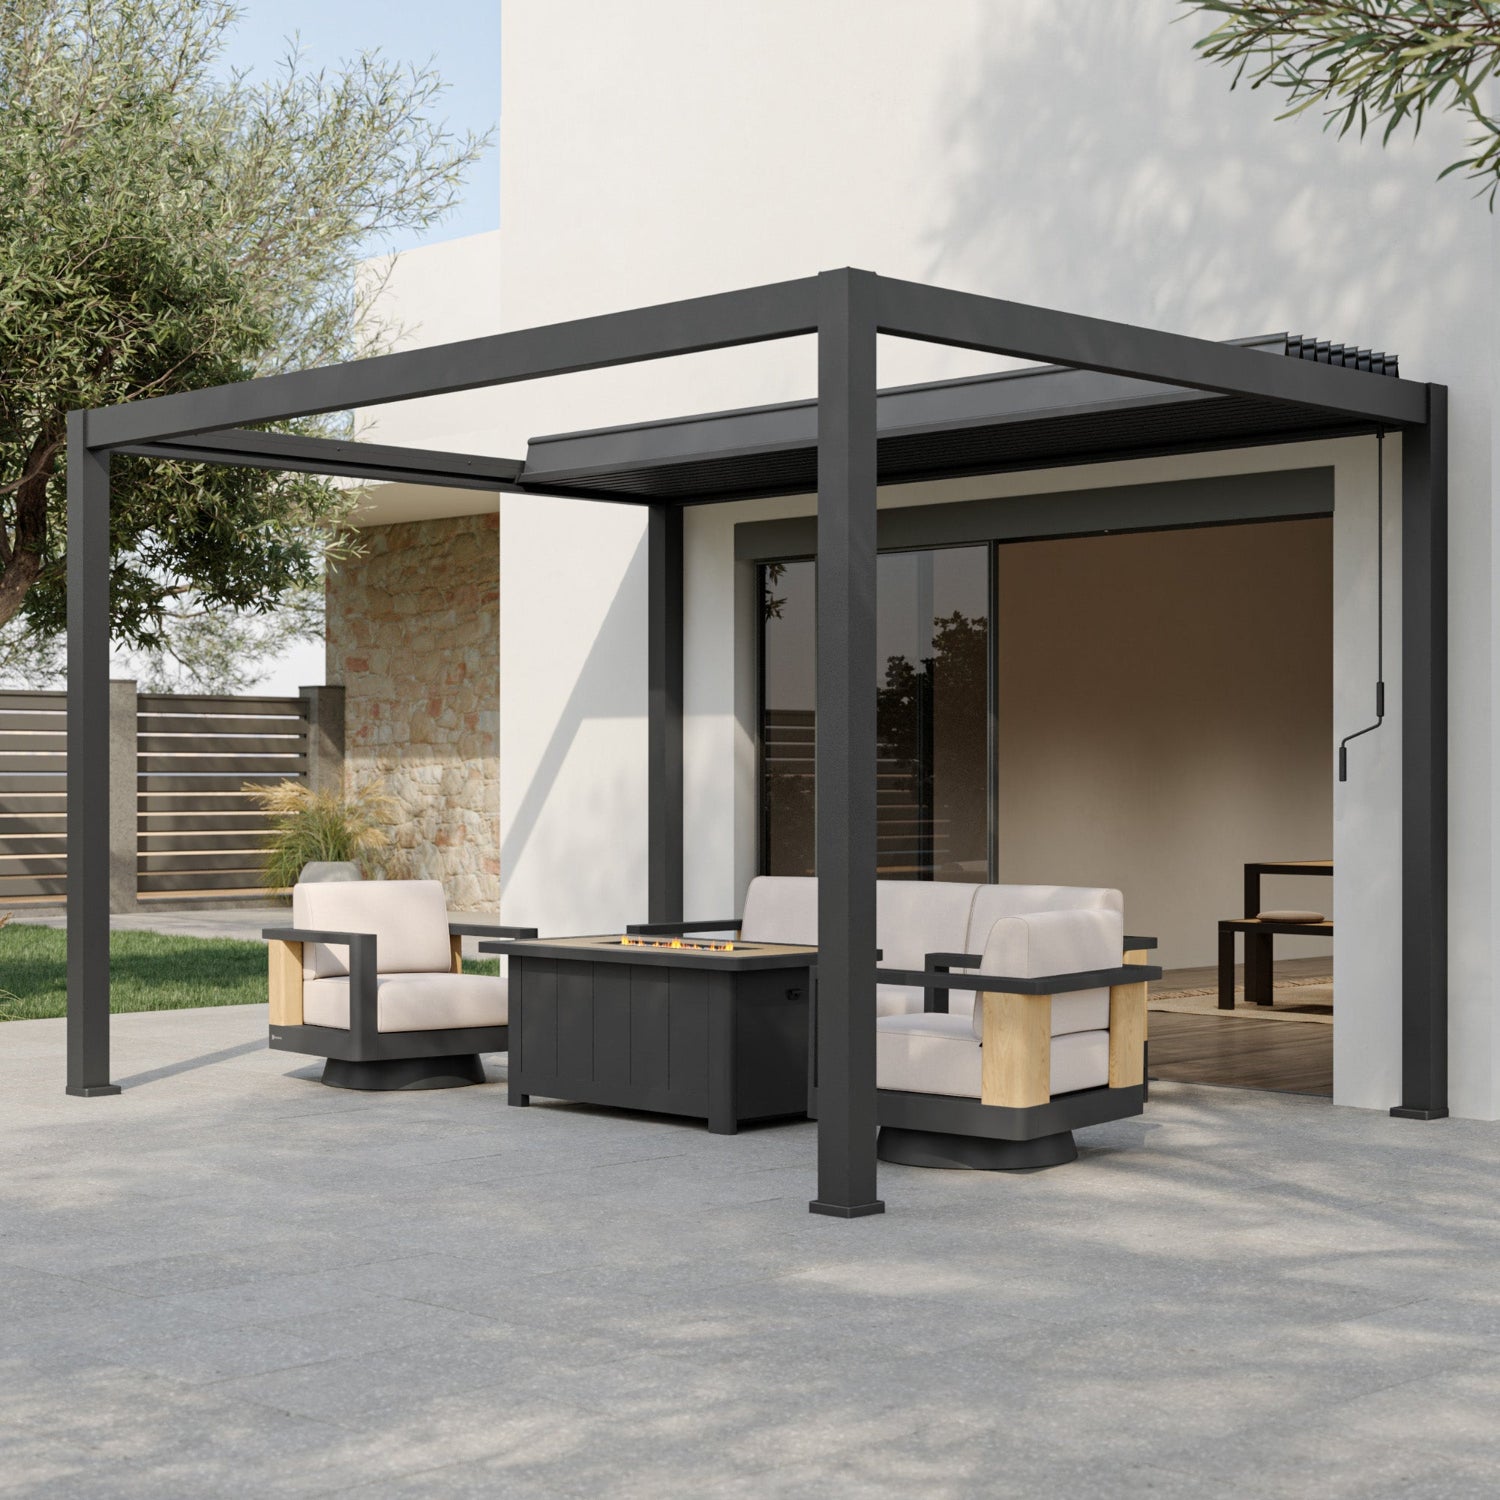

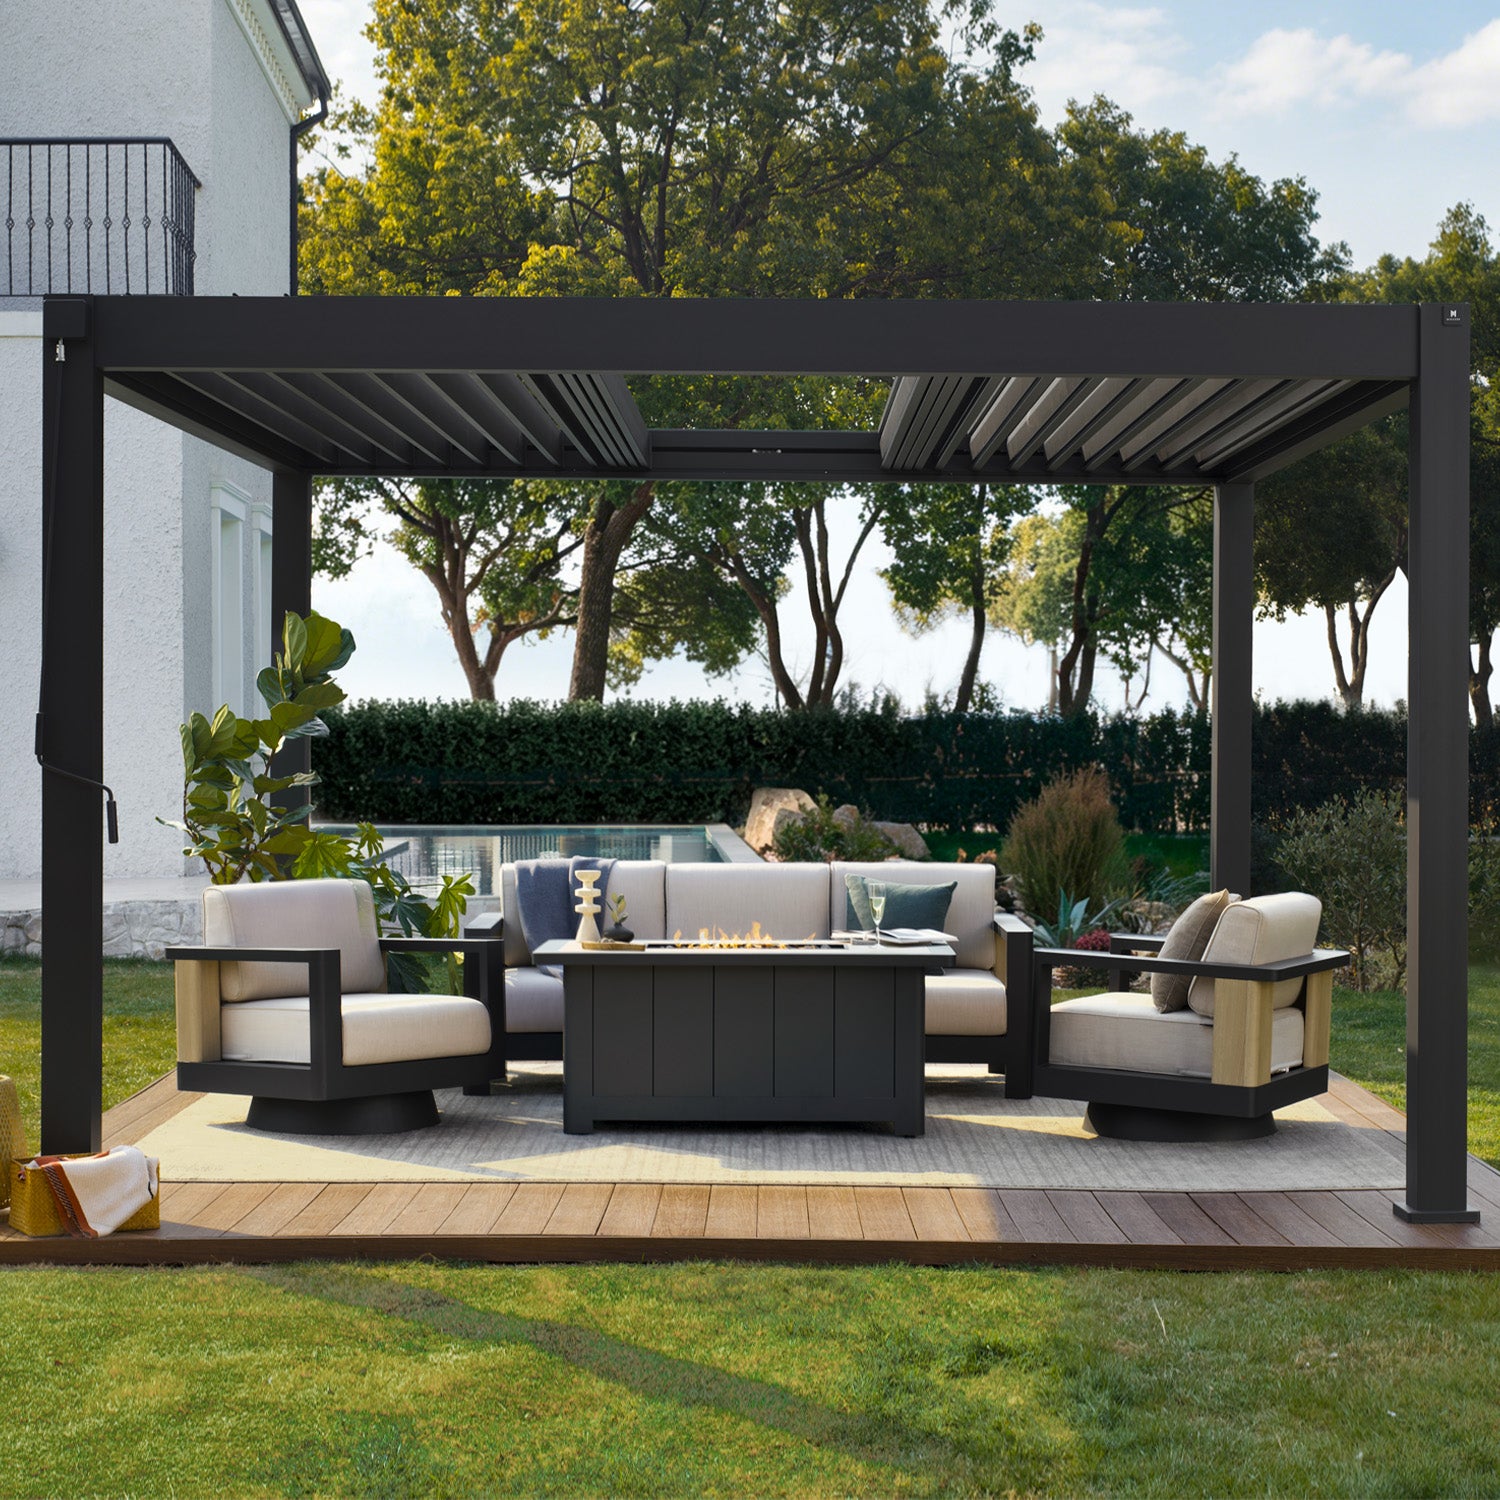
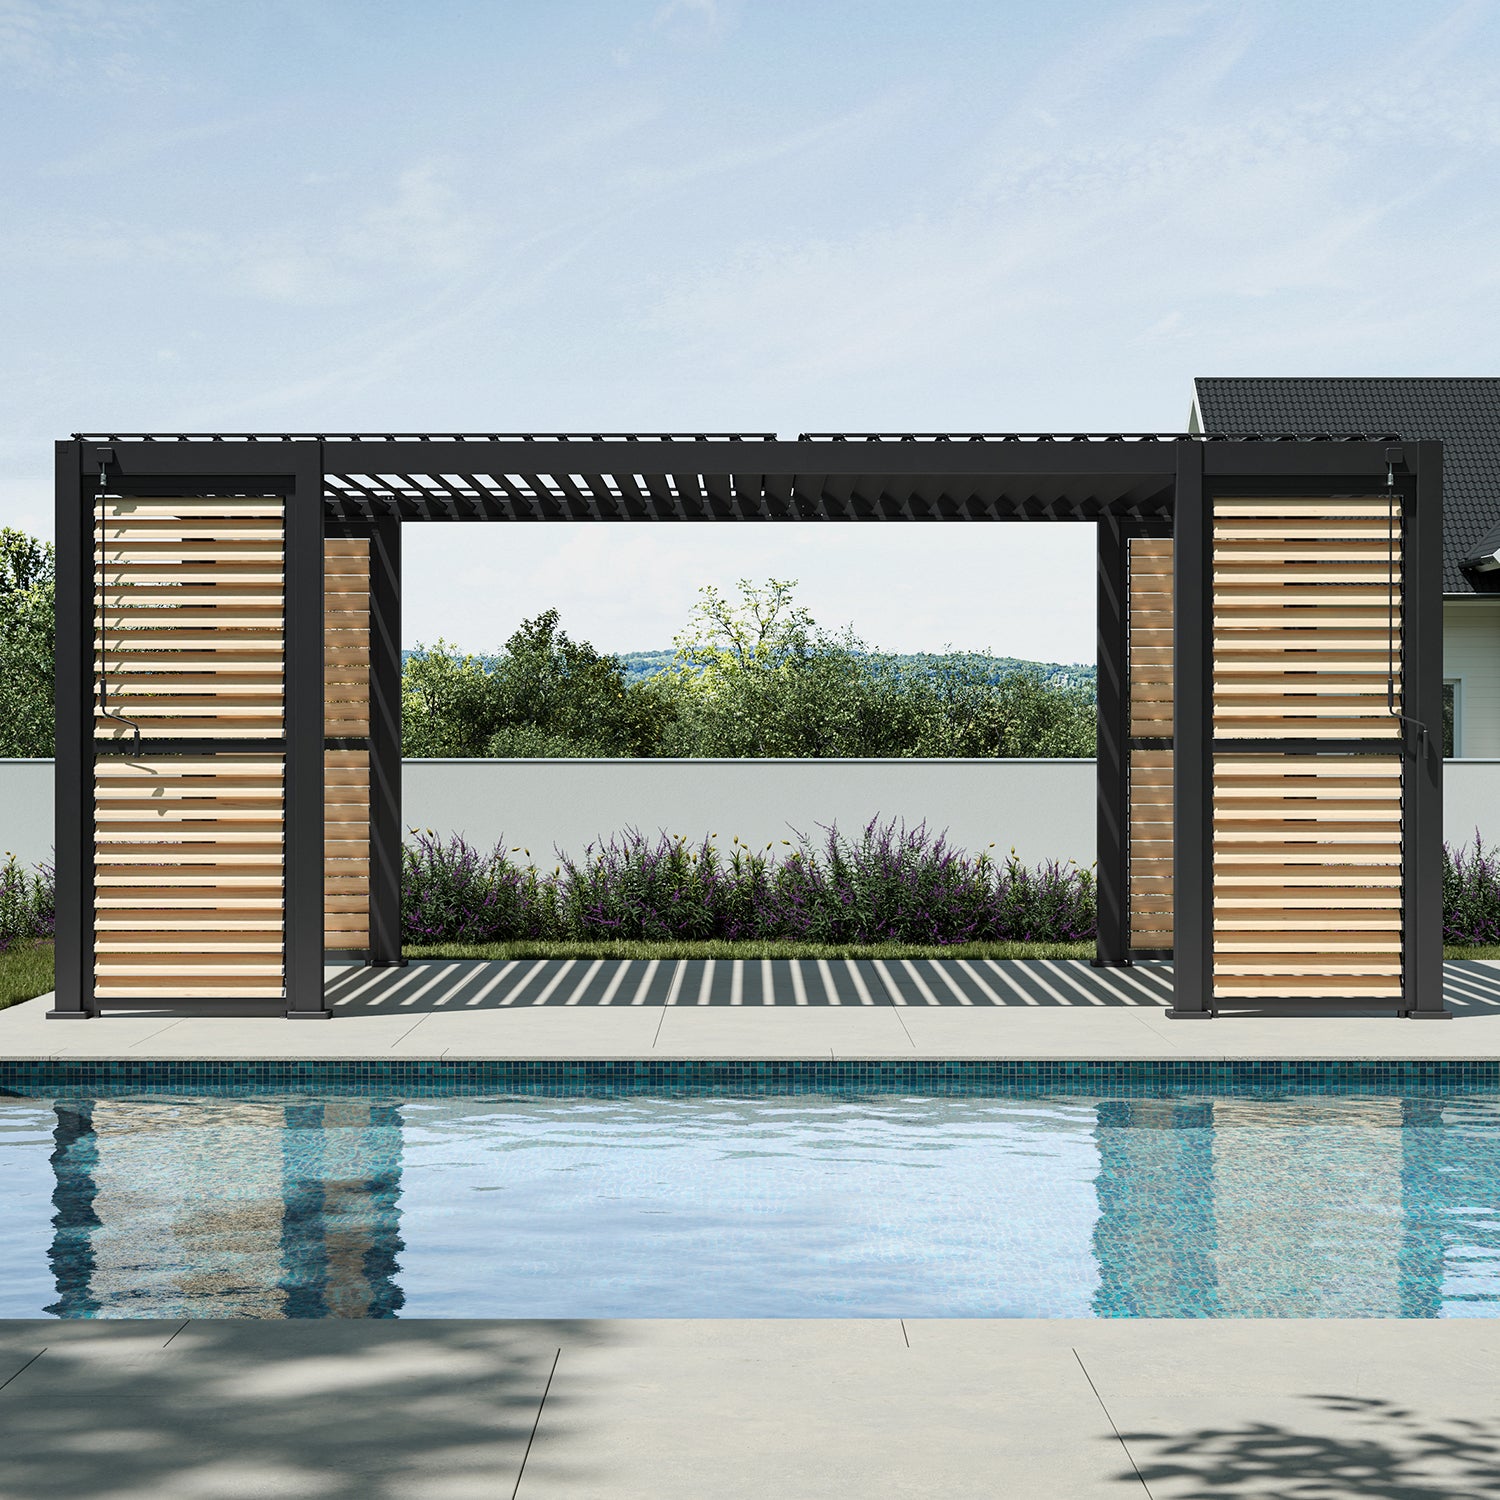



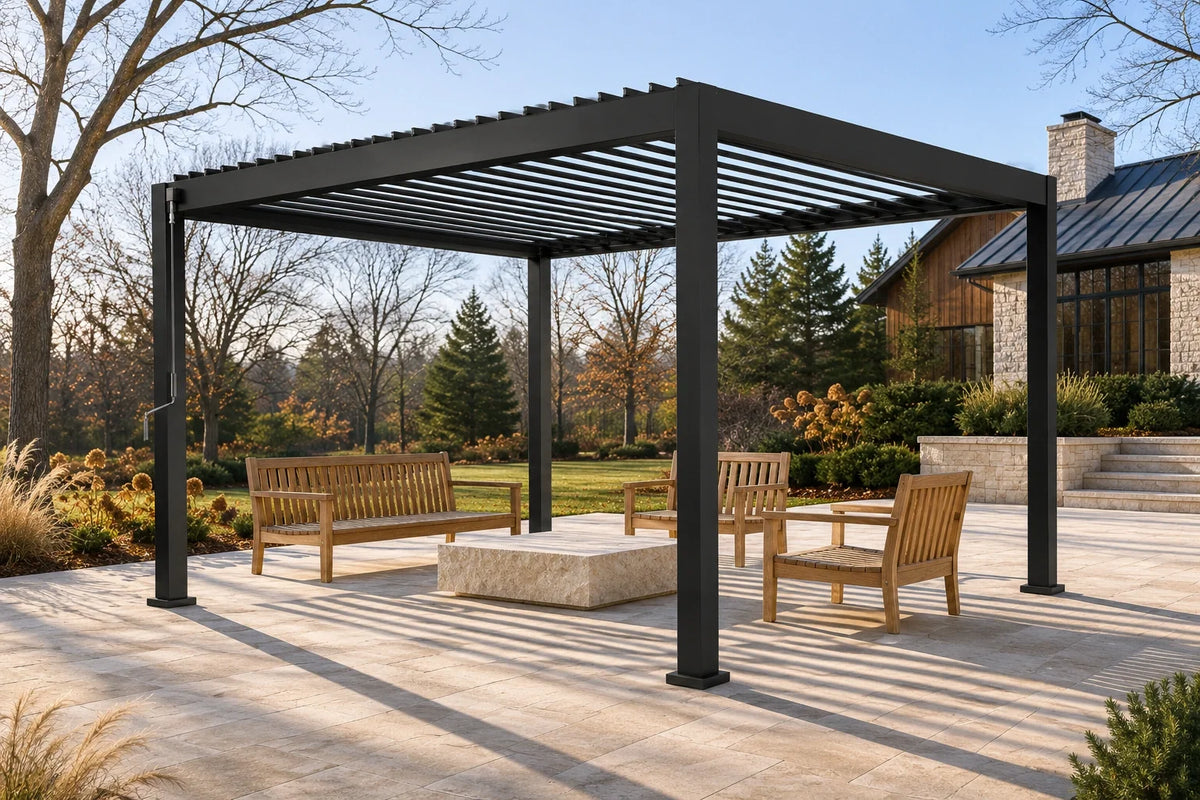
To winterize a pergola, clear leaves and drainage paths, gently clean the structure, inspect its connections and roof mechanism, prepare the roof for the forecast, and store cushions and loose accessories. For a Mirador louvered pergola, open the louvers to a vertical position before snowfall while the mechanism is clear. Never force a roof blocked by frost or ice.
Start on a dry day before your area's first expected freeze. A little preparation is easier when you can inspect a clean roof, dry fabrics completely, and address a problem before the weather changes.
Whether you plan to put the patio away for the season or keep using it on mild winter days, the preparation below helps you look after the structure and everything around it.
Before You Begin: Identify Your Roof and Winter Conditions
Keep the instructions for your exact pergola model, size, and installed accessories nearby. Our Mirador Help Center provides manuals and installation resources.
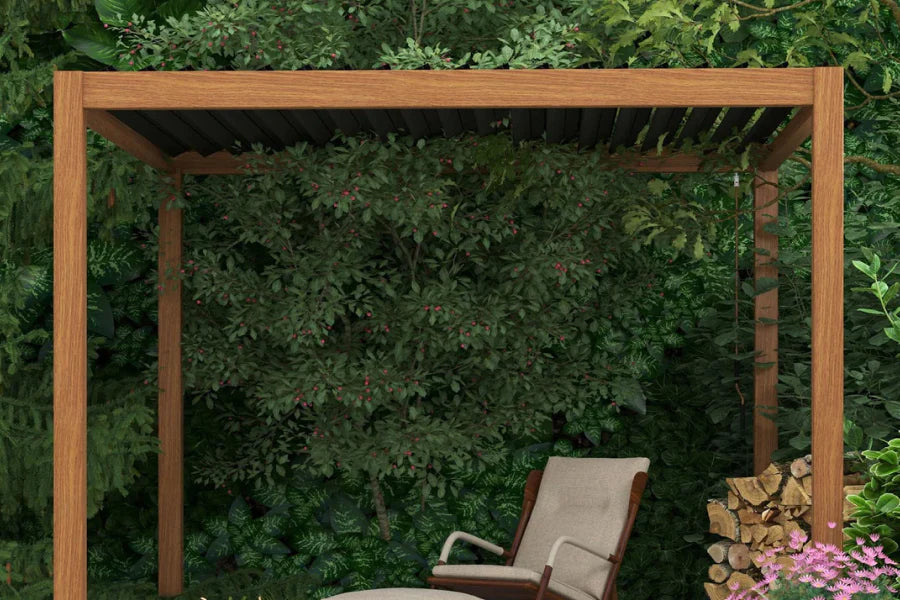
An open-beam wood pergola, a fabric canopy, and an adjustable metal roof need different preparation. Follow the applicable finish-care instructions for wood or vinyl, and check whether a removable canopy needs seasonal storage. Avoid adding sealant or a winter roof cover to a metal louvered pergola simply because another type of structure uses one.
For a US backyard, plan around your actual weather:
- Rainy winters: Focus on fallen leaves, drainage, and drying furniture before storage.
- Snow and freezing rain: Prepare the roof ahead of the forecast and check for ice before attempting operation.
- Windy or coastal locations: Give extra attention to anchoring, accessory instructions, and accumulated salt or debris.
Winter preparation supports normal care. If you are still planning an installation, confirm the site requirements before choosing from our Mirador pergola collection.
Prepare Your Pergola Before the First Freeze

1. Remove Leaves and Check Drainage
Clear accessible loose leaves, twigs, and dirt from the louvers, gutters, and drainage outlets. Pay attention to corners and the areas beneath nearby trees.
Use a soft brush or another method permitted by the manual. Do not push debris farther into a drainage channel, dismantle drainage components without instructions, or climb onto the louvers to reach the roof.
Where the manual permits rinsing, do it in above-freezing conditions with time for water to drain. Check that outlets remain unobstructed and that runoff can move away from the surrounding patio.
If drainage remains slow after accessible debris has been removed, ask for support rather than forcing a tool into concealed channels.
2. Wash Gently and Inspect the Finish
Use a soft cloth with water and a mild detergent suitable for the pergola's finish. Remove soap residue and allow the structure to dry before freezing conditions arrive. Keep direct spray away from motors, lighting connections, and electrical controls.
Our 111DA 10' × 13' Pergola uses aluminum construction. Its seasonal care centers on cleaning and checking the surfaces and connections rather than applying the wood stains or sealers used on a timber pergola.
On aluminum and galvanized-steel components, look for chipped coatings, scratches, or corrosion around connections. Photograph damage and ask us about the appropriate repair method before sanding or applying paint.
Avoid abrasive pads, harsh chemicals, and close-range pressure washing. For more detailed cleaning methods, see how to clean and maintain an aluminum pergola.
3. Inspect the Frame, Connections, and Each Roof Section
From a safe position, check for loose fasteners, movement at post bases, bent components, and anything obstructing the roof's normal travel. Follow the manual for permitted checks and adjustments; have structural or anchoring concerns assessed by a qualified professional.
Check every independently operated roof section.
For example, our 111S Canvas 10' × 20' Pergola combines aluminum and galvanized steel with an asymmetrical 7 ft + 13 ft layout and independently operated louvers in each zone. Work through both zones during your seasonal inspection, clearing accessible debris and confirming each section is ready for the forecast. Preparing one side does not prepare the other.
While the roof is clear and conditions allow, check its normal operation without forcing the controls. Stop if the louvers catch, collide, or move unevenly.

4. Prepare the Louvers Before Snow Arrives
For Mirador pergolas, open the louvers to a vertical position during snow to reduce accumulation and roof load. Set that position ahead of the weather while the mechanism is clear and working normally.
Use your model's instructions to identify the correct operating position. If the roof also retracts, follow its specific instructions rather than assuming retraction and tilting serve the same winter function.
Keep two weather situations separate:
- During suitable above-freezing rain conditions, use the roof according to its rain-protection instructions.
- Before snowfall, prepare it according to the snow instructions.
If the forecast changes from rain to snow or freezing conditions, plan the adjustment before ice forms.
A snow load rating does not remove this preparation step. Wet snow, dry snow, and ice have different weights, so a universal “safe number of inches” is not a useful operating rule. Our Mirador pergola snow load and wind ratings guide explains the specifications and installation conditions.
5. Prepare Screens, Curtains, and Electrical Components
Check each accessory's weather instructions separately. A pergola frame's wind rating should not be treated as the operating limit for a fabric screen.
Remove, retract, or secure accessories as their instructions require before high winds or snow. Do not force a frozen screen, and do not assume rigid glass doors or fixed panels should be handled like removable curtains. Keep tracks and operating areas free of accessible debris.
If you are planning side coverage, our guide to retractable screens for pergolas explains shade, fit, and weather considerations.
For a powered roof such as our 111S E-Motion 10' × 13' Pergola in White, include the controls and visible electrical connections in your seasonal check. Remote operation is convenient, but always inspect the roof before activating it.
Disconnect power for cleaning or maintenance as the applicable manual requires. Follow its instructions for extended periods of non-use, and leave electrical repairs to qualified personnel.
6. Clean, Dry, and Store Patio Textiles

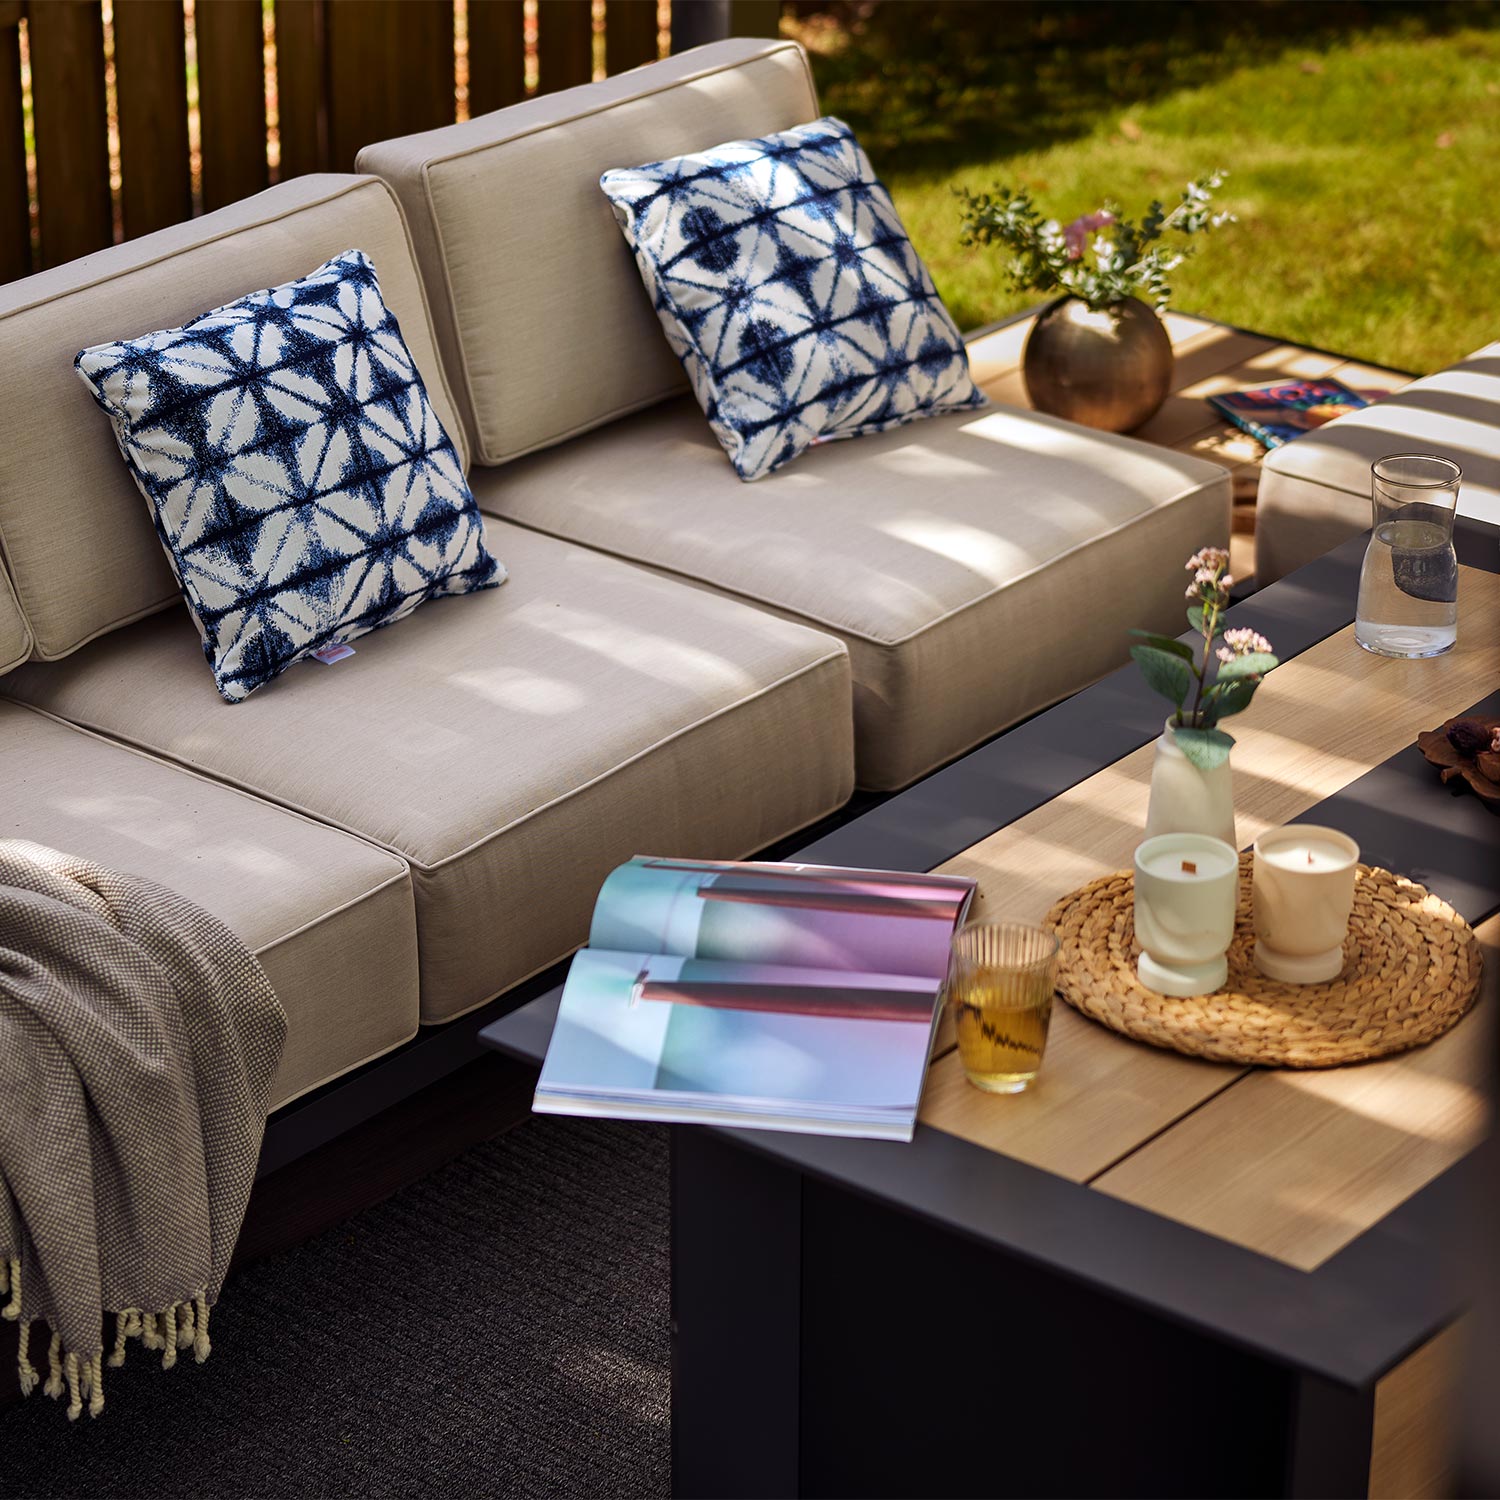
Remove cushions, throws, and other moisture-sensitive items you will not be using. Clean them according to their care labels, then allow the filling, seams, and undersides to dry completely.
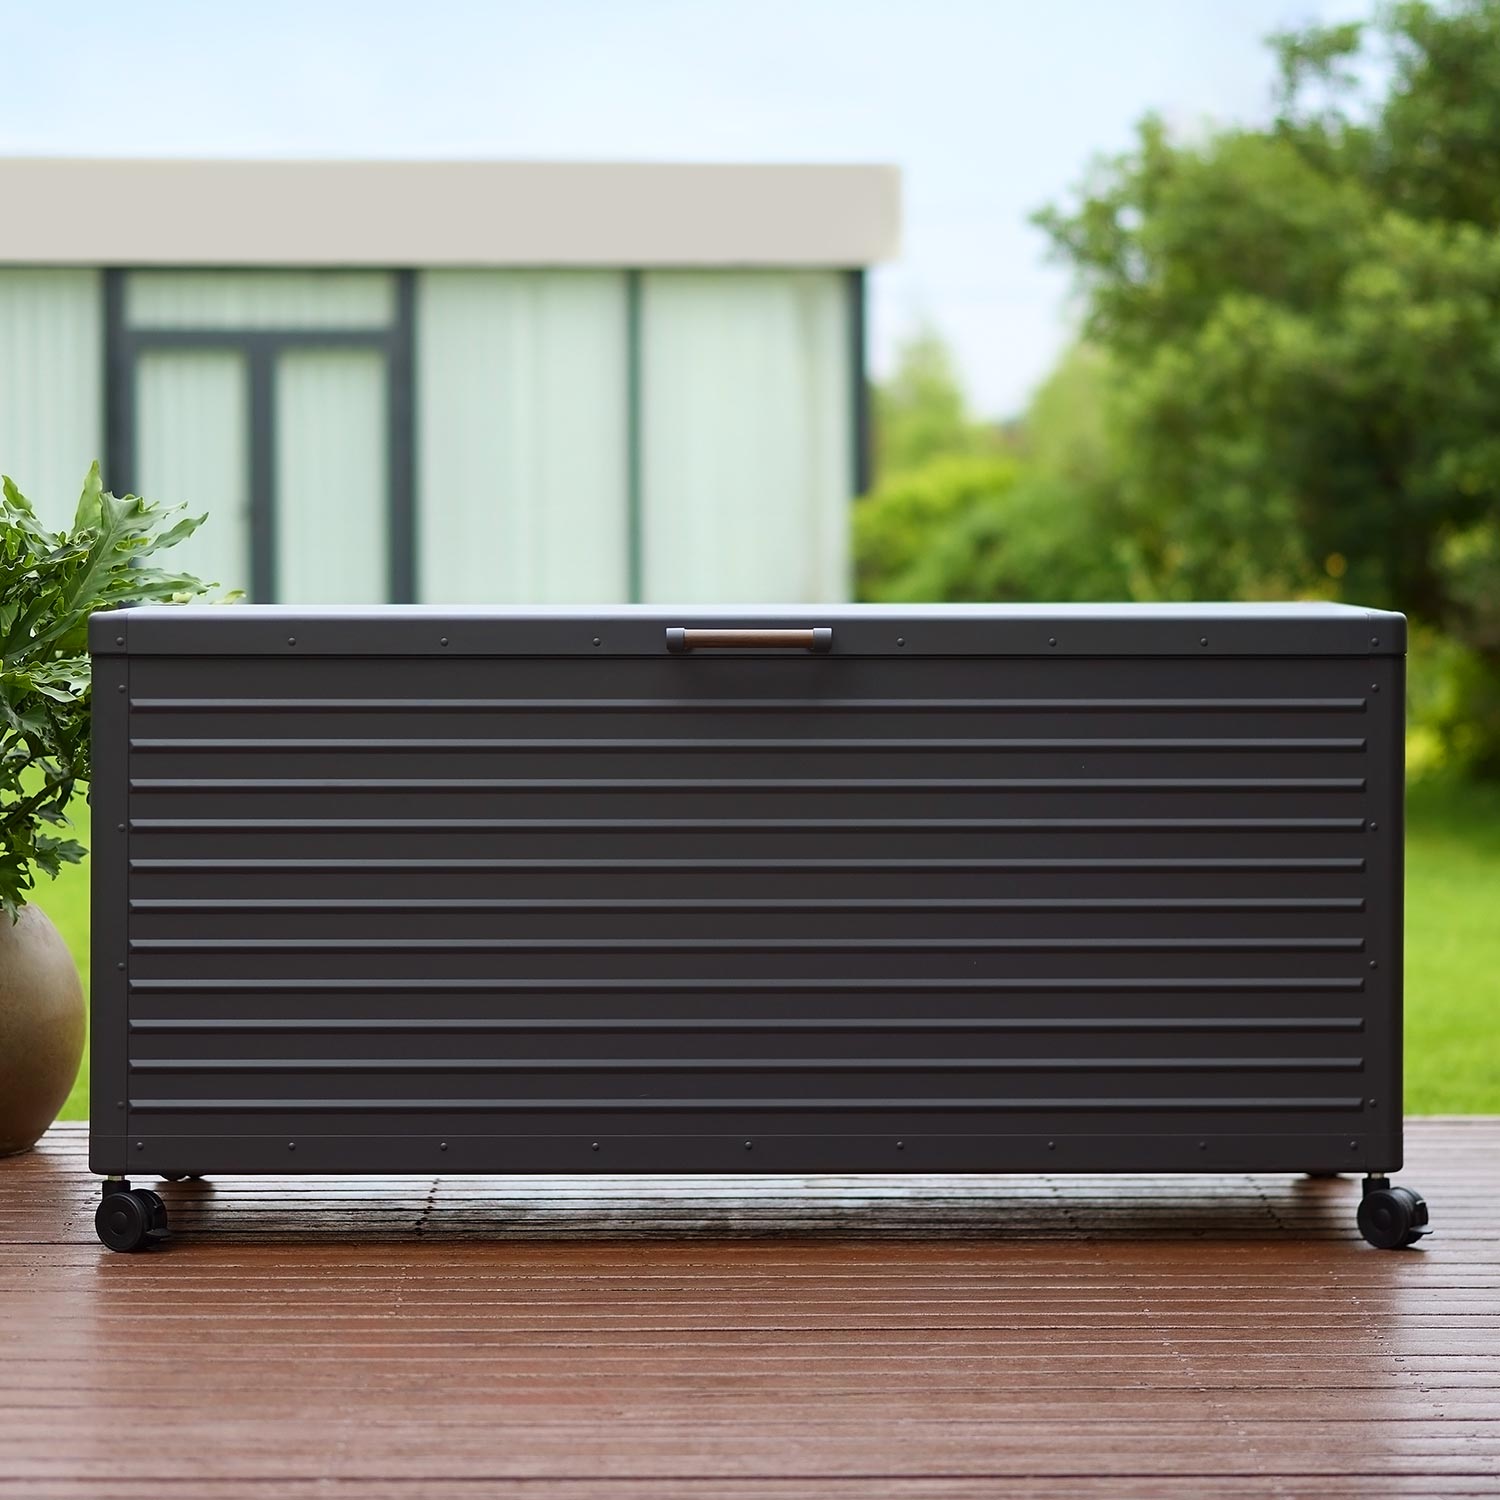
Store dry cushions in a clean, dry location. If using an outdoor storage box, confirm that the specific box and location are appropriate for winter storage, and check periodically for moisture. A storage box cannot dry cushions that were packed while damp.
Clean furniture before fitting suitable covers. Check beneath covers during the season and keep loose furniture or decor from moving in the wind.
For material-specific cleaning, follow our guide to how to clean outdoor furniture. When the pergola's louvers are open for snow, prepare the furniture for exposure independently.
What to Do When Snow, Ice, or Strong Wind Arrives
Once conditions deteriorate, avoid going outside to make last-minute roof adjustments. Use the forecast to prepare earlier and follow local weather alerts.
| Condition | What to do |
|---|---|
| Snow is forecast and the roof is clear | Prepare the louvers in the position specified for snow before accumulation begins. |
| Frost or ice is blocking the roof | Do not activate the mechanism or force the crank. |
| Snow has accumulated and normal operation is obstructed | Do not use the roof mechanism to dump the load. Keep people away and contact support for guidance. |
| Strong winds are forecast | Prepare the roof and each accessory according to their own instructions before winds arrive. |
| A post base moves, a component bends, or damage is visible | Stop using the area and arrange an assessment before further operation. |
Never climb onto the roof or stand beneath accumulated snow to push it off from below. If snow removal or repair is needed, obtain model-specific guidance and qualified help where access or structural condition is a concern.
After a storm, inspect from a safe location. Check for visible damage, obstructions, and blocked drainage before resuming use.
Can You Still Use a Winterized Pergola?
Yes, when the weather, installation, and model instructions allow it. Seasonal preparation can support occasional use on suitable days as well as longer periods of non-use.
Bring cushions out for the occasion and return them to dry storage afterward. Keep walkways clear and leave space around roof and screen controls so they remain accessible.
Compatible side accessories may make a seating area more comfortable, but they do not automatically create an insulated indoor room. Check compatibility for the exact pergola series and opening before ordering.
If considering a heater, confirm that both the pergola and appliance instructions allow the proposed installation, including mounting, clearances, and ventilation. Do not place an open flame beneath the roof by default or enclose a fuel-burning outdoor heater to retain warmth. Comfort upgrades should fit the structure's intended use.
Winterizing Mistakes to Avoid
A few well-intended shortcuts can create more work:
- Adding a tarp or improvised solid roof. Do not cover the louvers or modify the roof unless the arrangement is approved for your model. It may obstruct operation or drainage and change how loads act on the structure.
- Lubricating every joint as a seasonal routine. Use only the lubricant, locations, and method permitted by the model's instructions. Do not use lubricant to overcome ice or an unexplained obstruction.
- Closing the roof solely to protect stored cushions during snow. Prepare the roof for snow and move the cushions to appropriate storage.
- Continuing to operate a damaged or frozen roof. Stop and resolve the cause before using it again.
Frequently Asked Questions
Do I need to take my pergola down for winter?
Not automatically. A permanently installed pergola may remain outdoors when its installation is suitable for the location and its instructions allow it. Removable canopies and seasonal accessories may need separate storage. If local snow or wind requirements are uncertain, resolve suitability with a qualified professional rather than relying on winter preparation alone.
Should I seal an aluminum pergola before winter?
Do not apply a wood sealer or a generic waterproof coating. Clean the finish, inspect for damage, and use only approved repair products where needed. Contact our support team if you find peeling, exposed metal, or corrosion.
How often should I check my pergola during winter?
Check it before forecast severe weather and afterward when it is safe, as well as during any inspection intervals specified in the manual. Recheck sooner if leaves accumulate, drainage slows, or the roof's normal movement changes.
Before the First Use in Spring
Remove accessible winter debris, check drainage, and inspect the frame, connections, and accessories. Once frost and ice are absent, check normal roof operation according to the manual.
Bring back clean, fully dry cushions and address any damage before returning the patio to regular use. If you need help identifying a part or finding the right instructions, contact support@miradoroutdoor.com with your model, size, and order details.