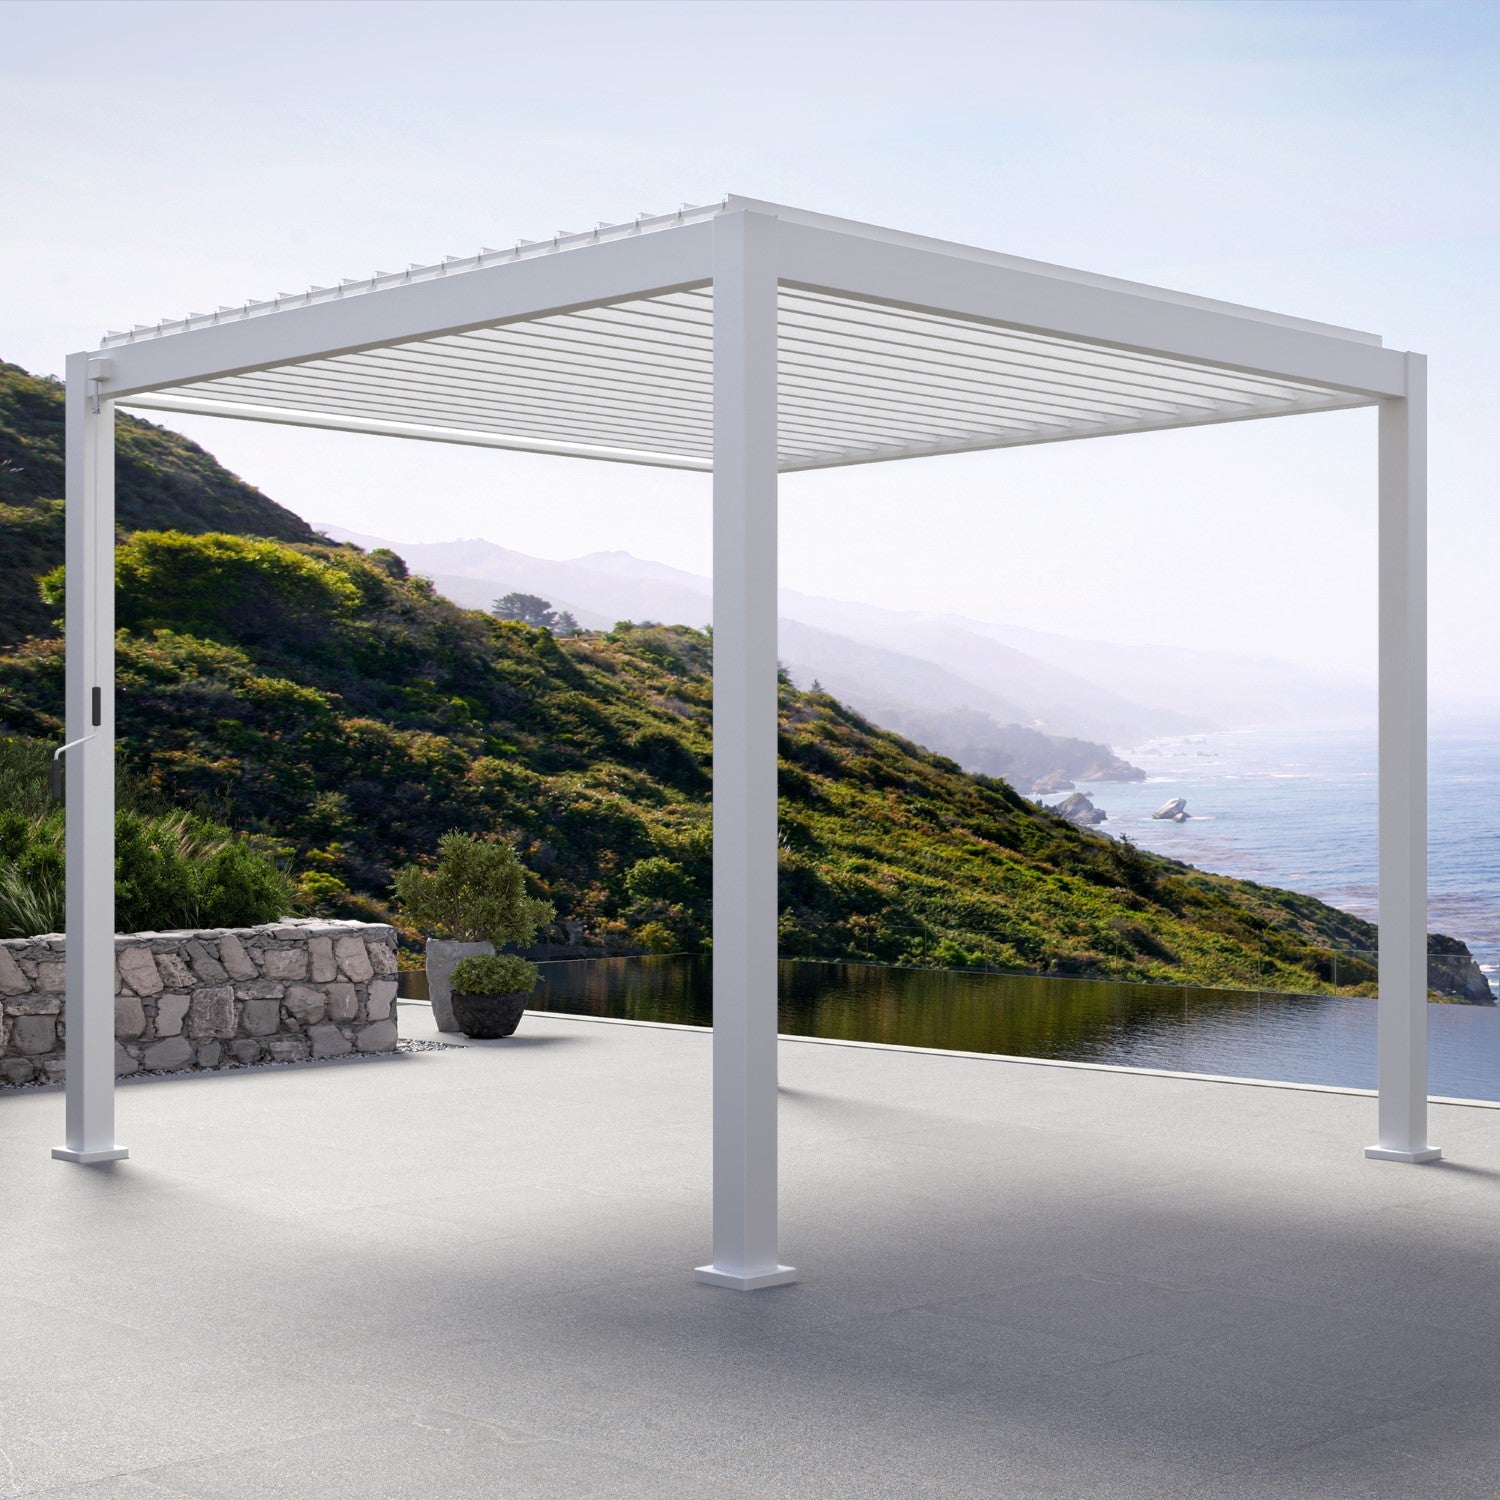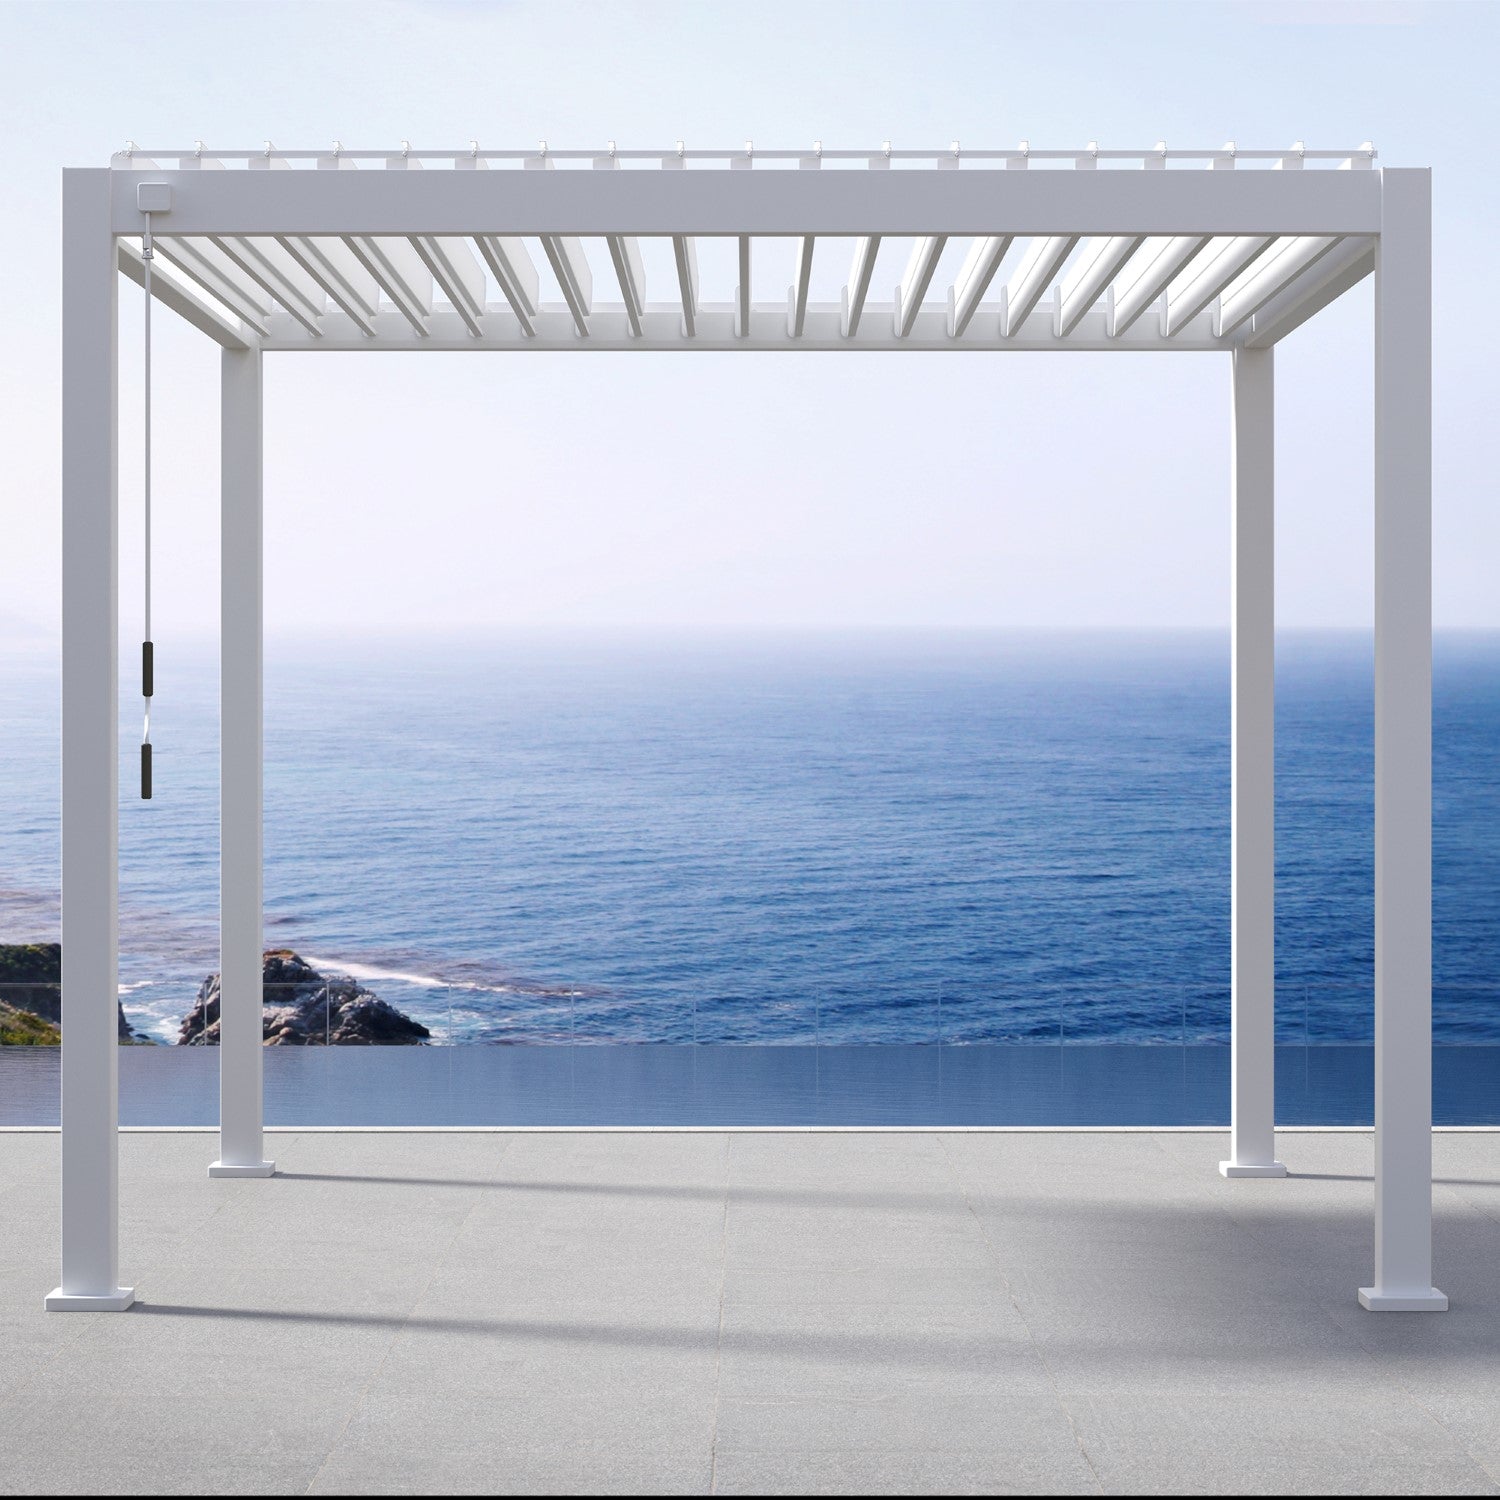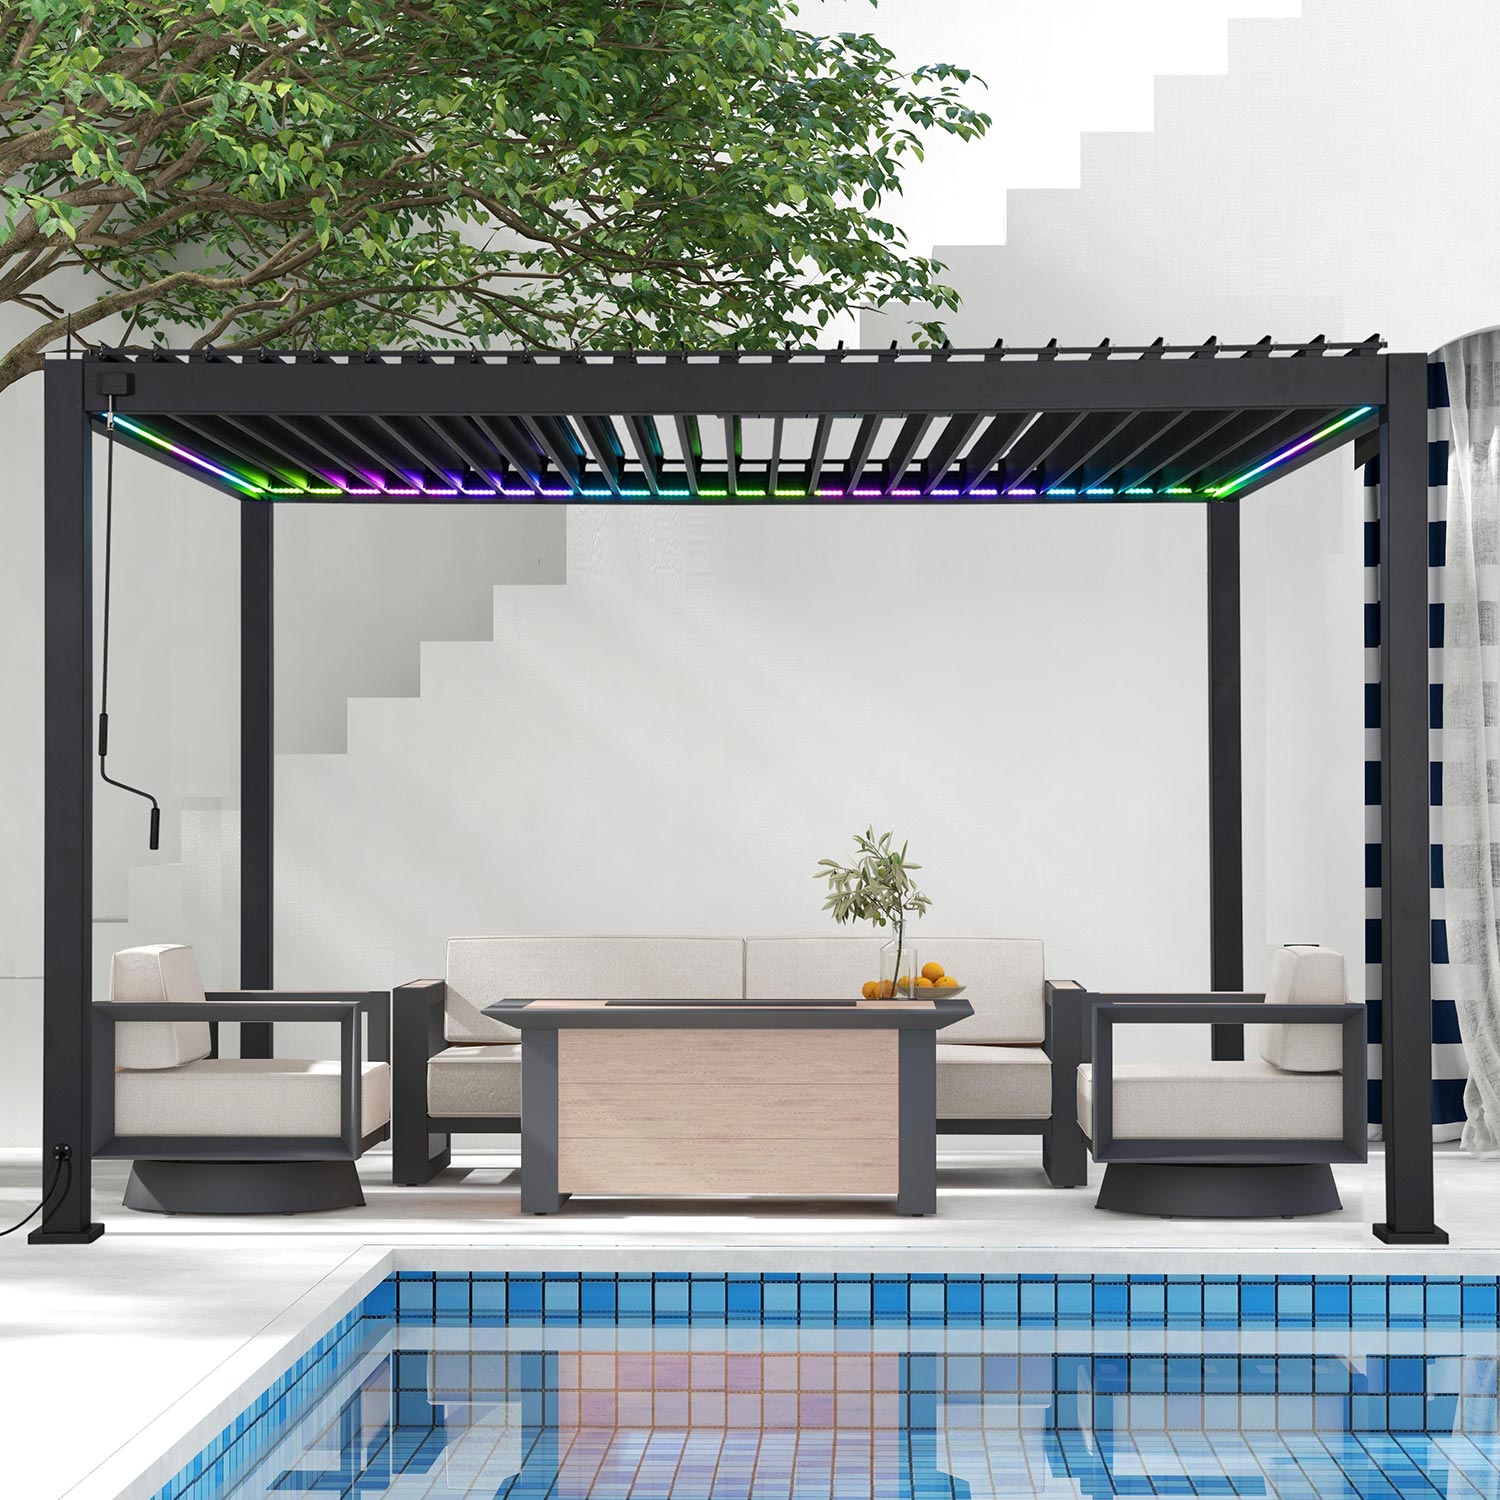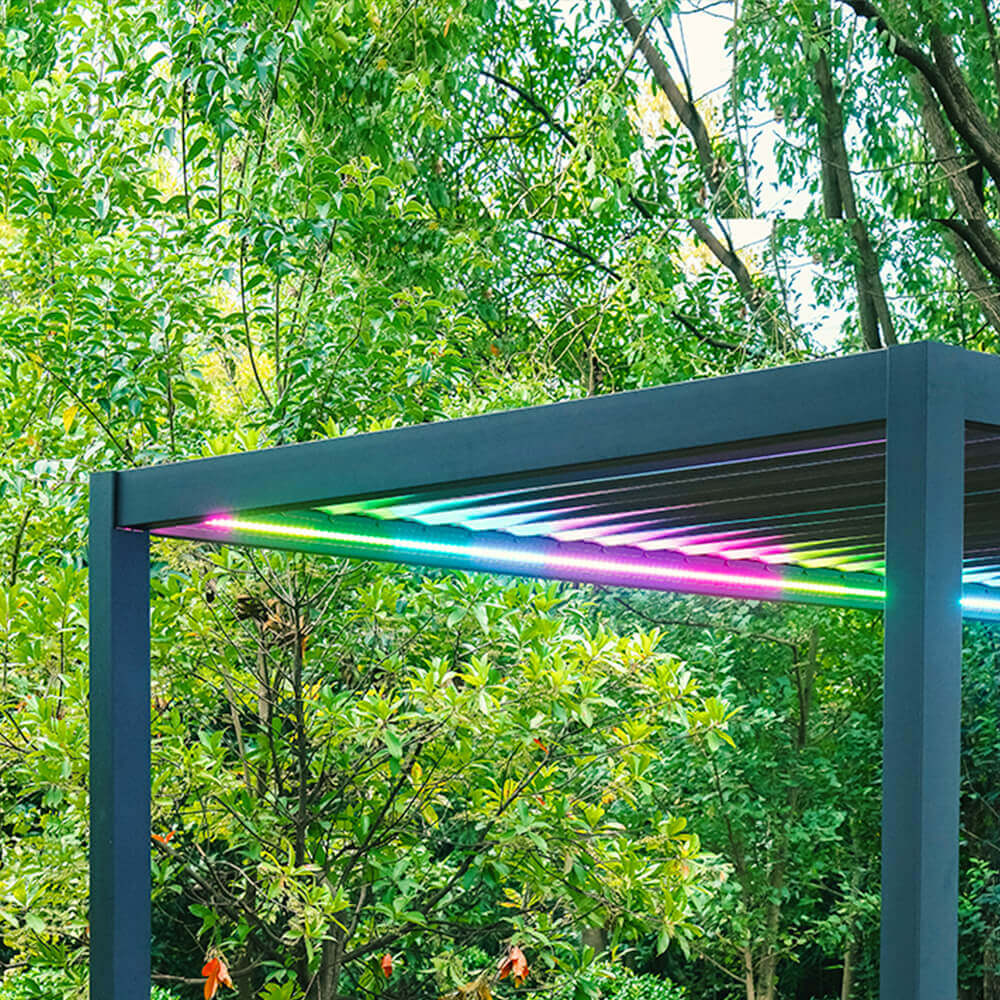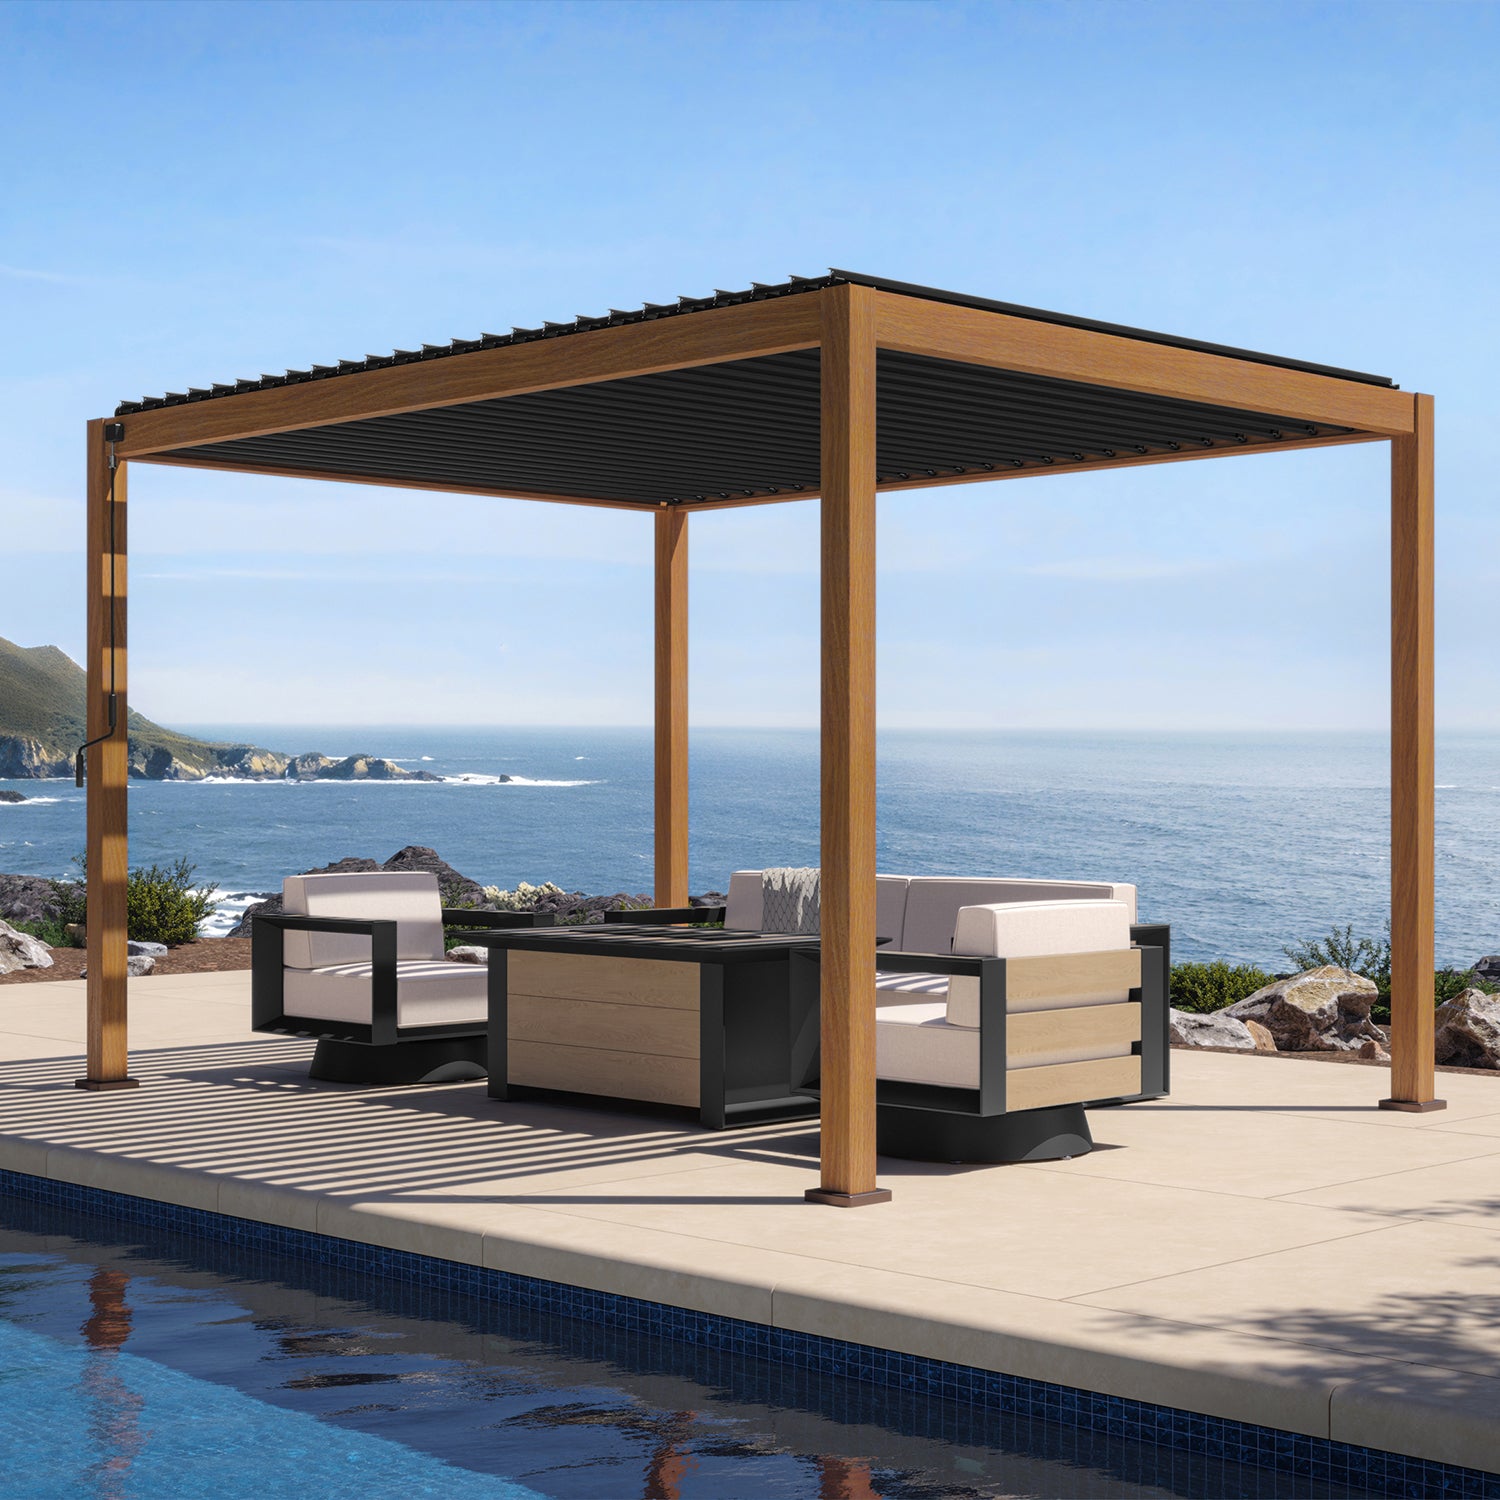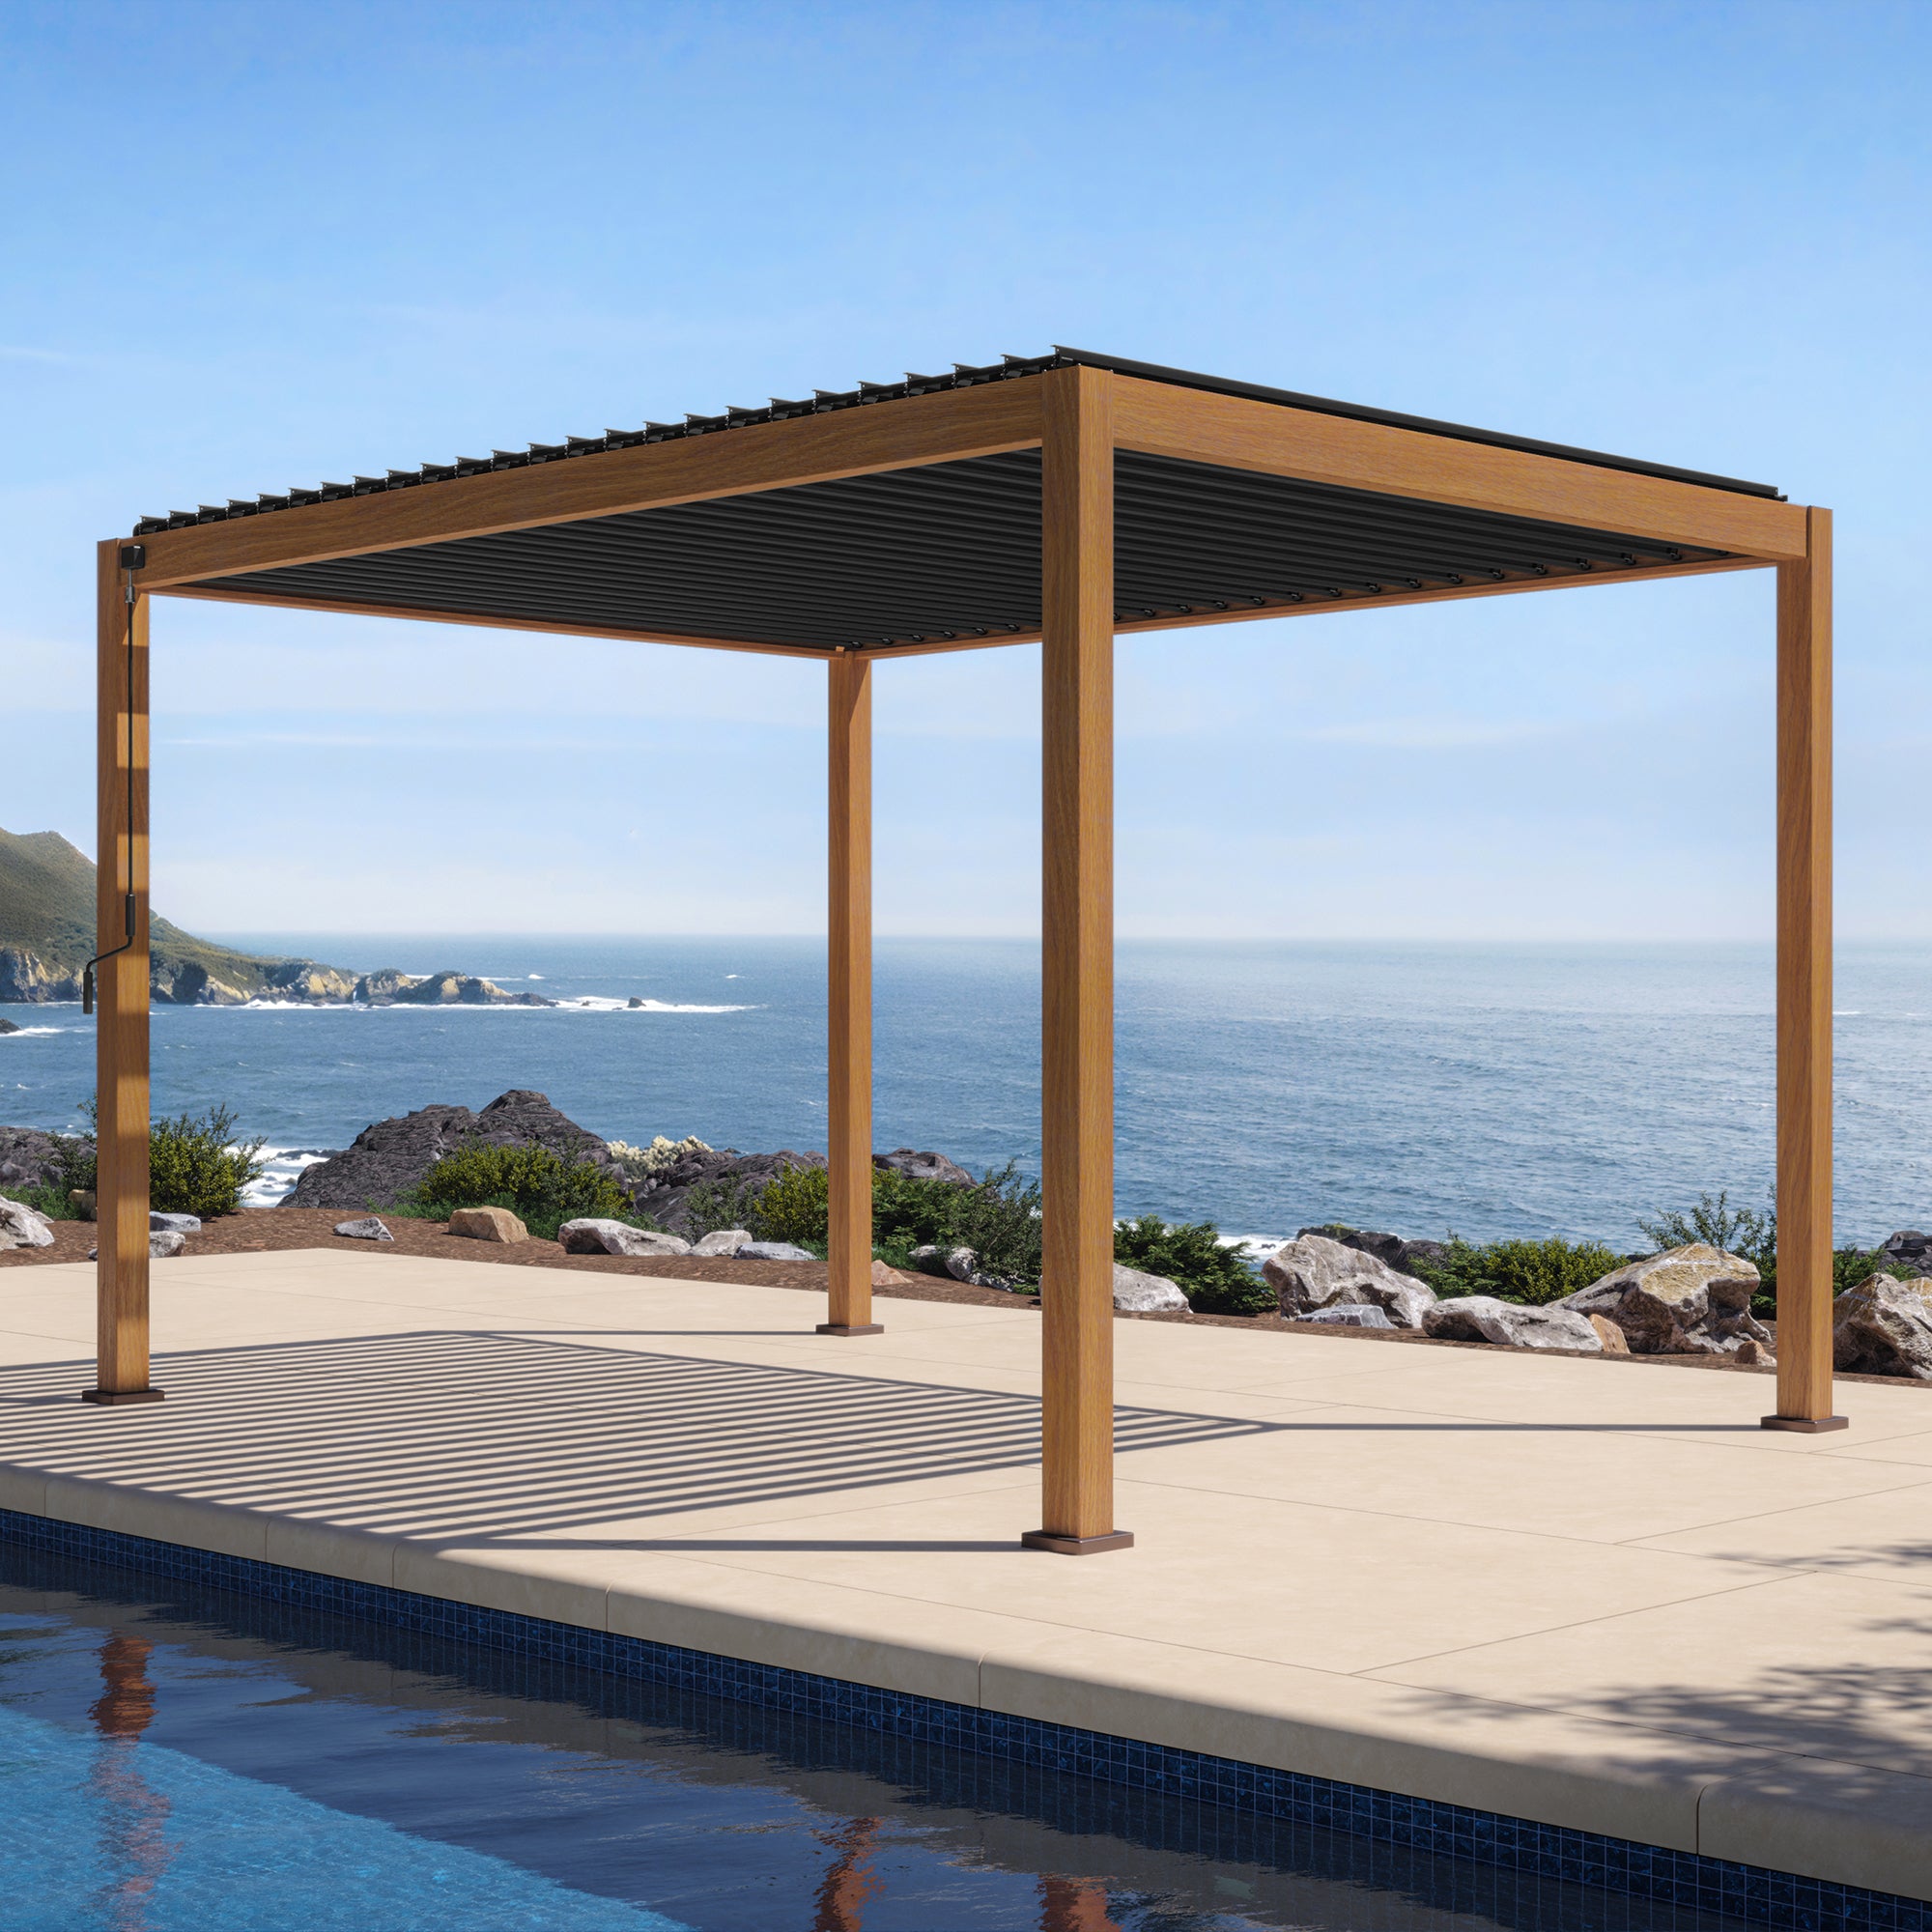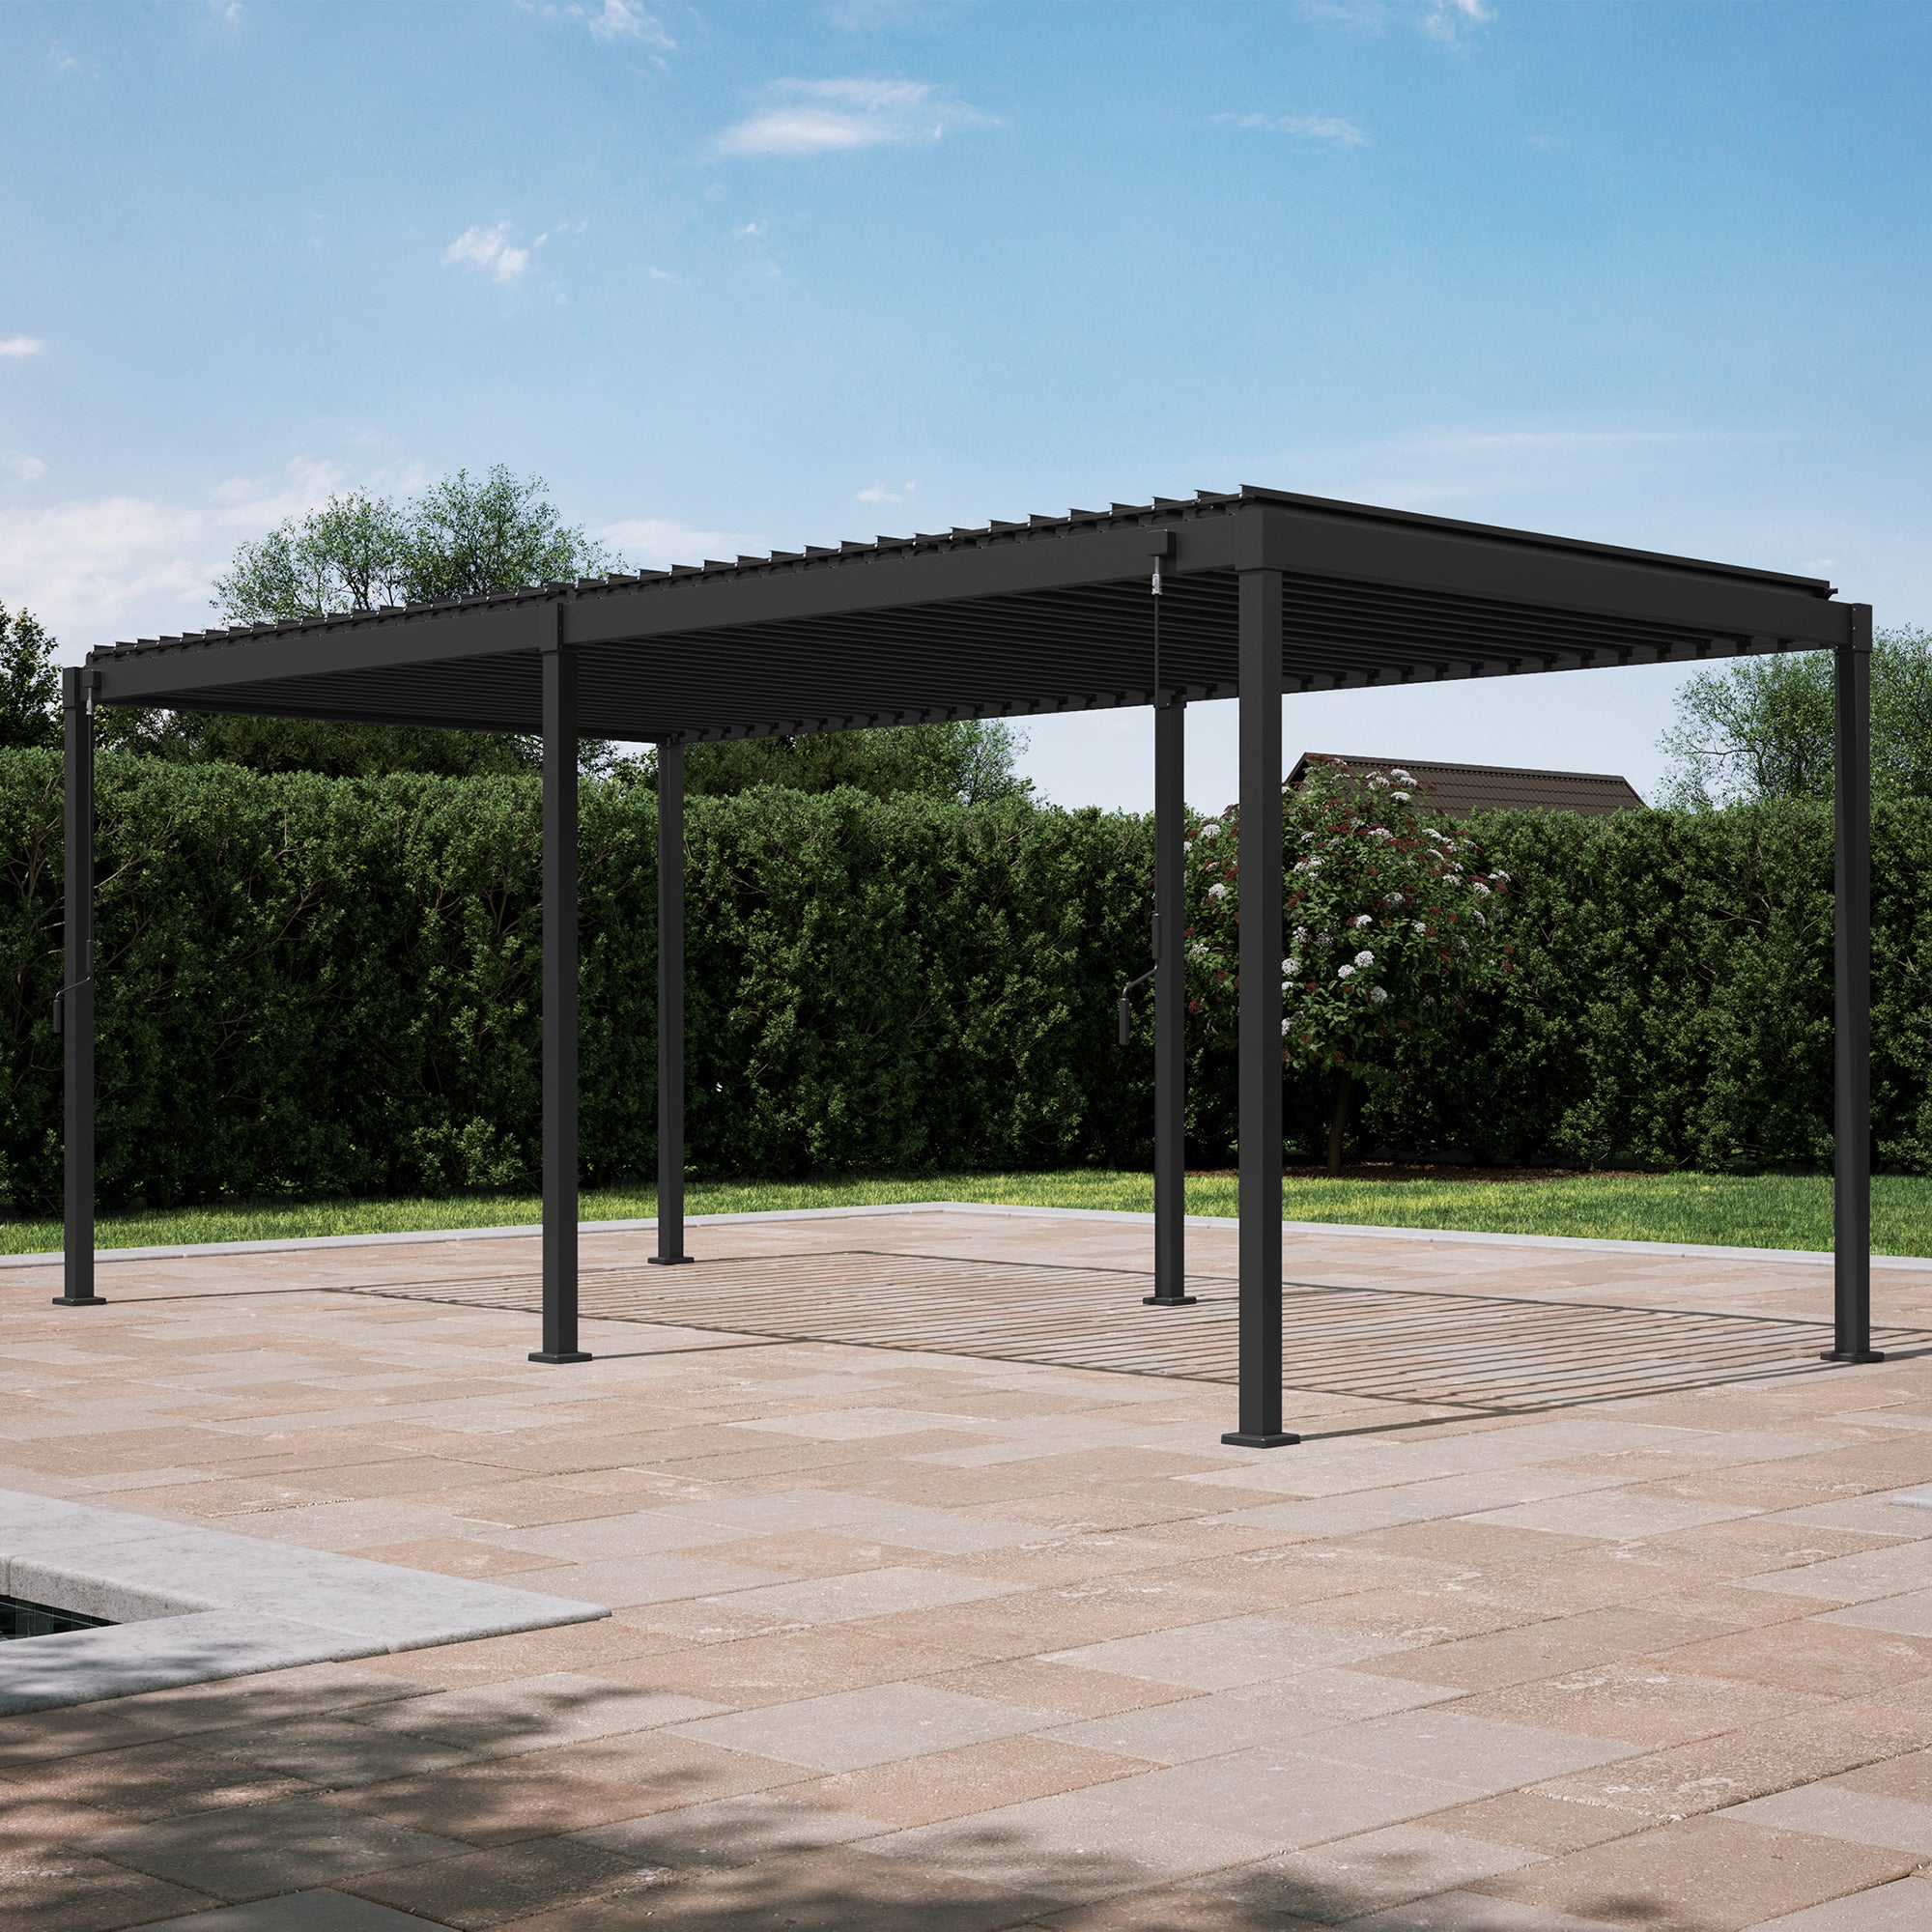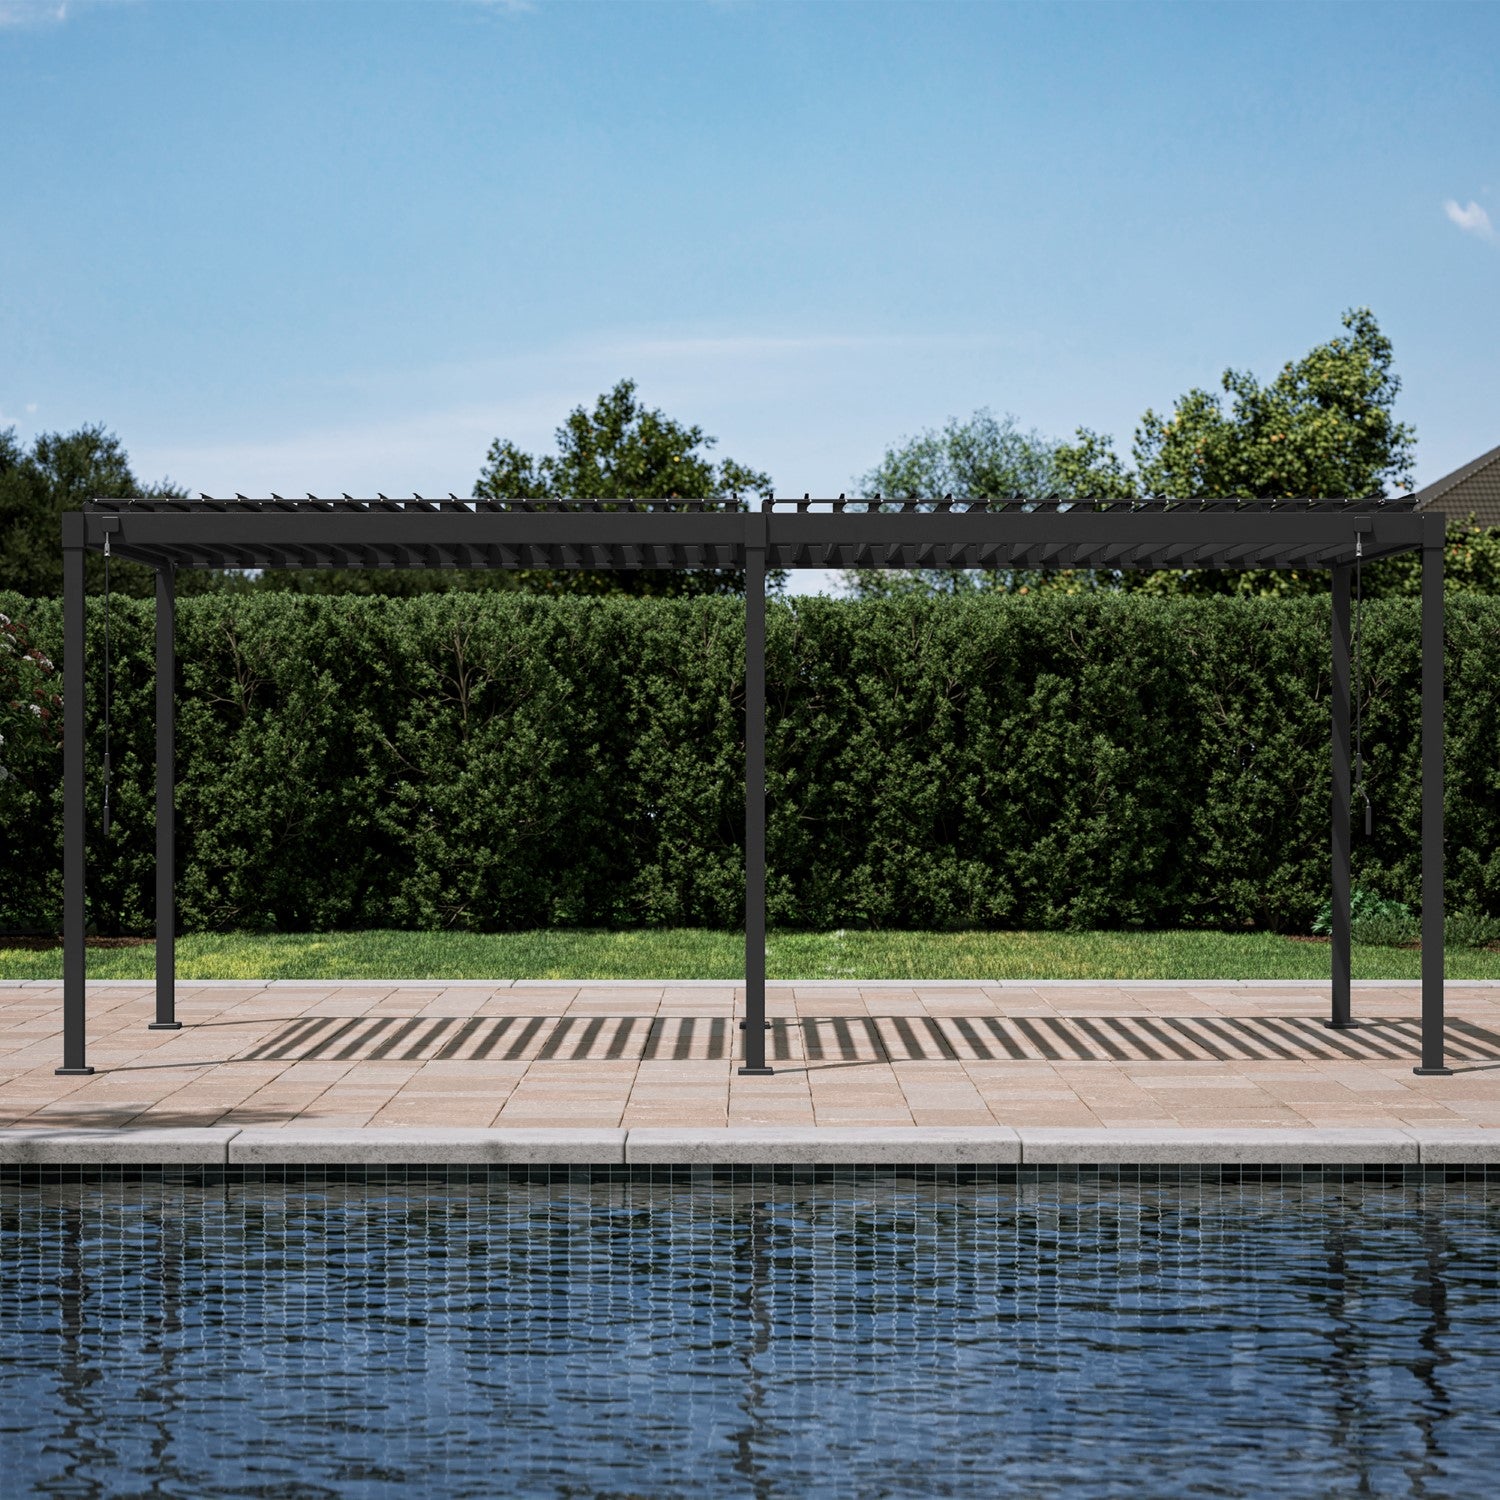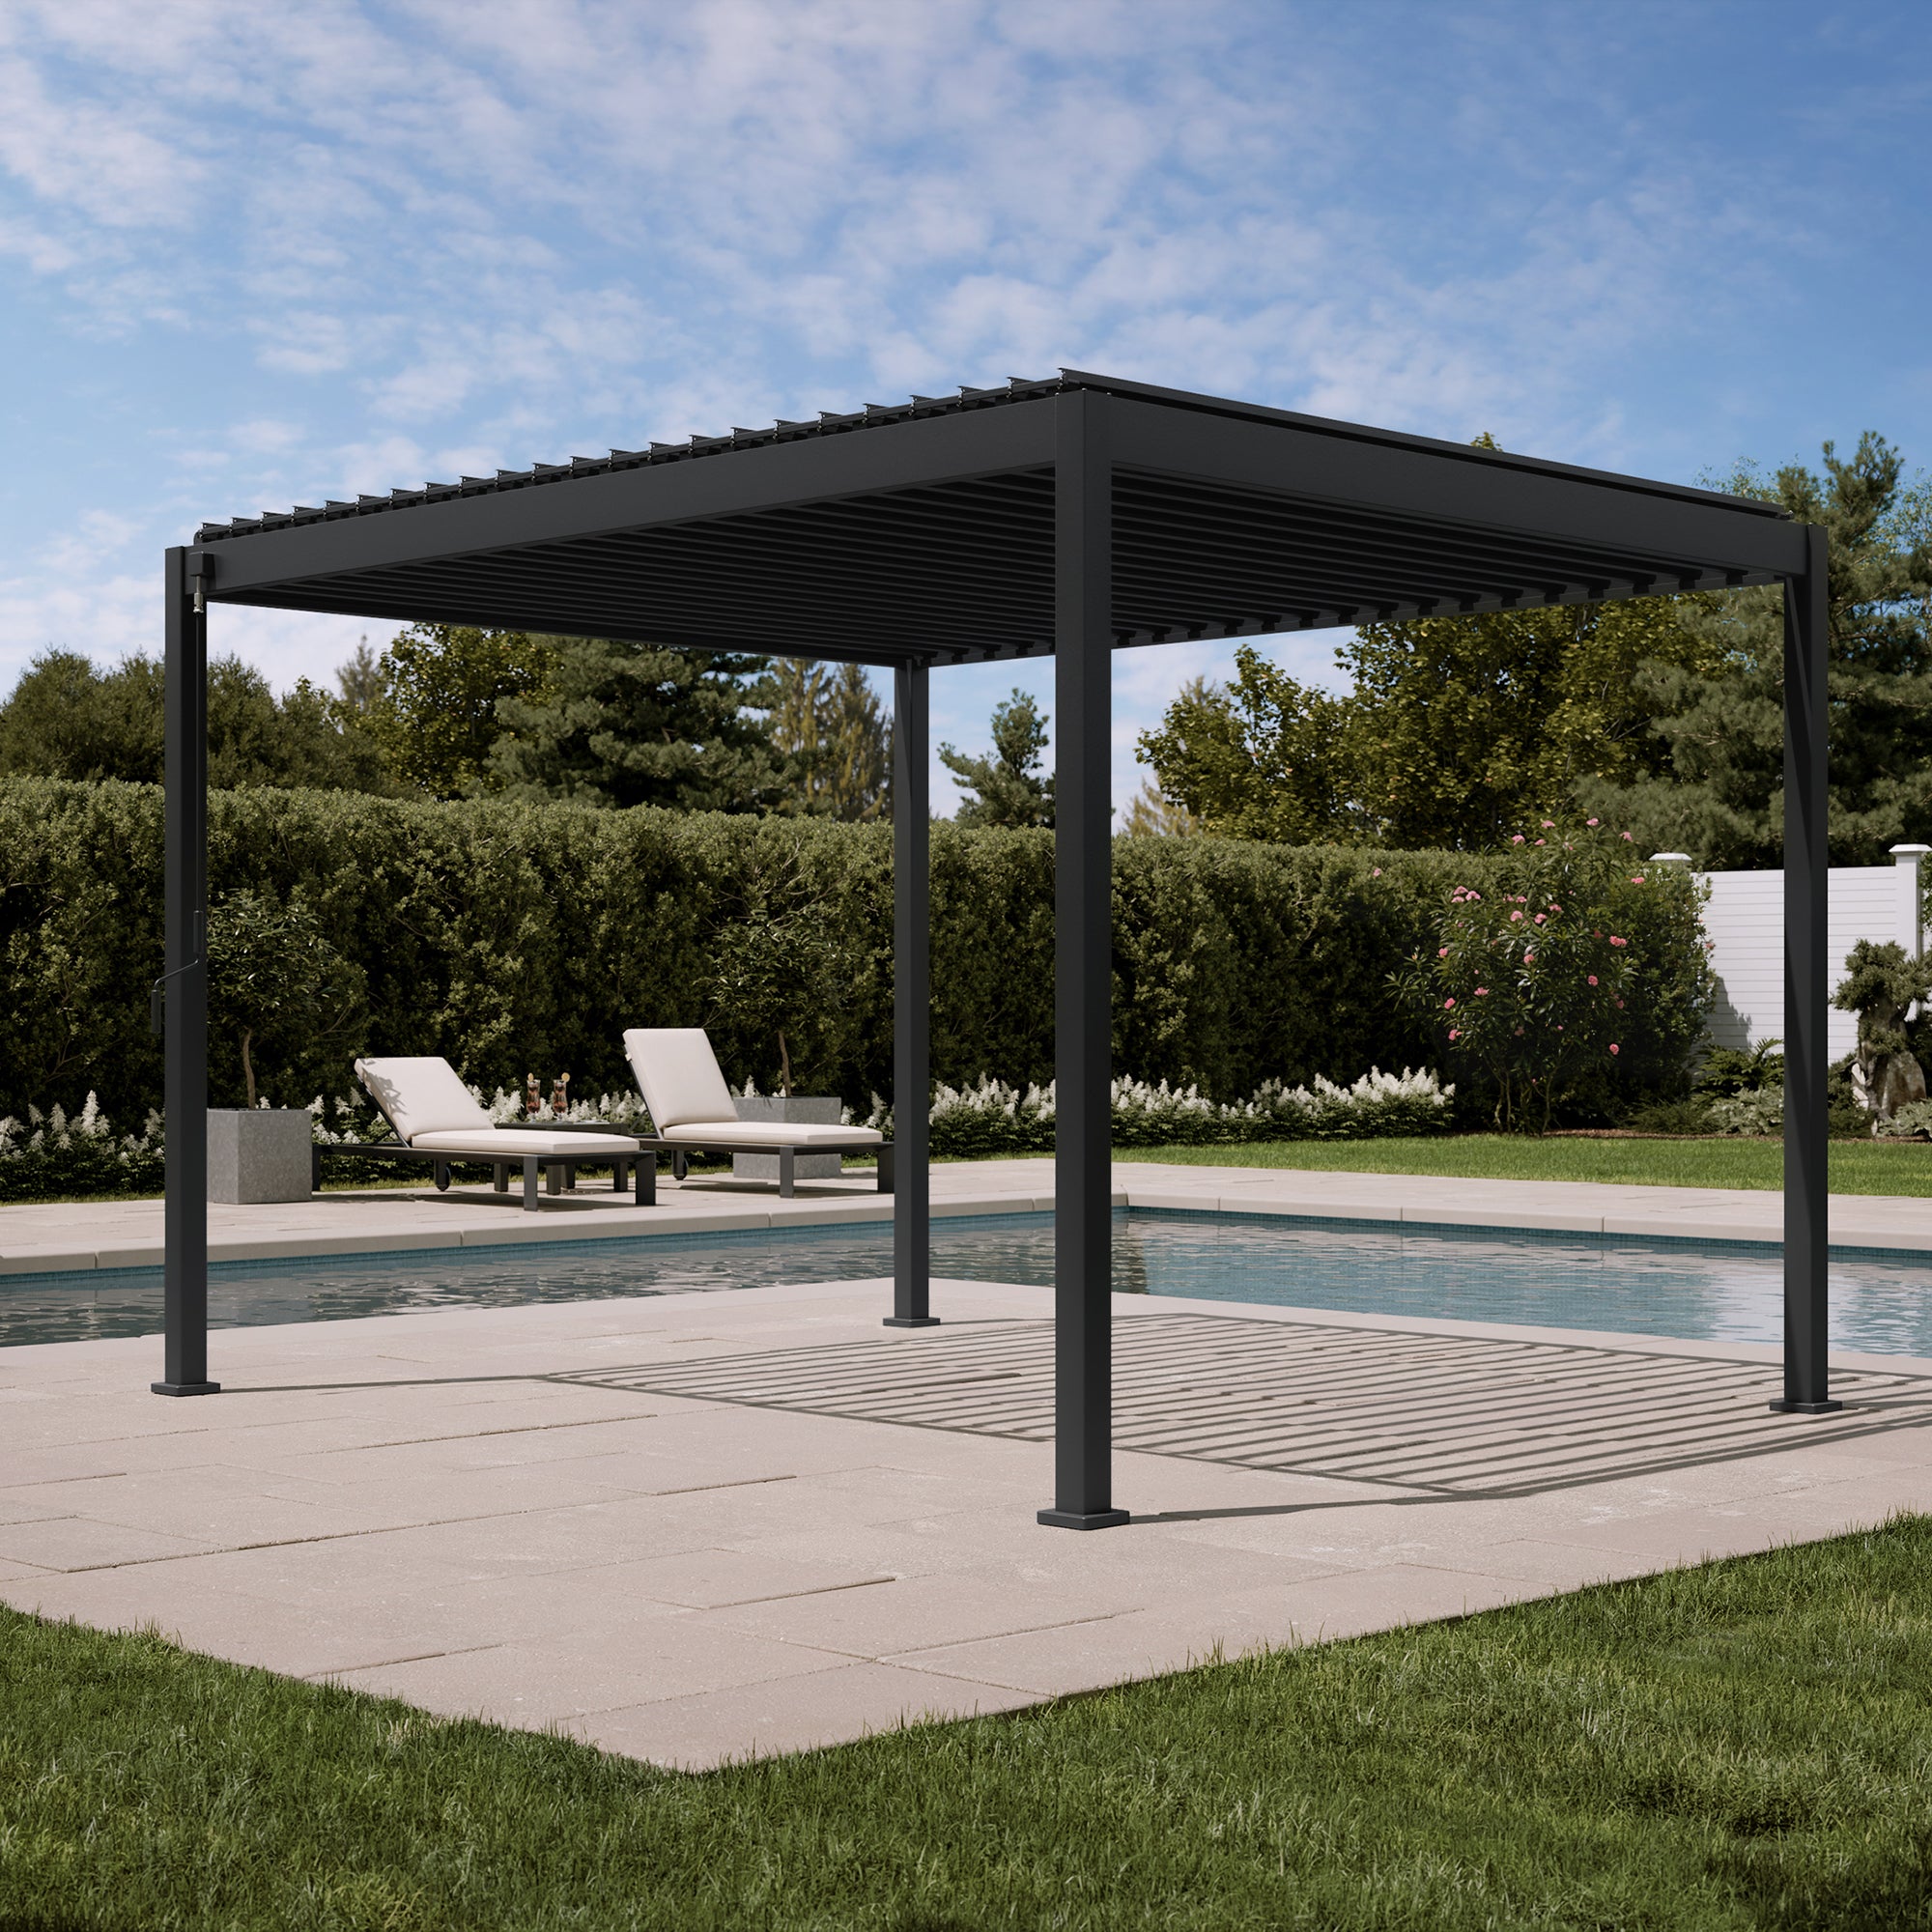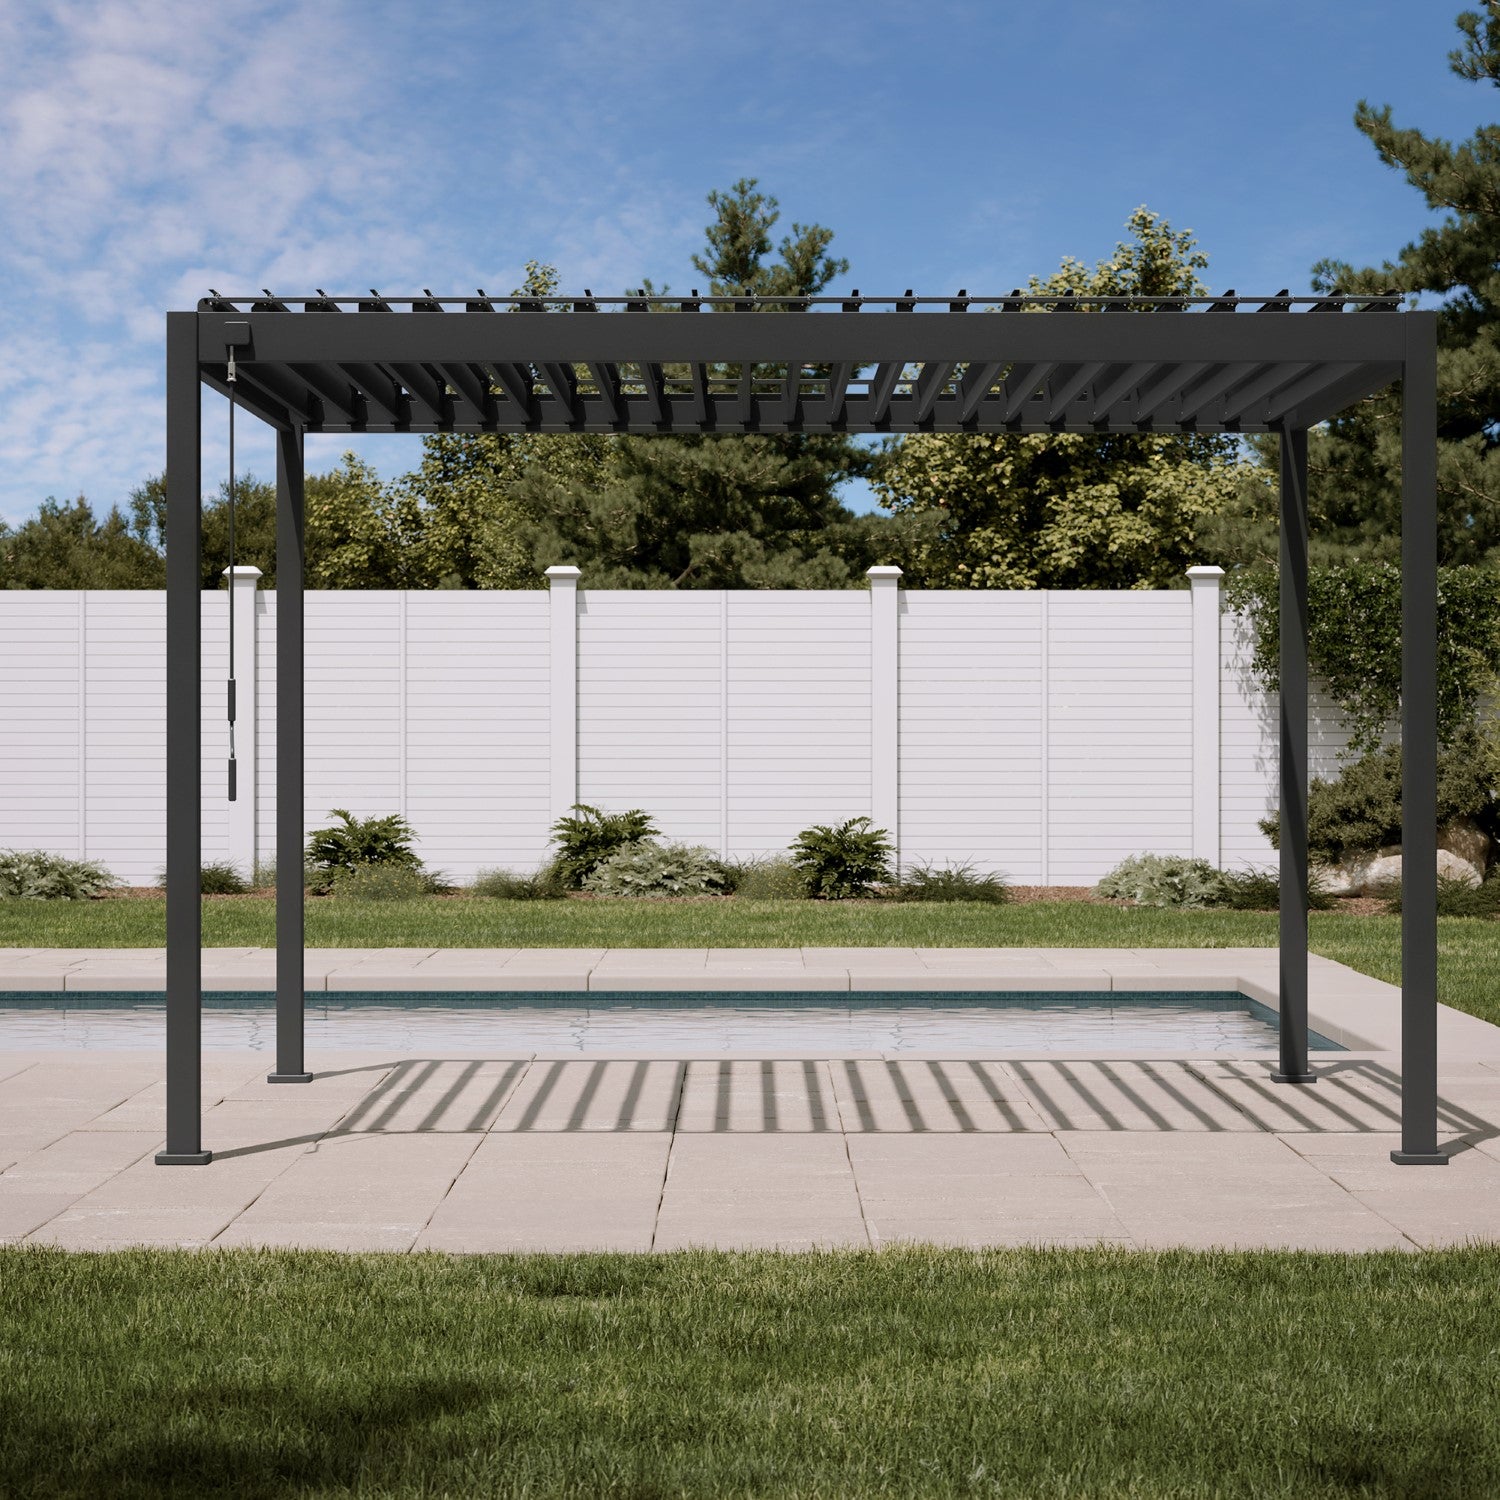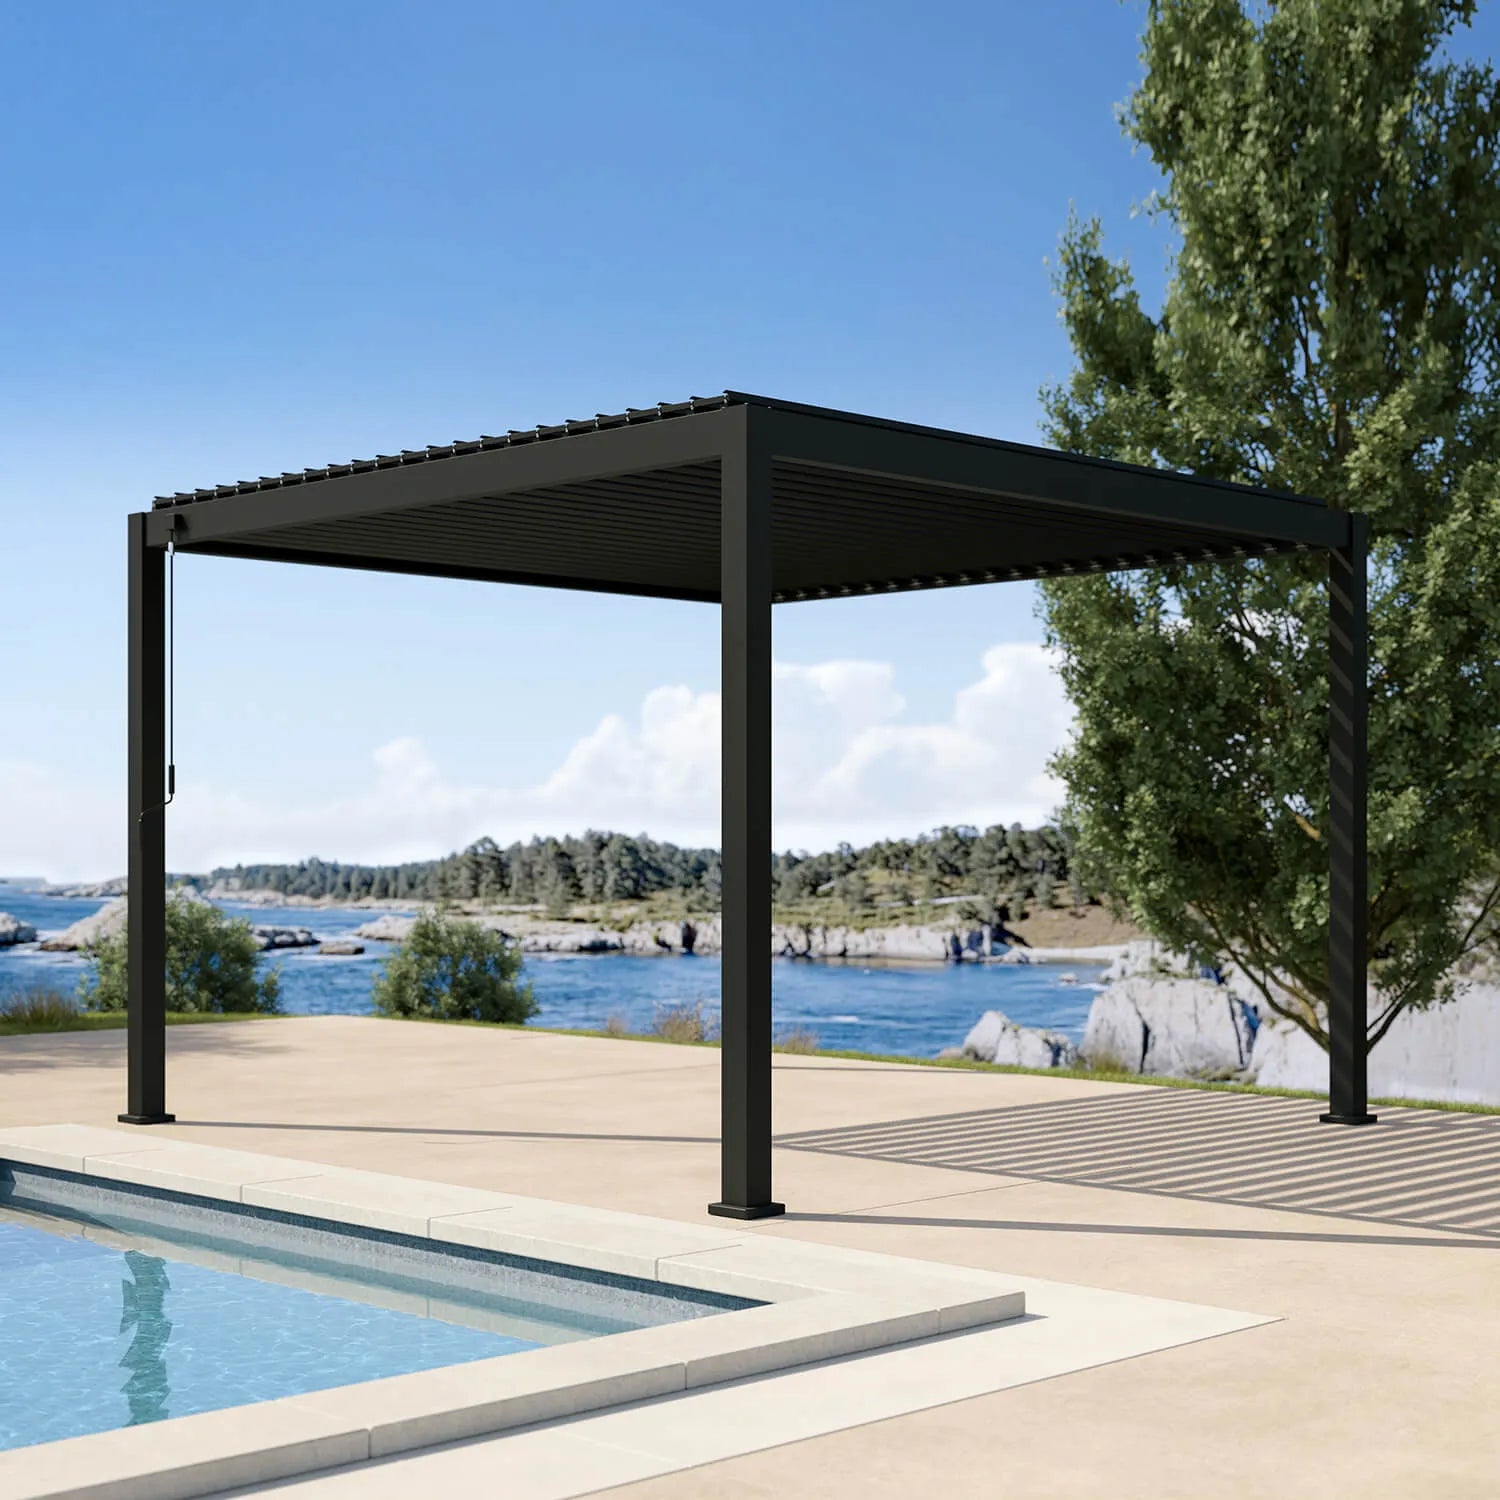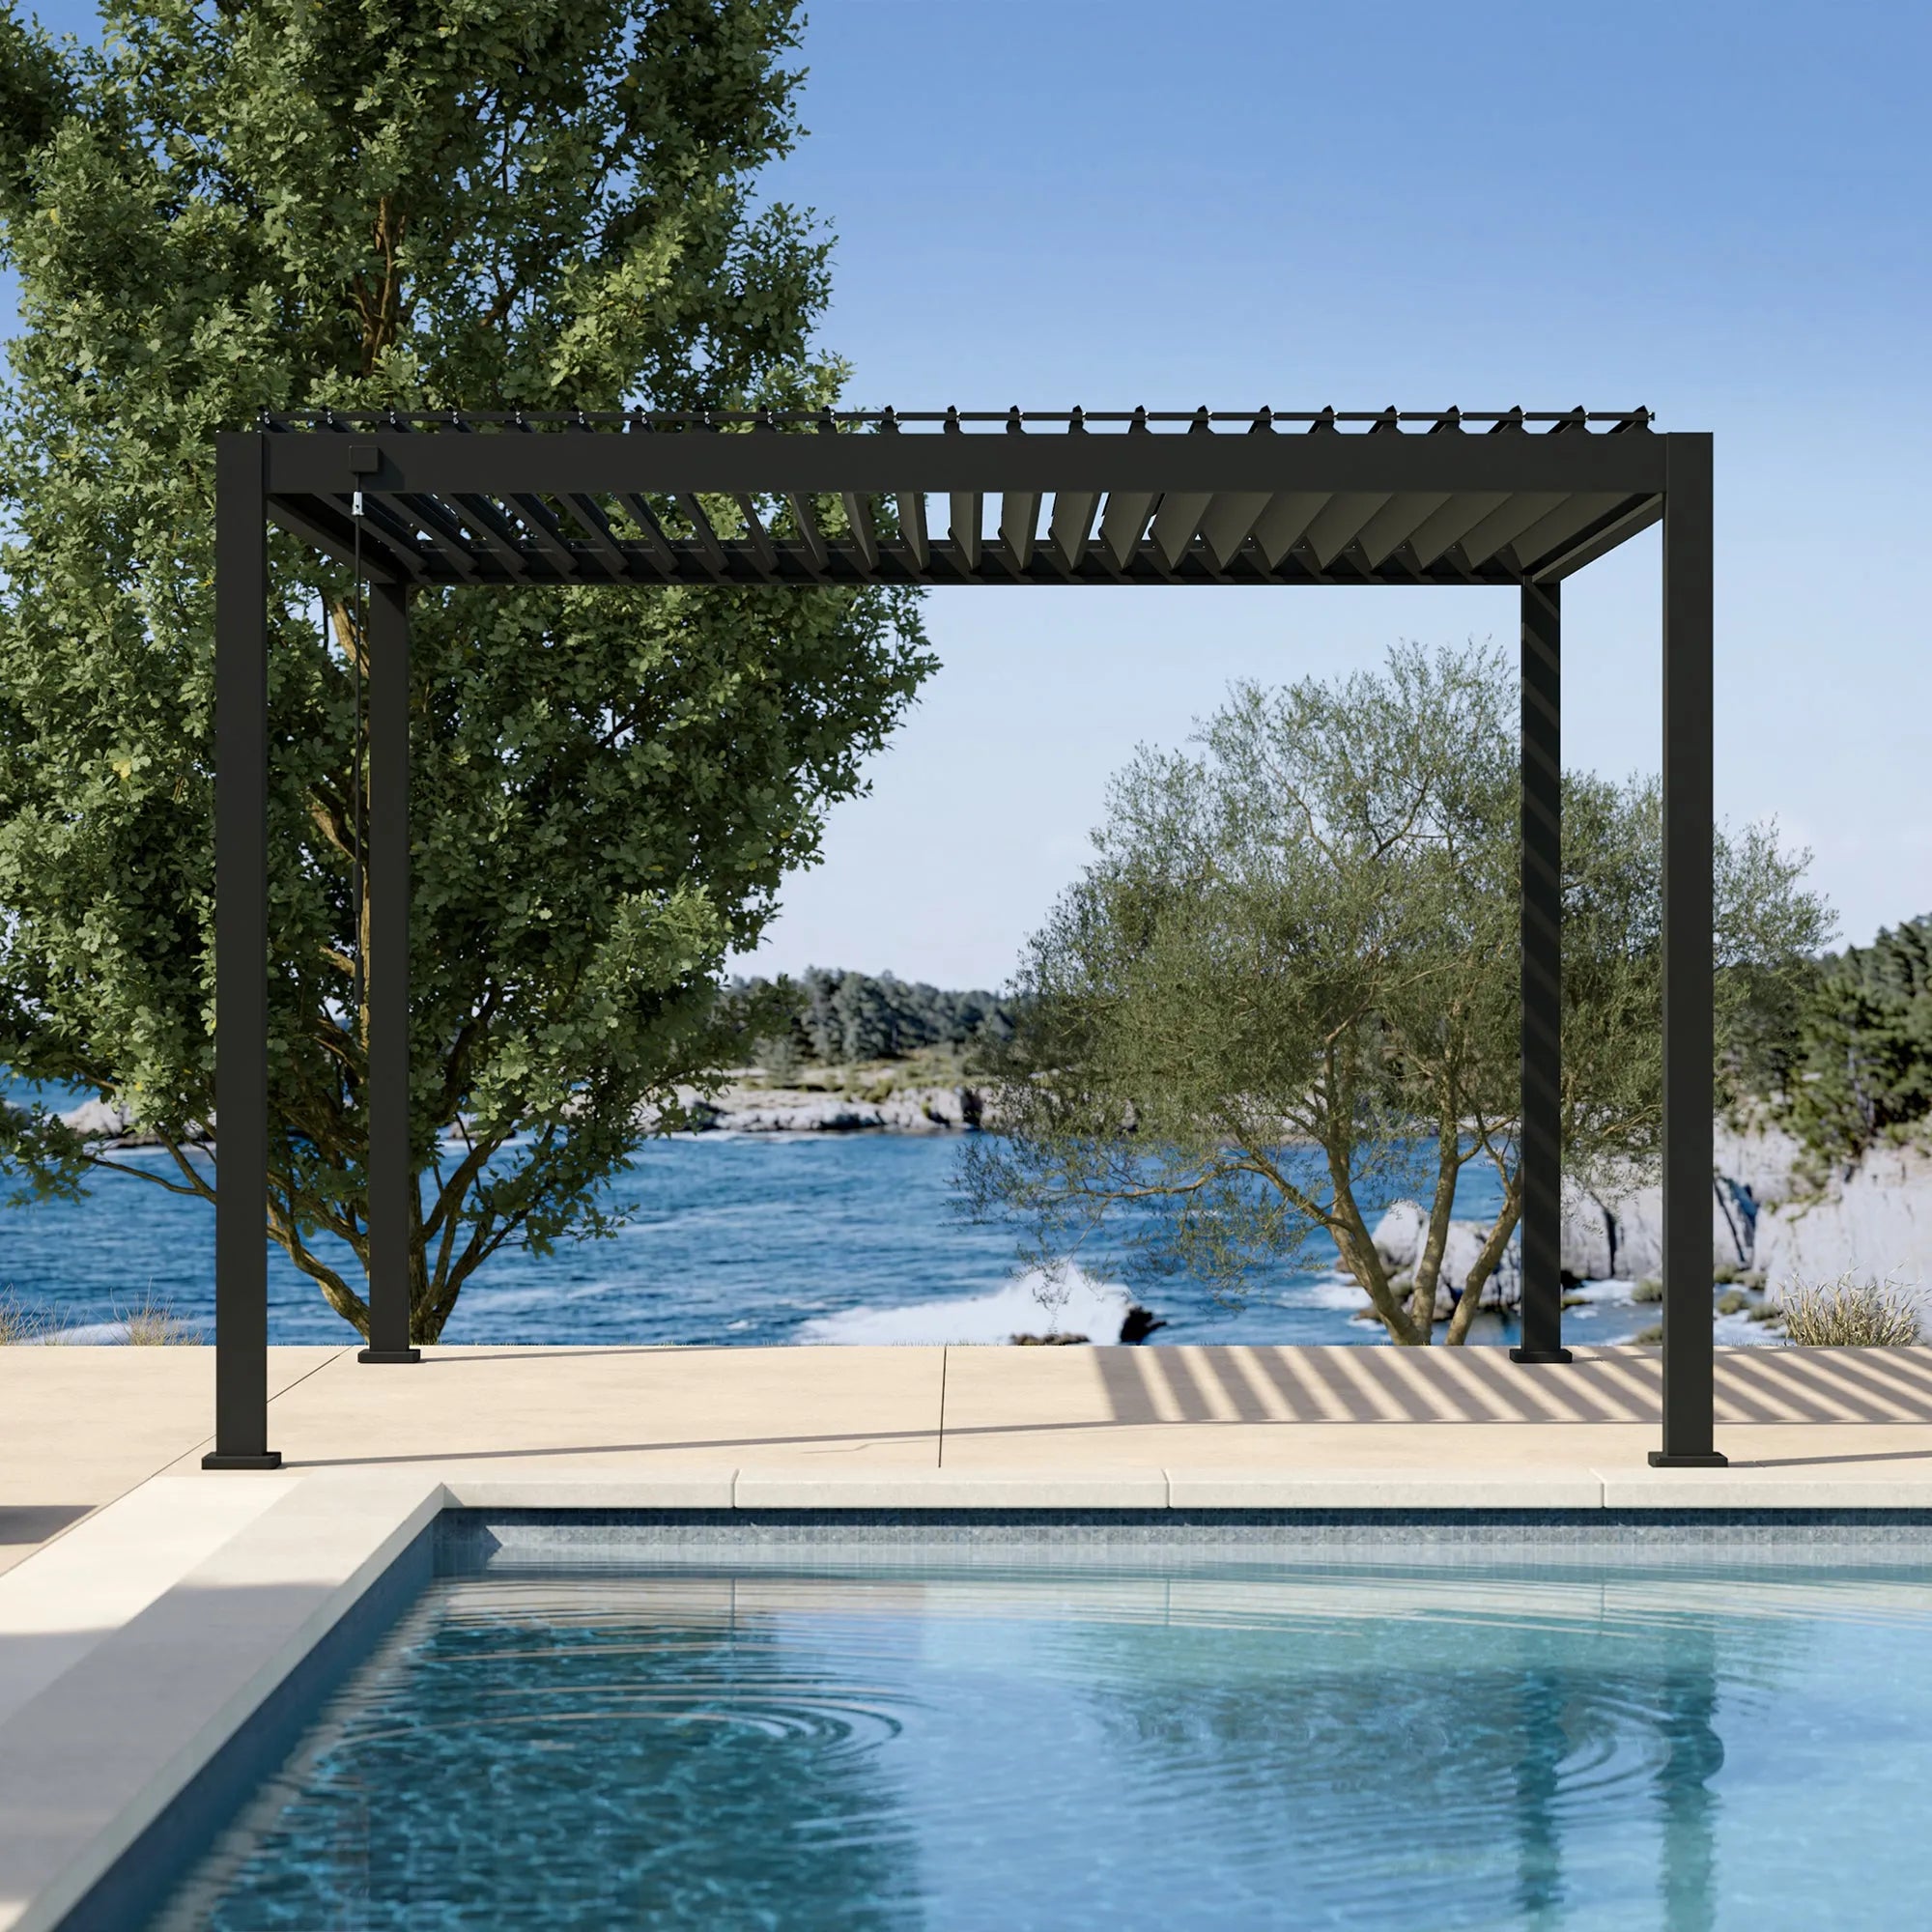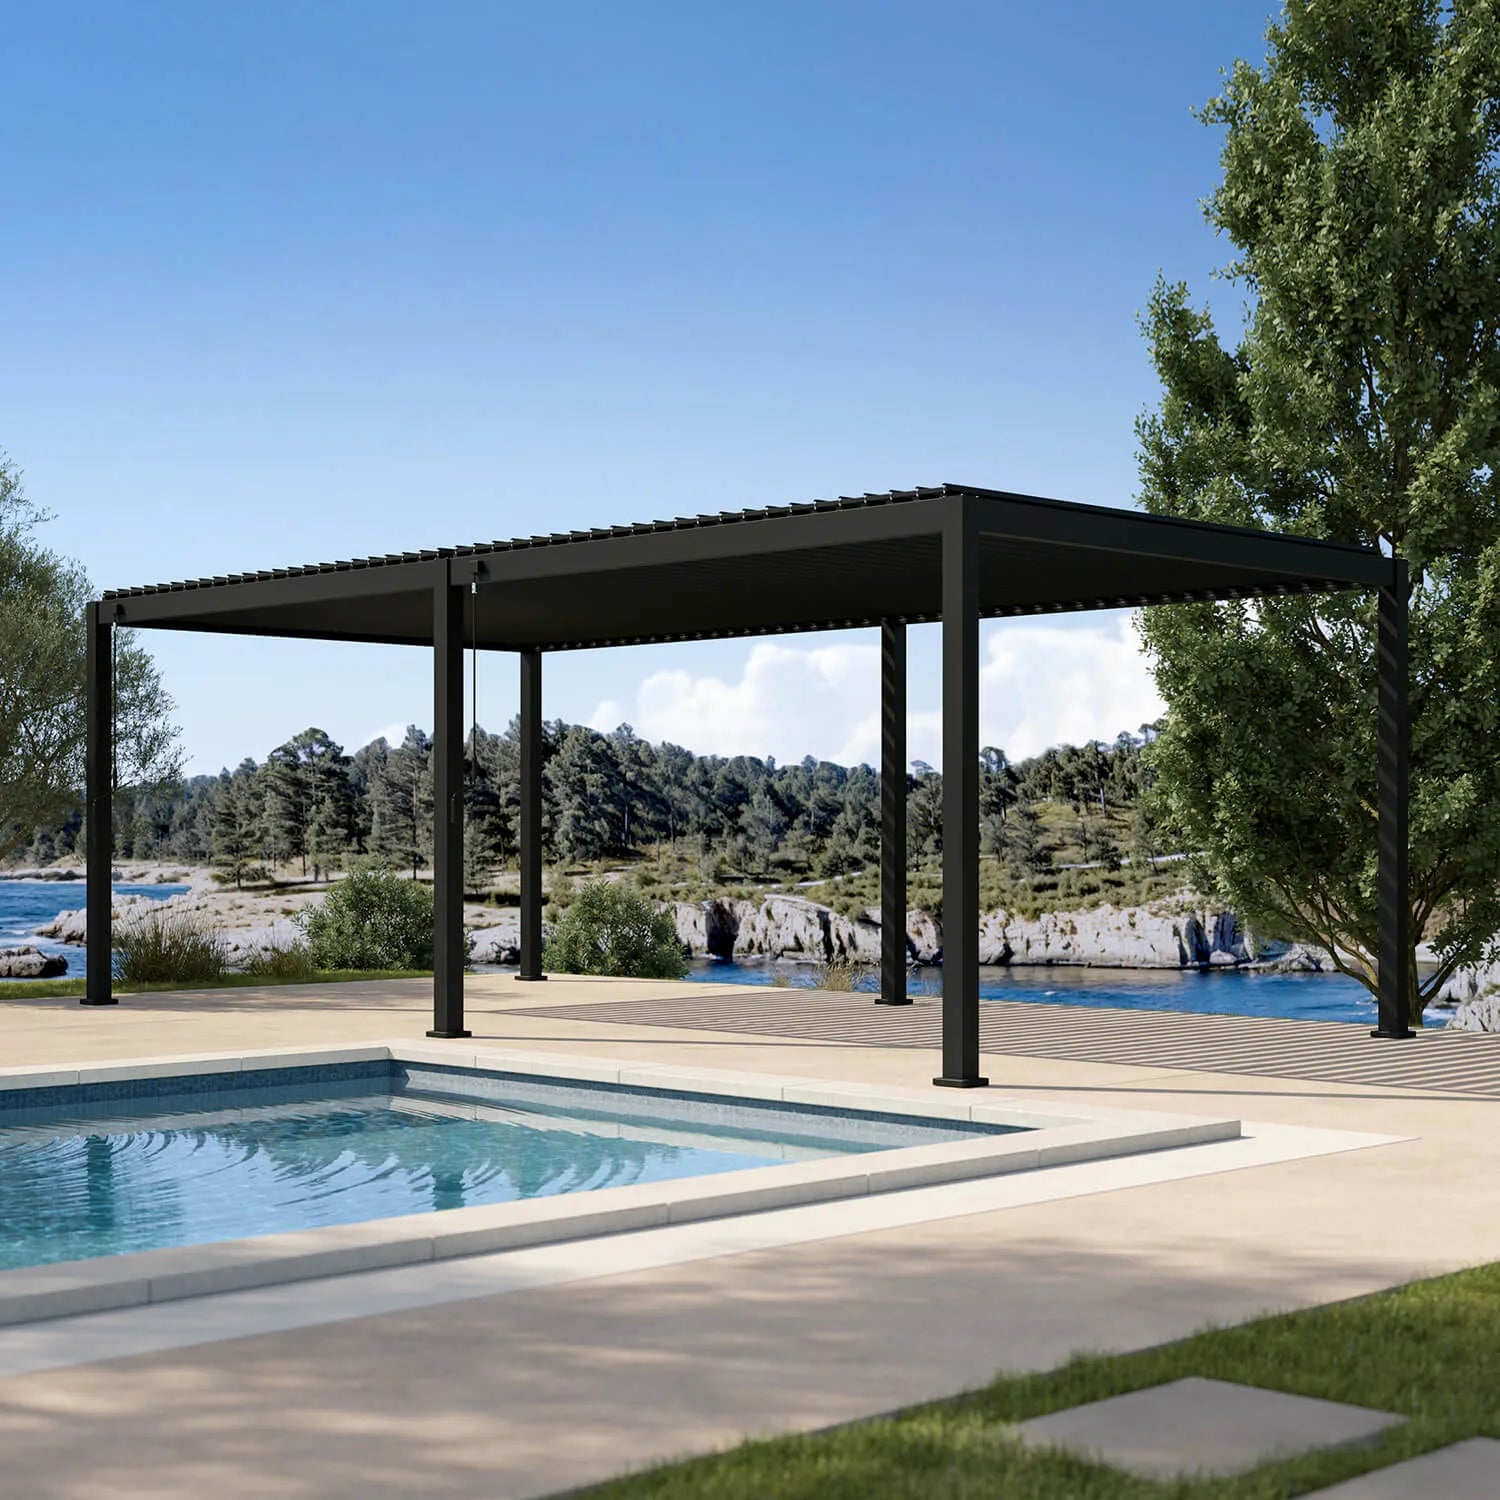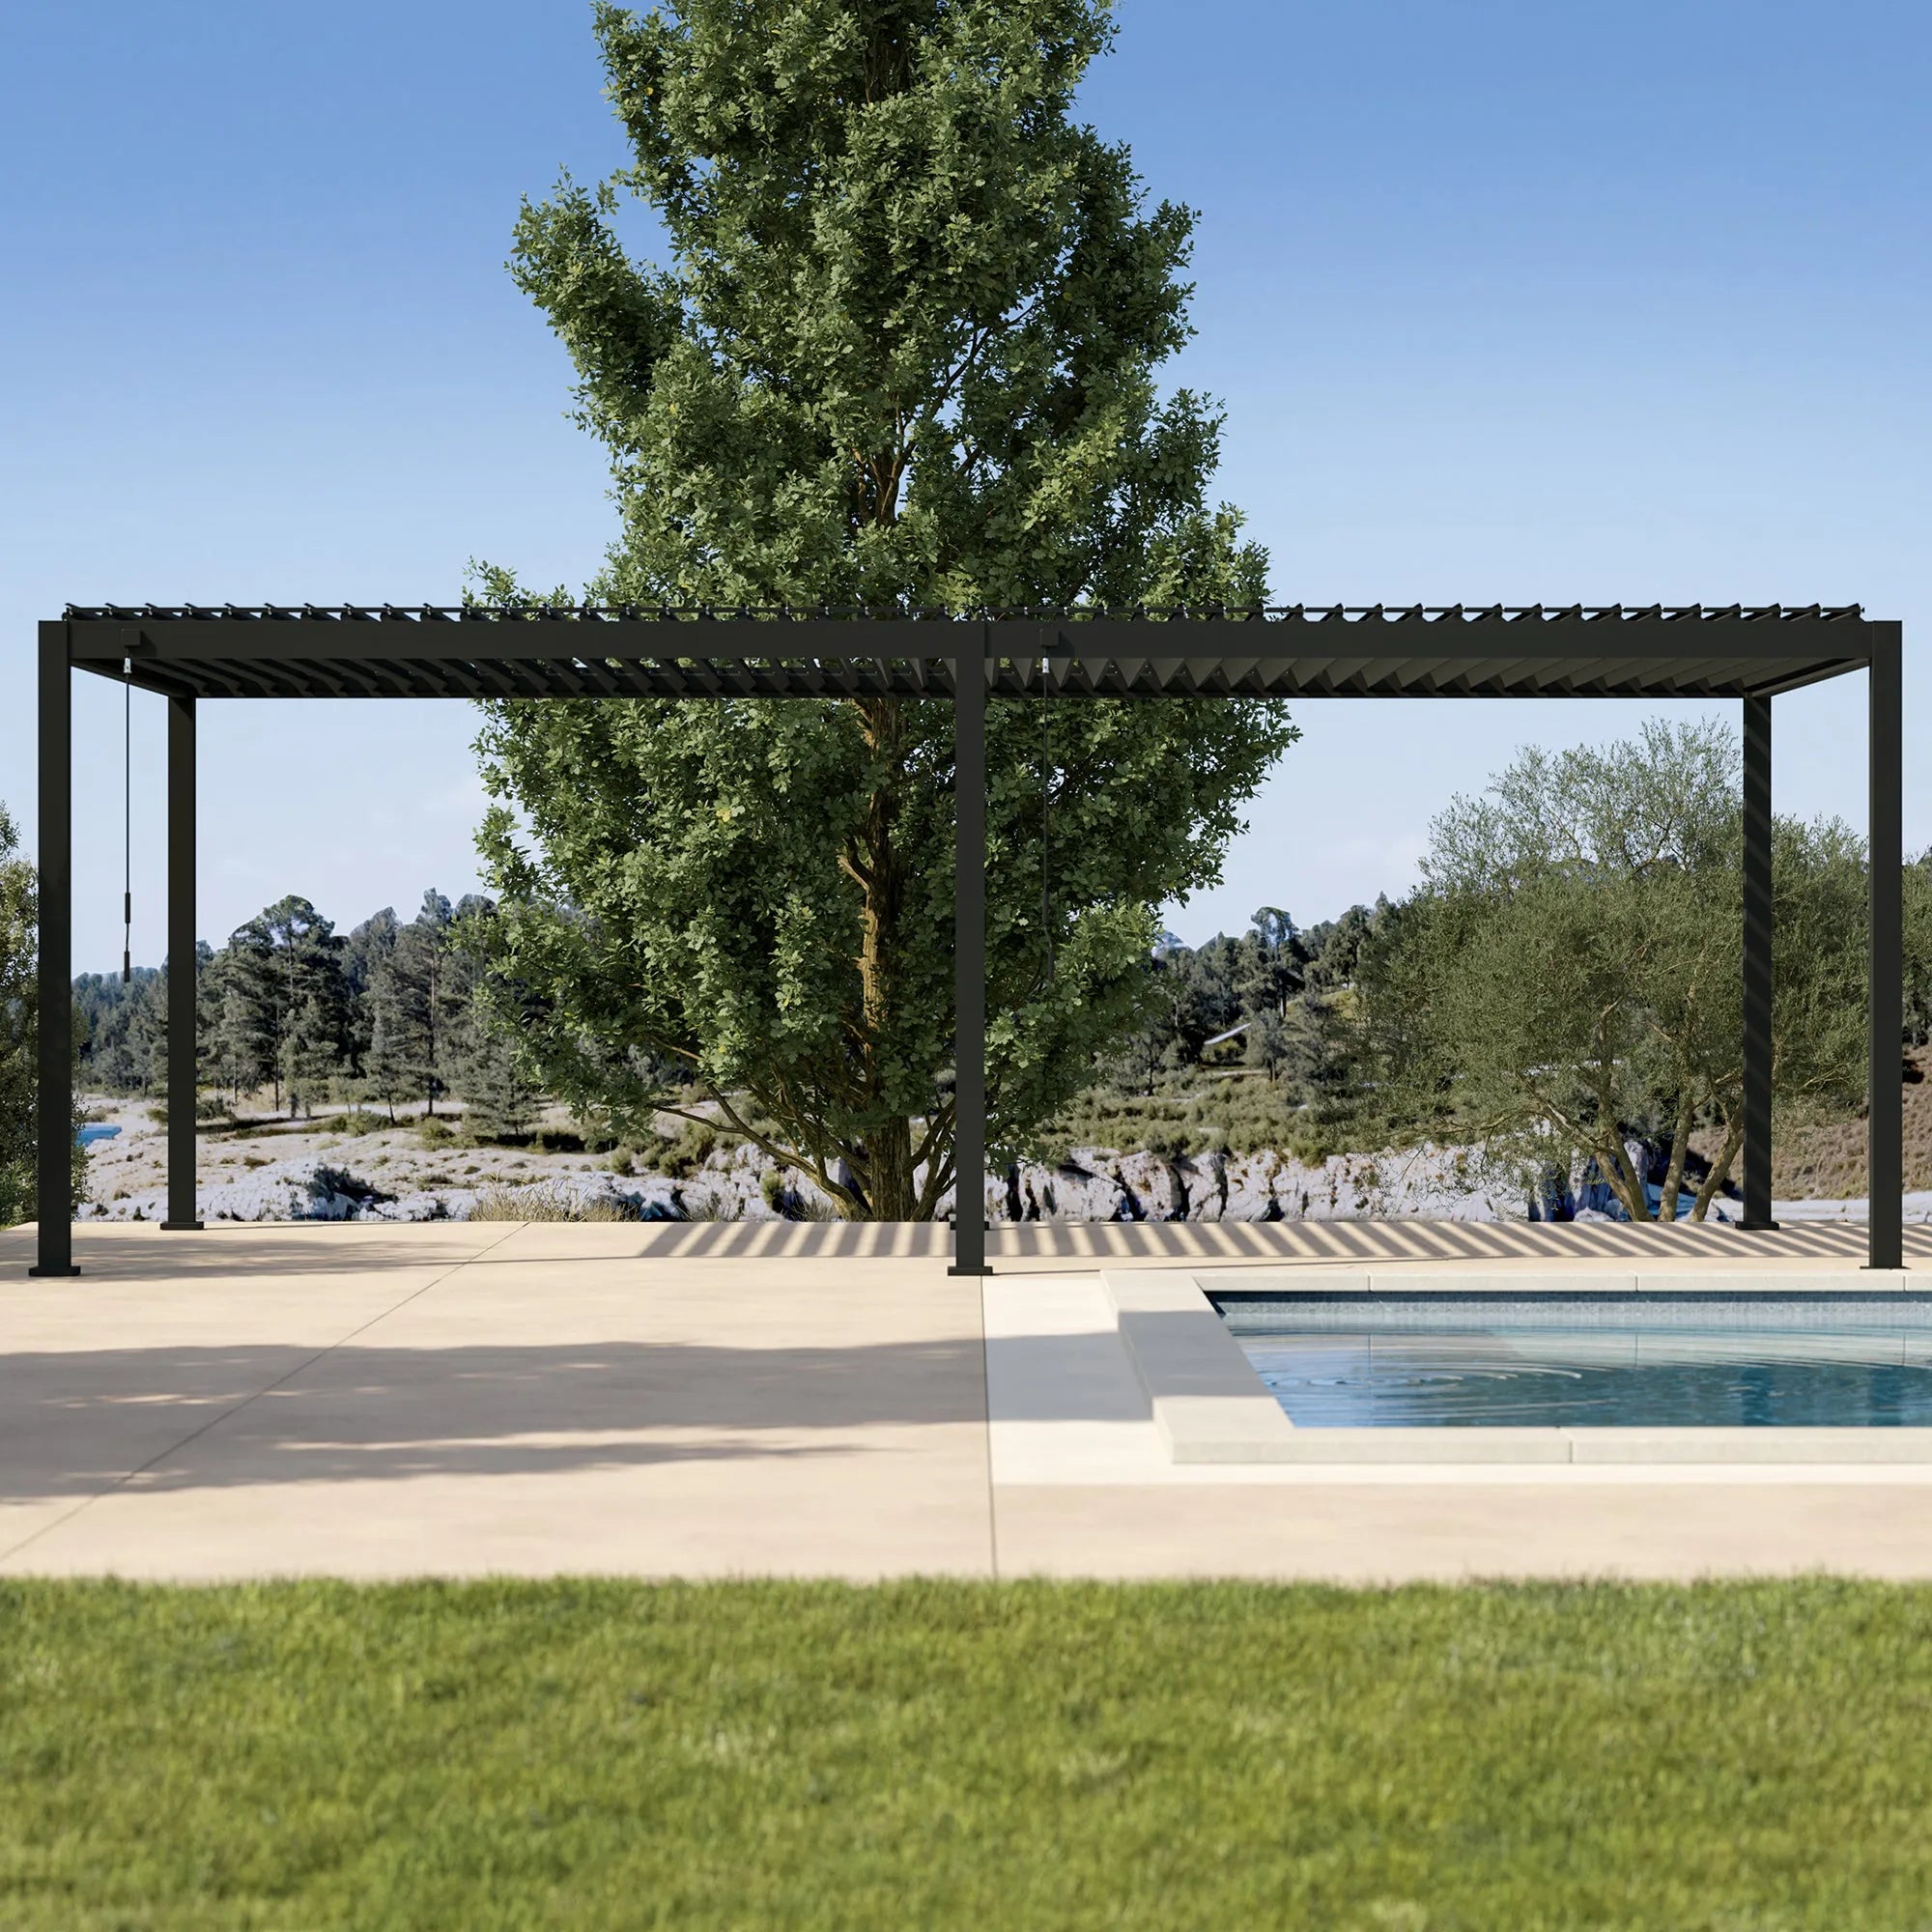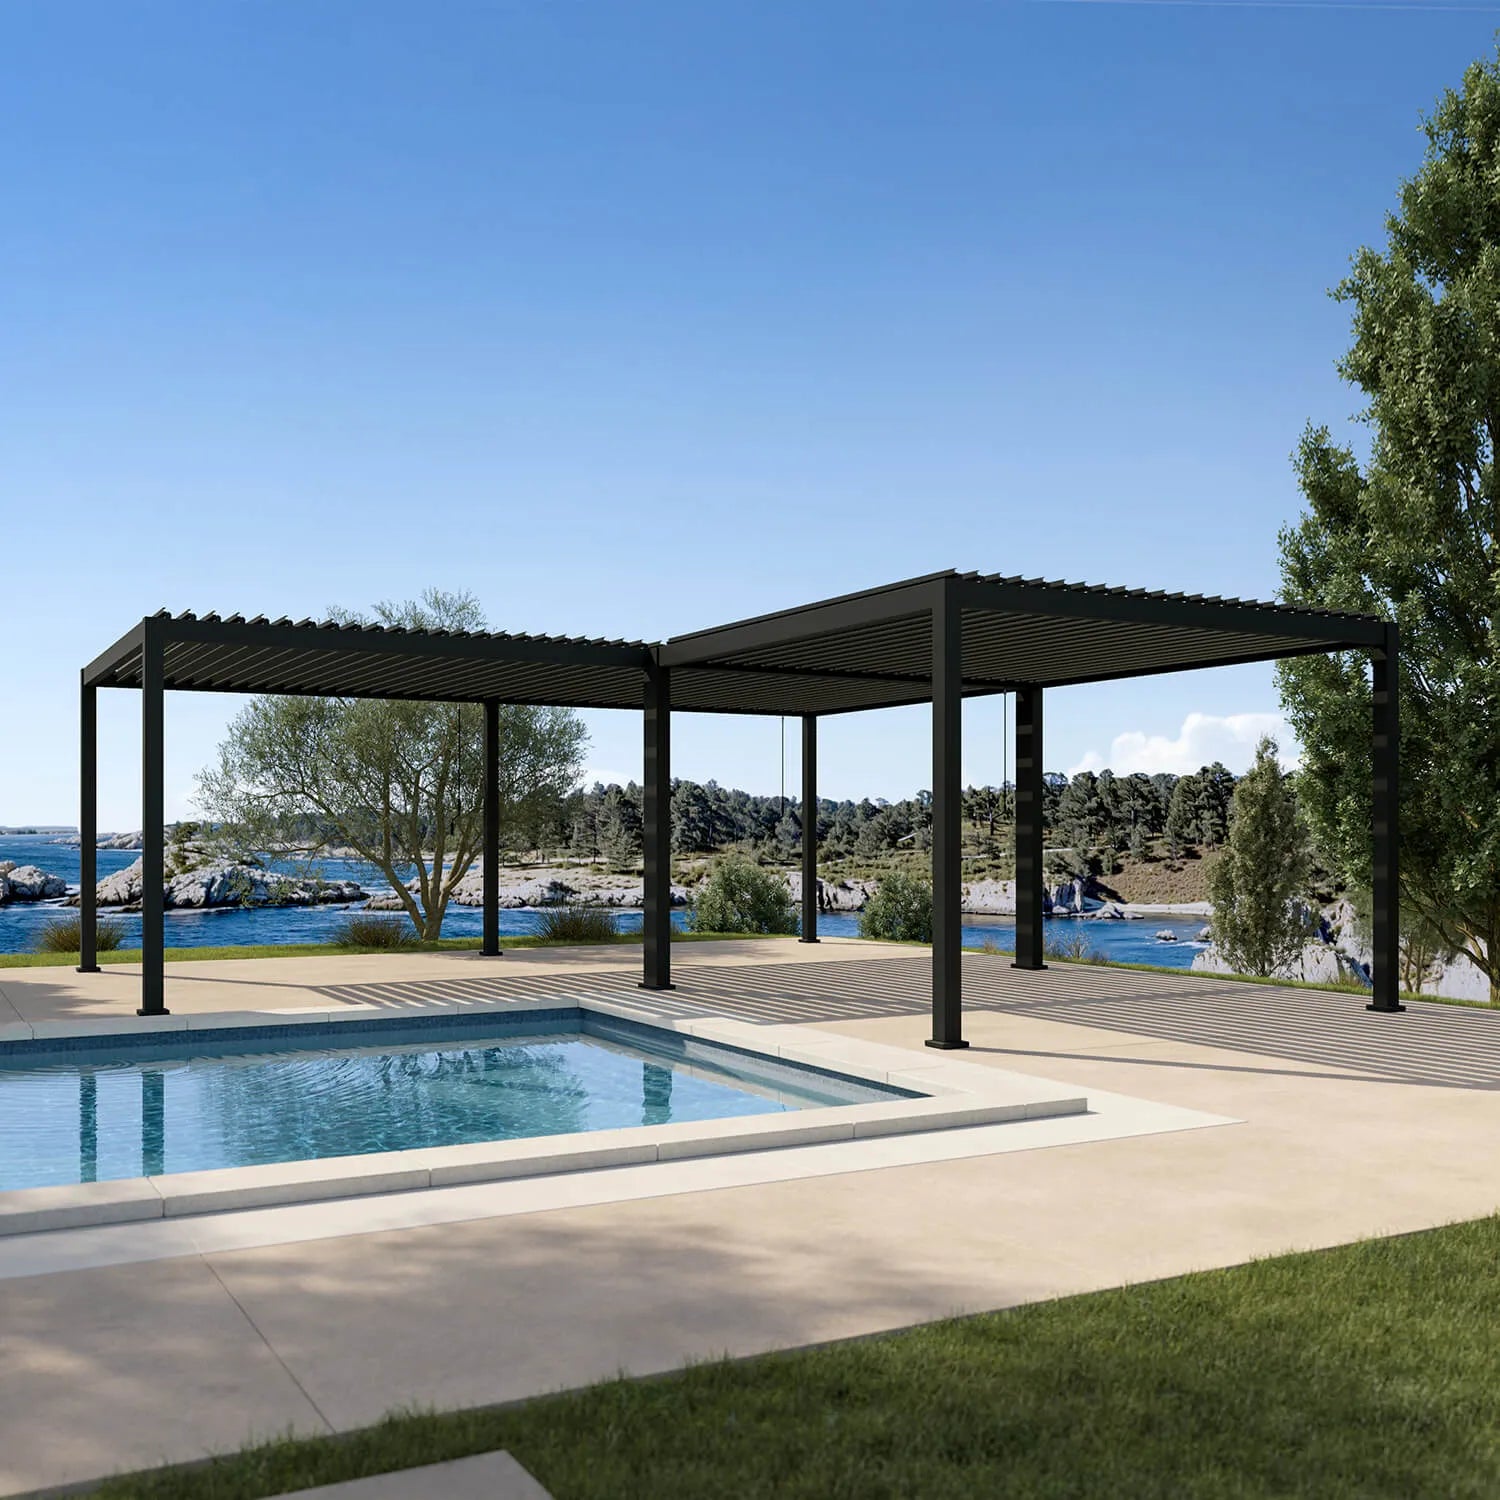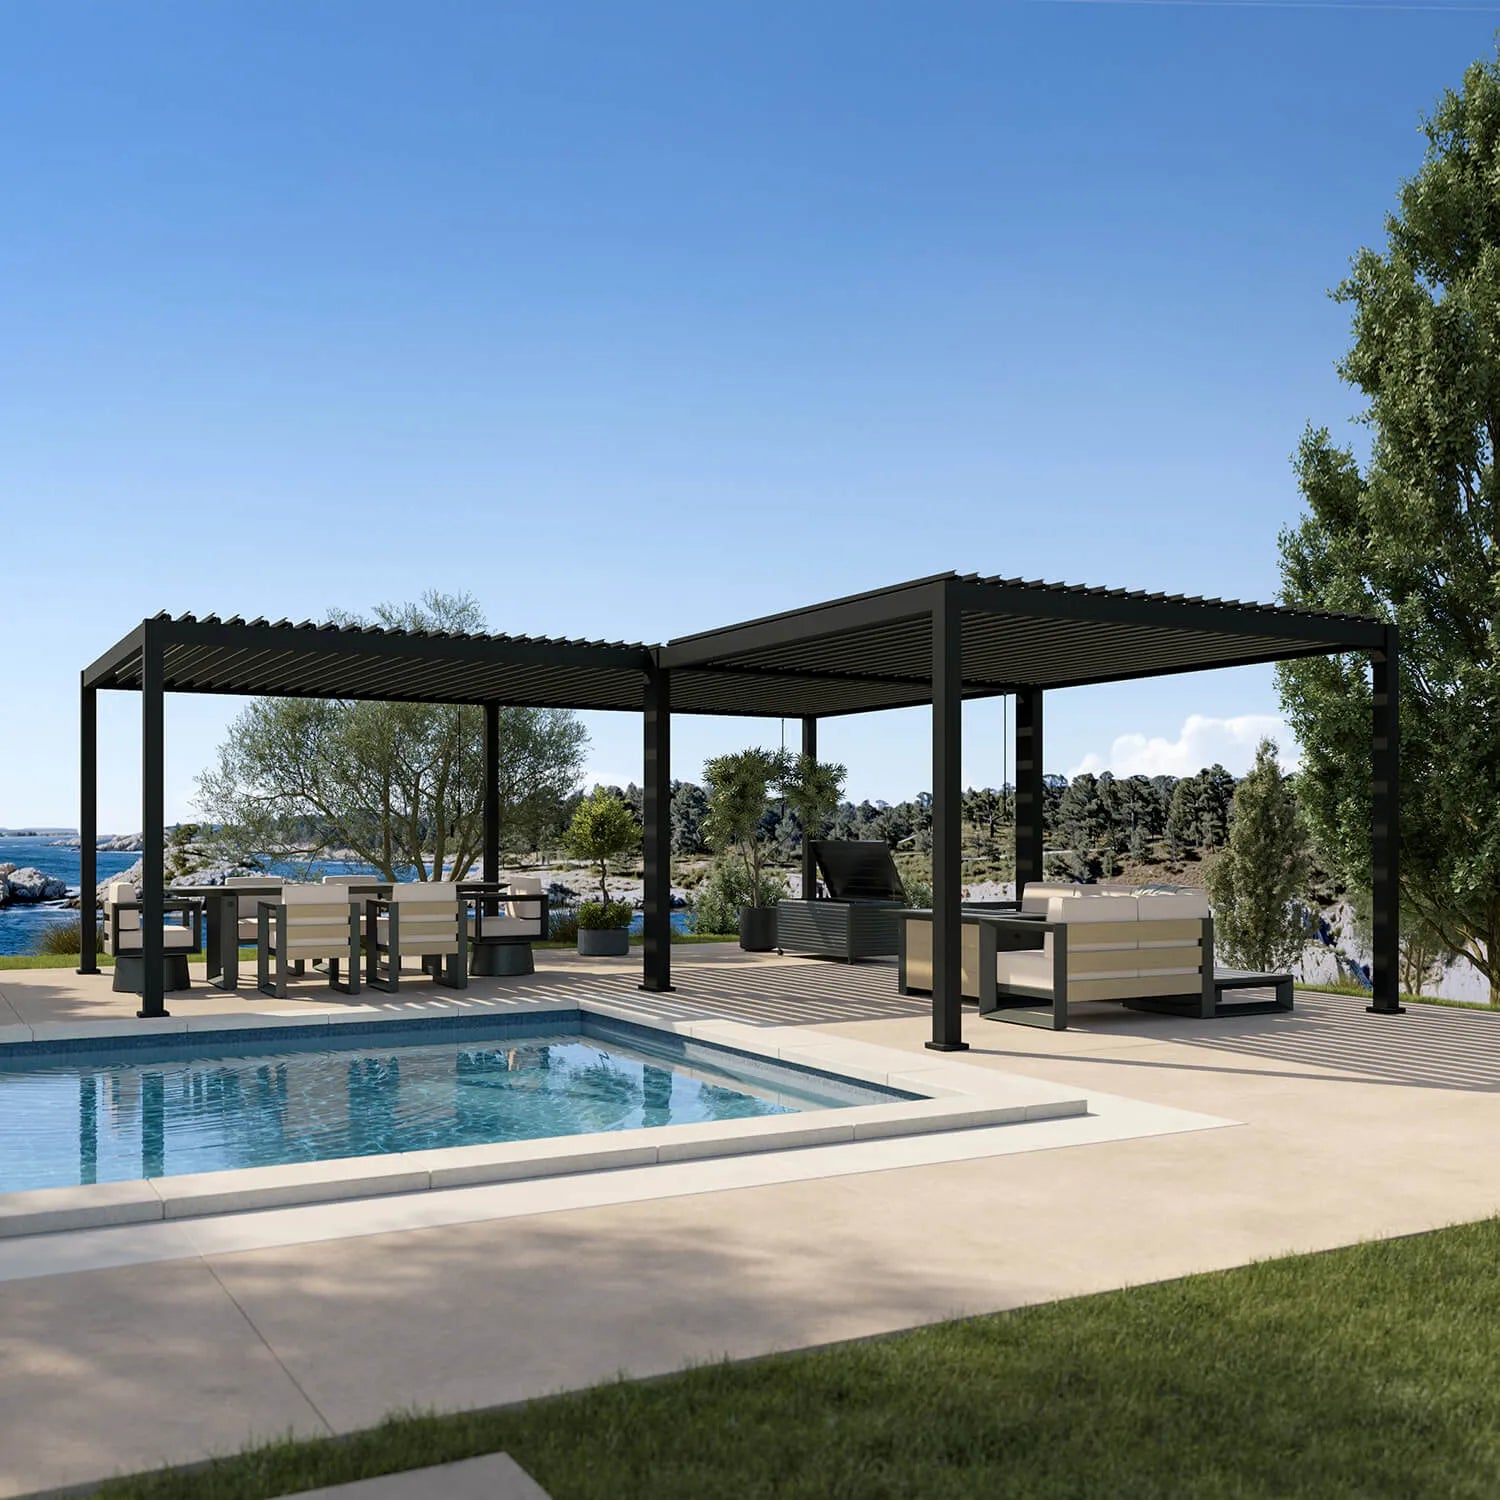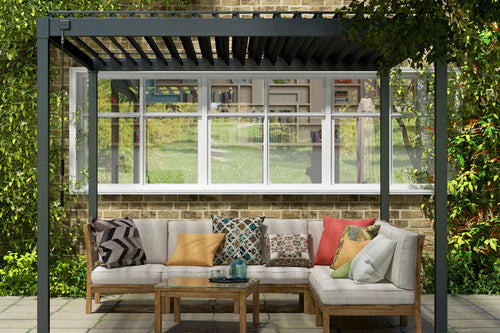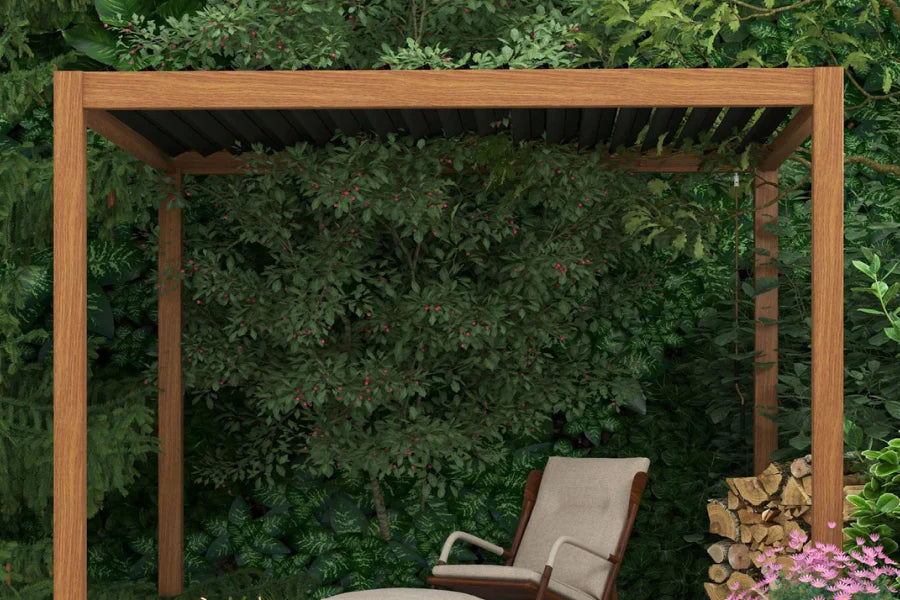

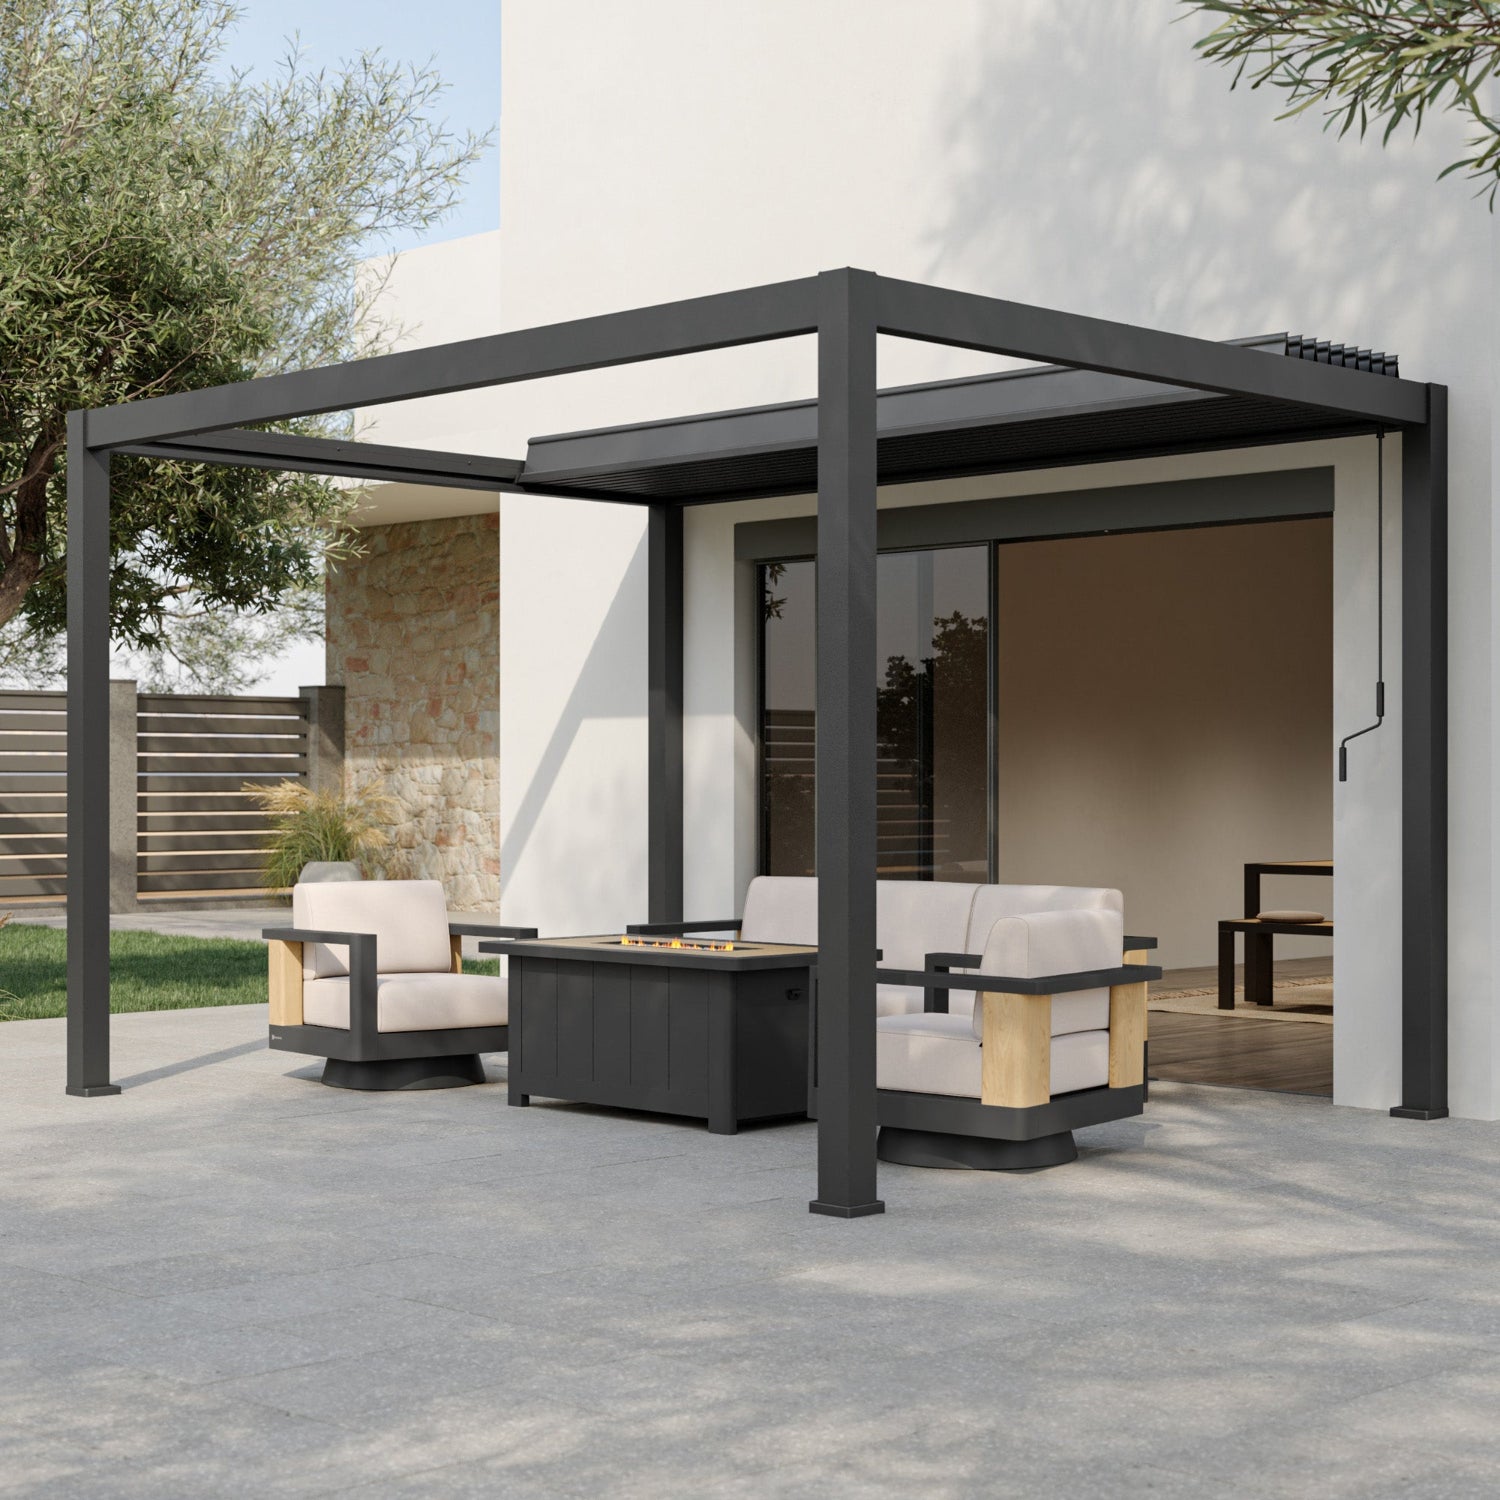
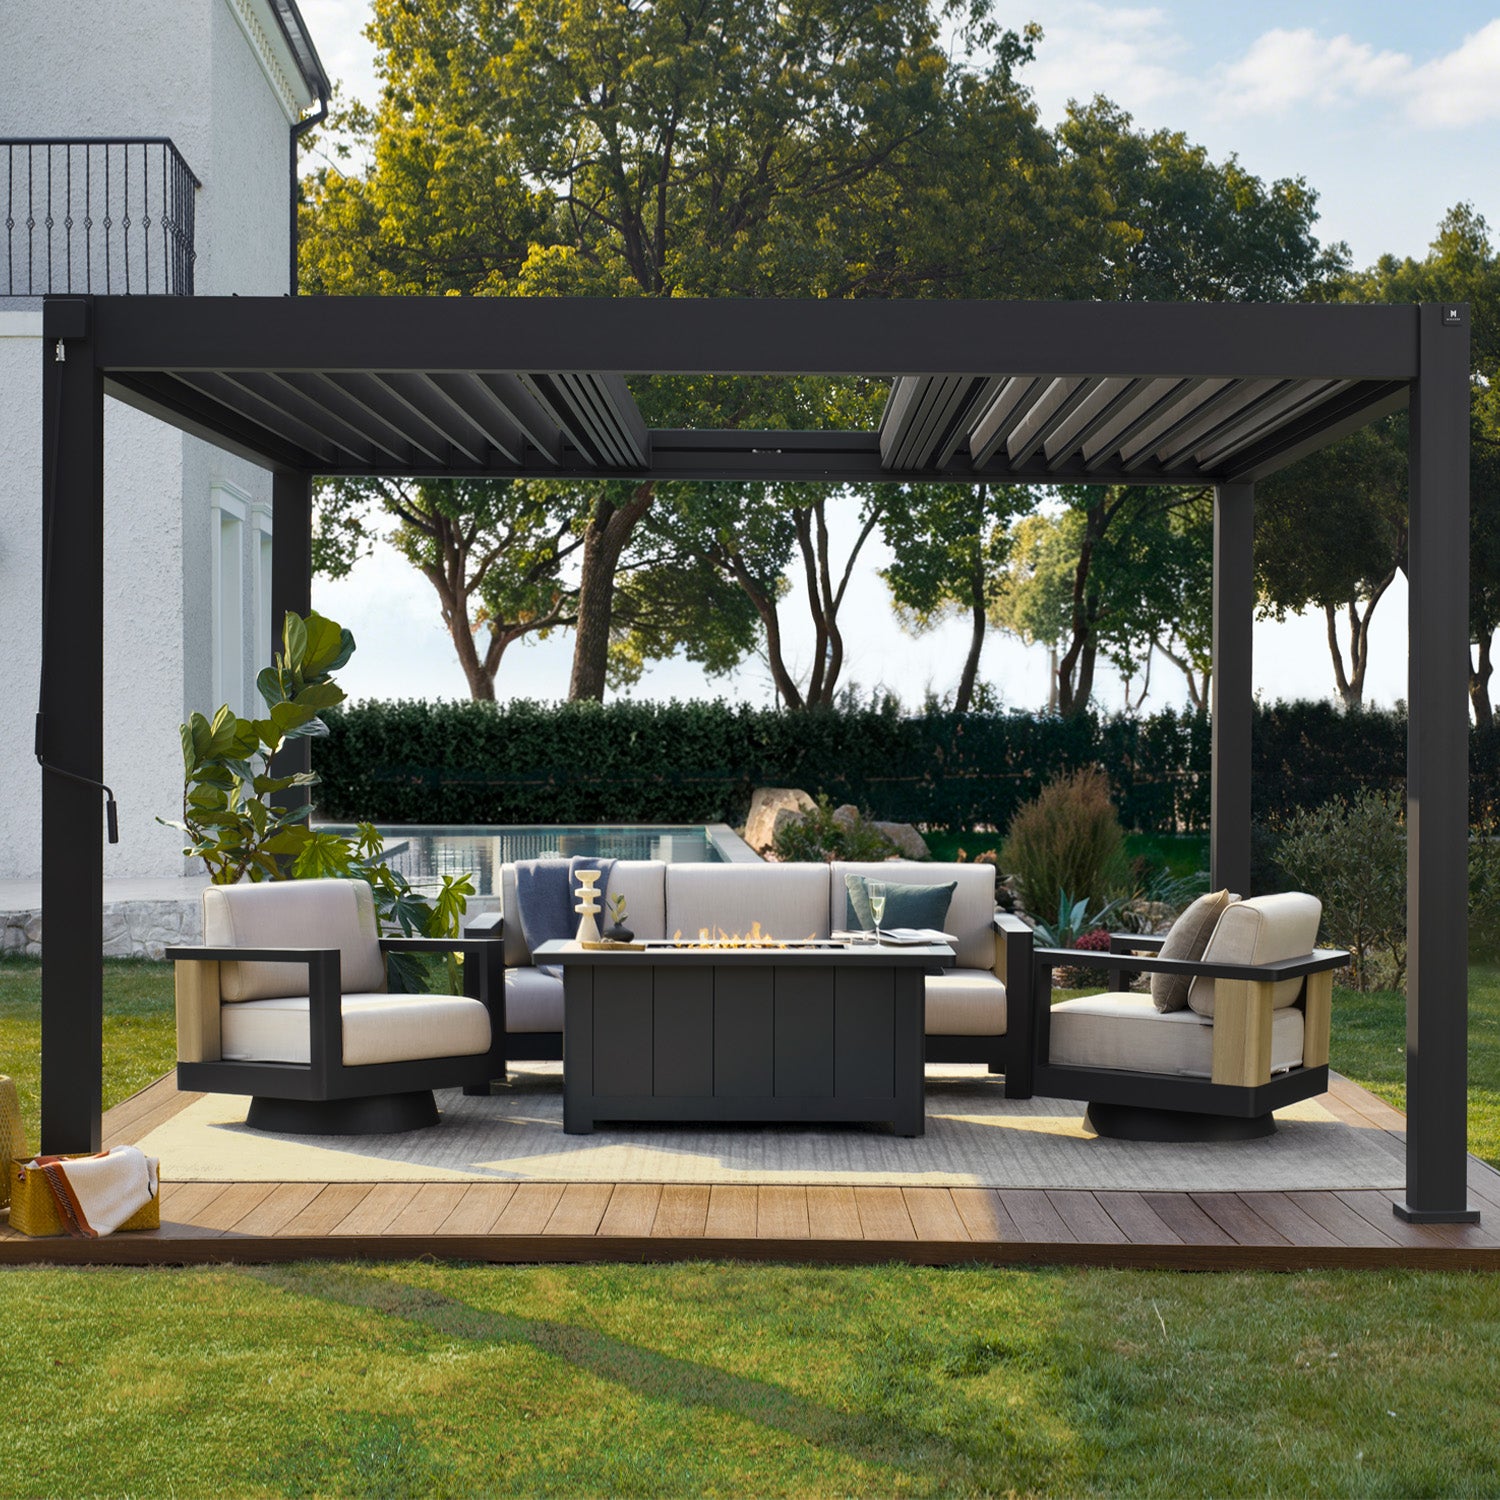
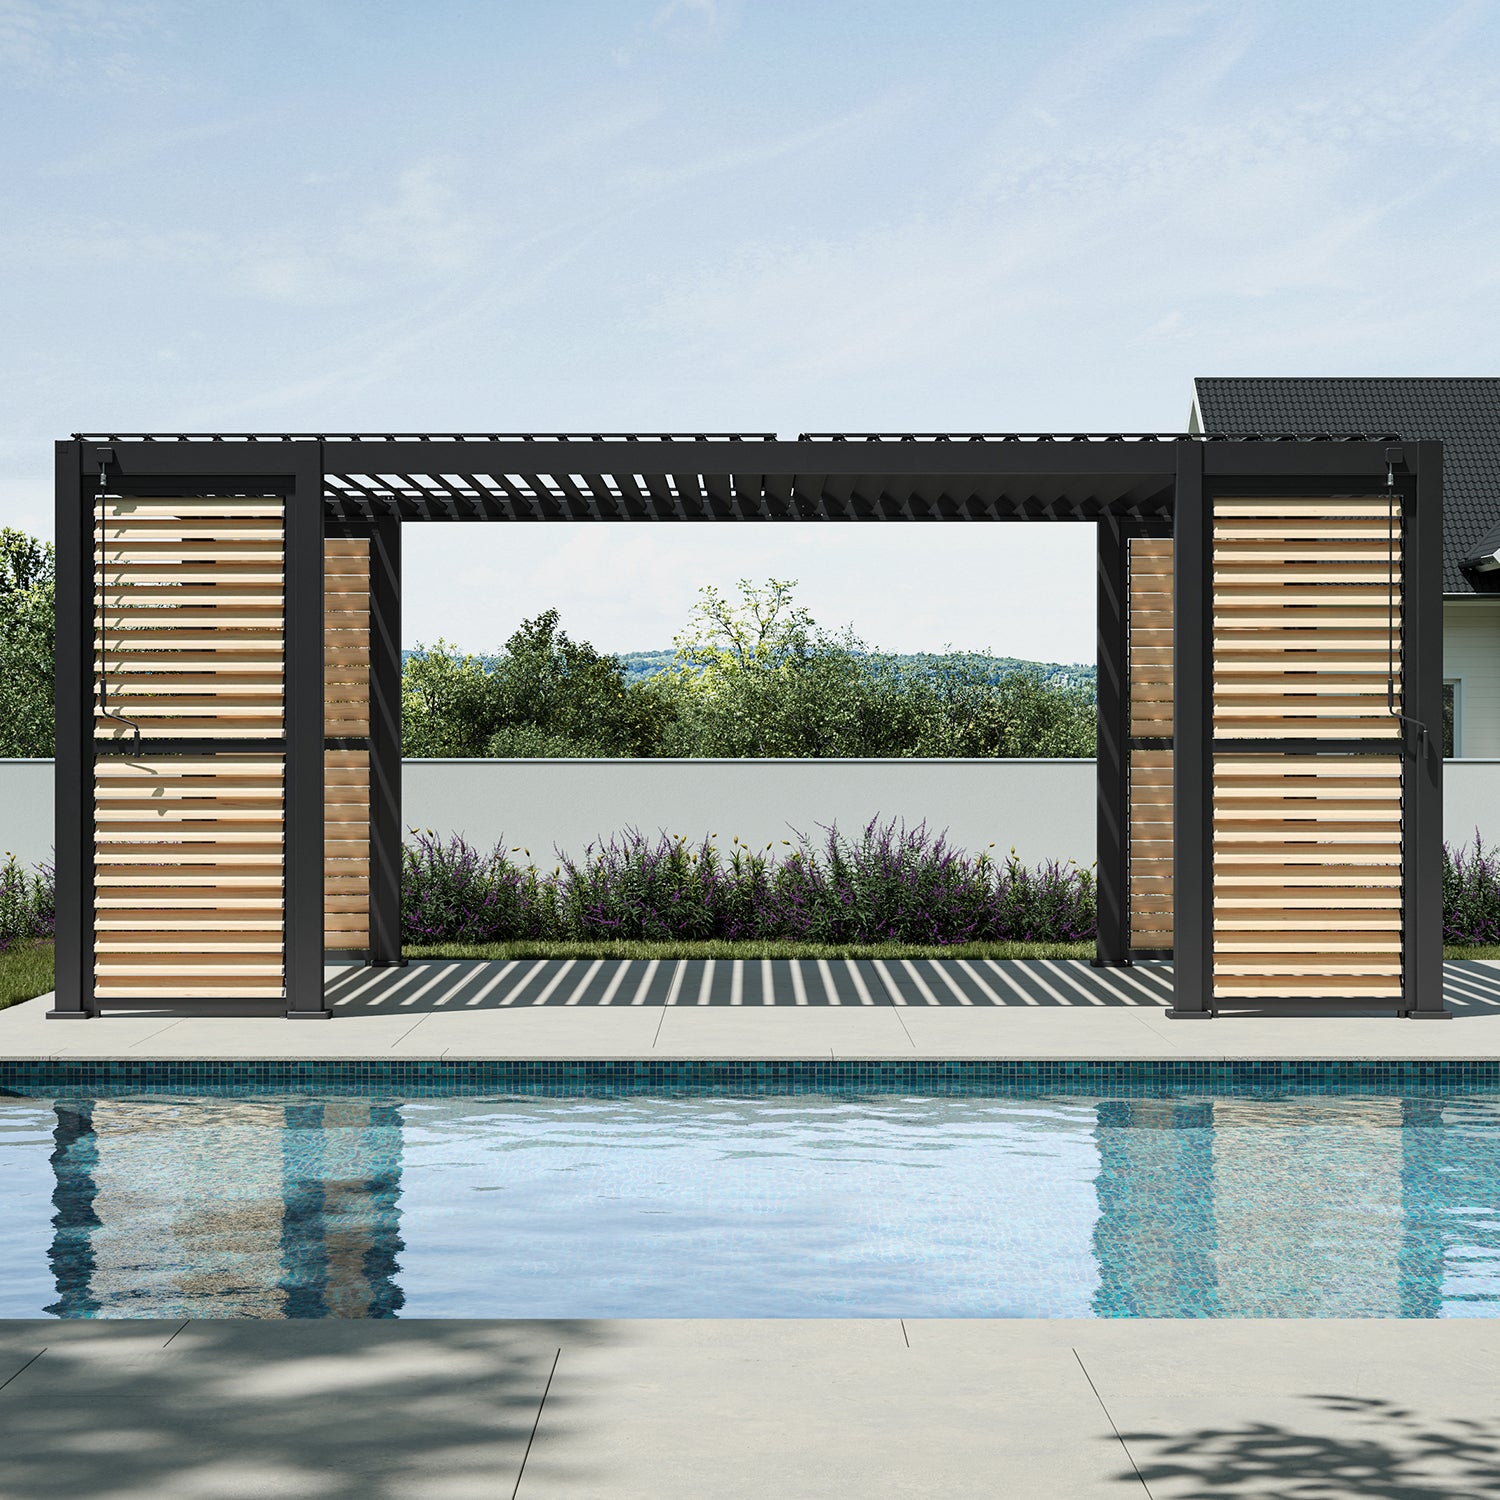
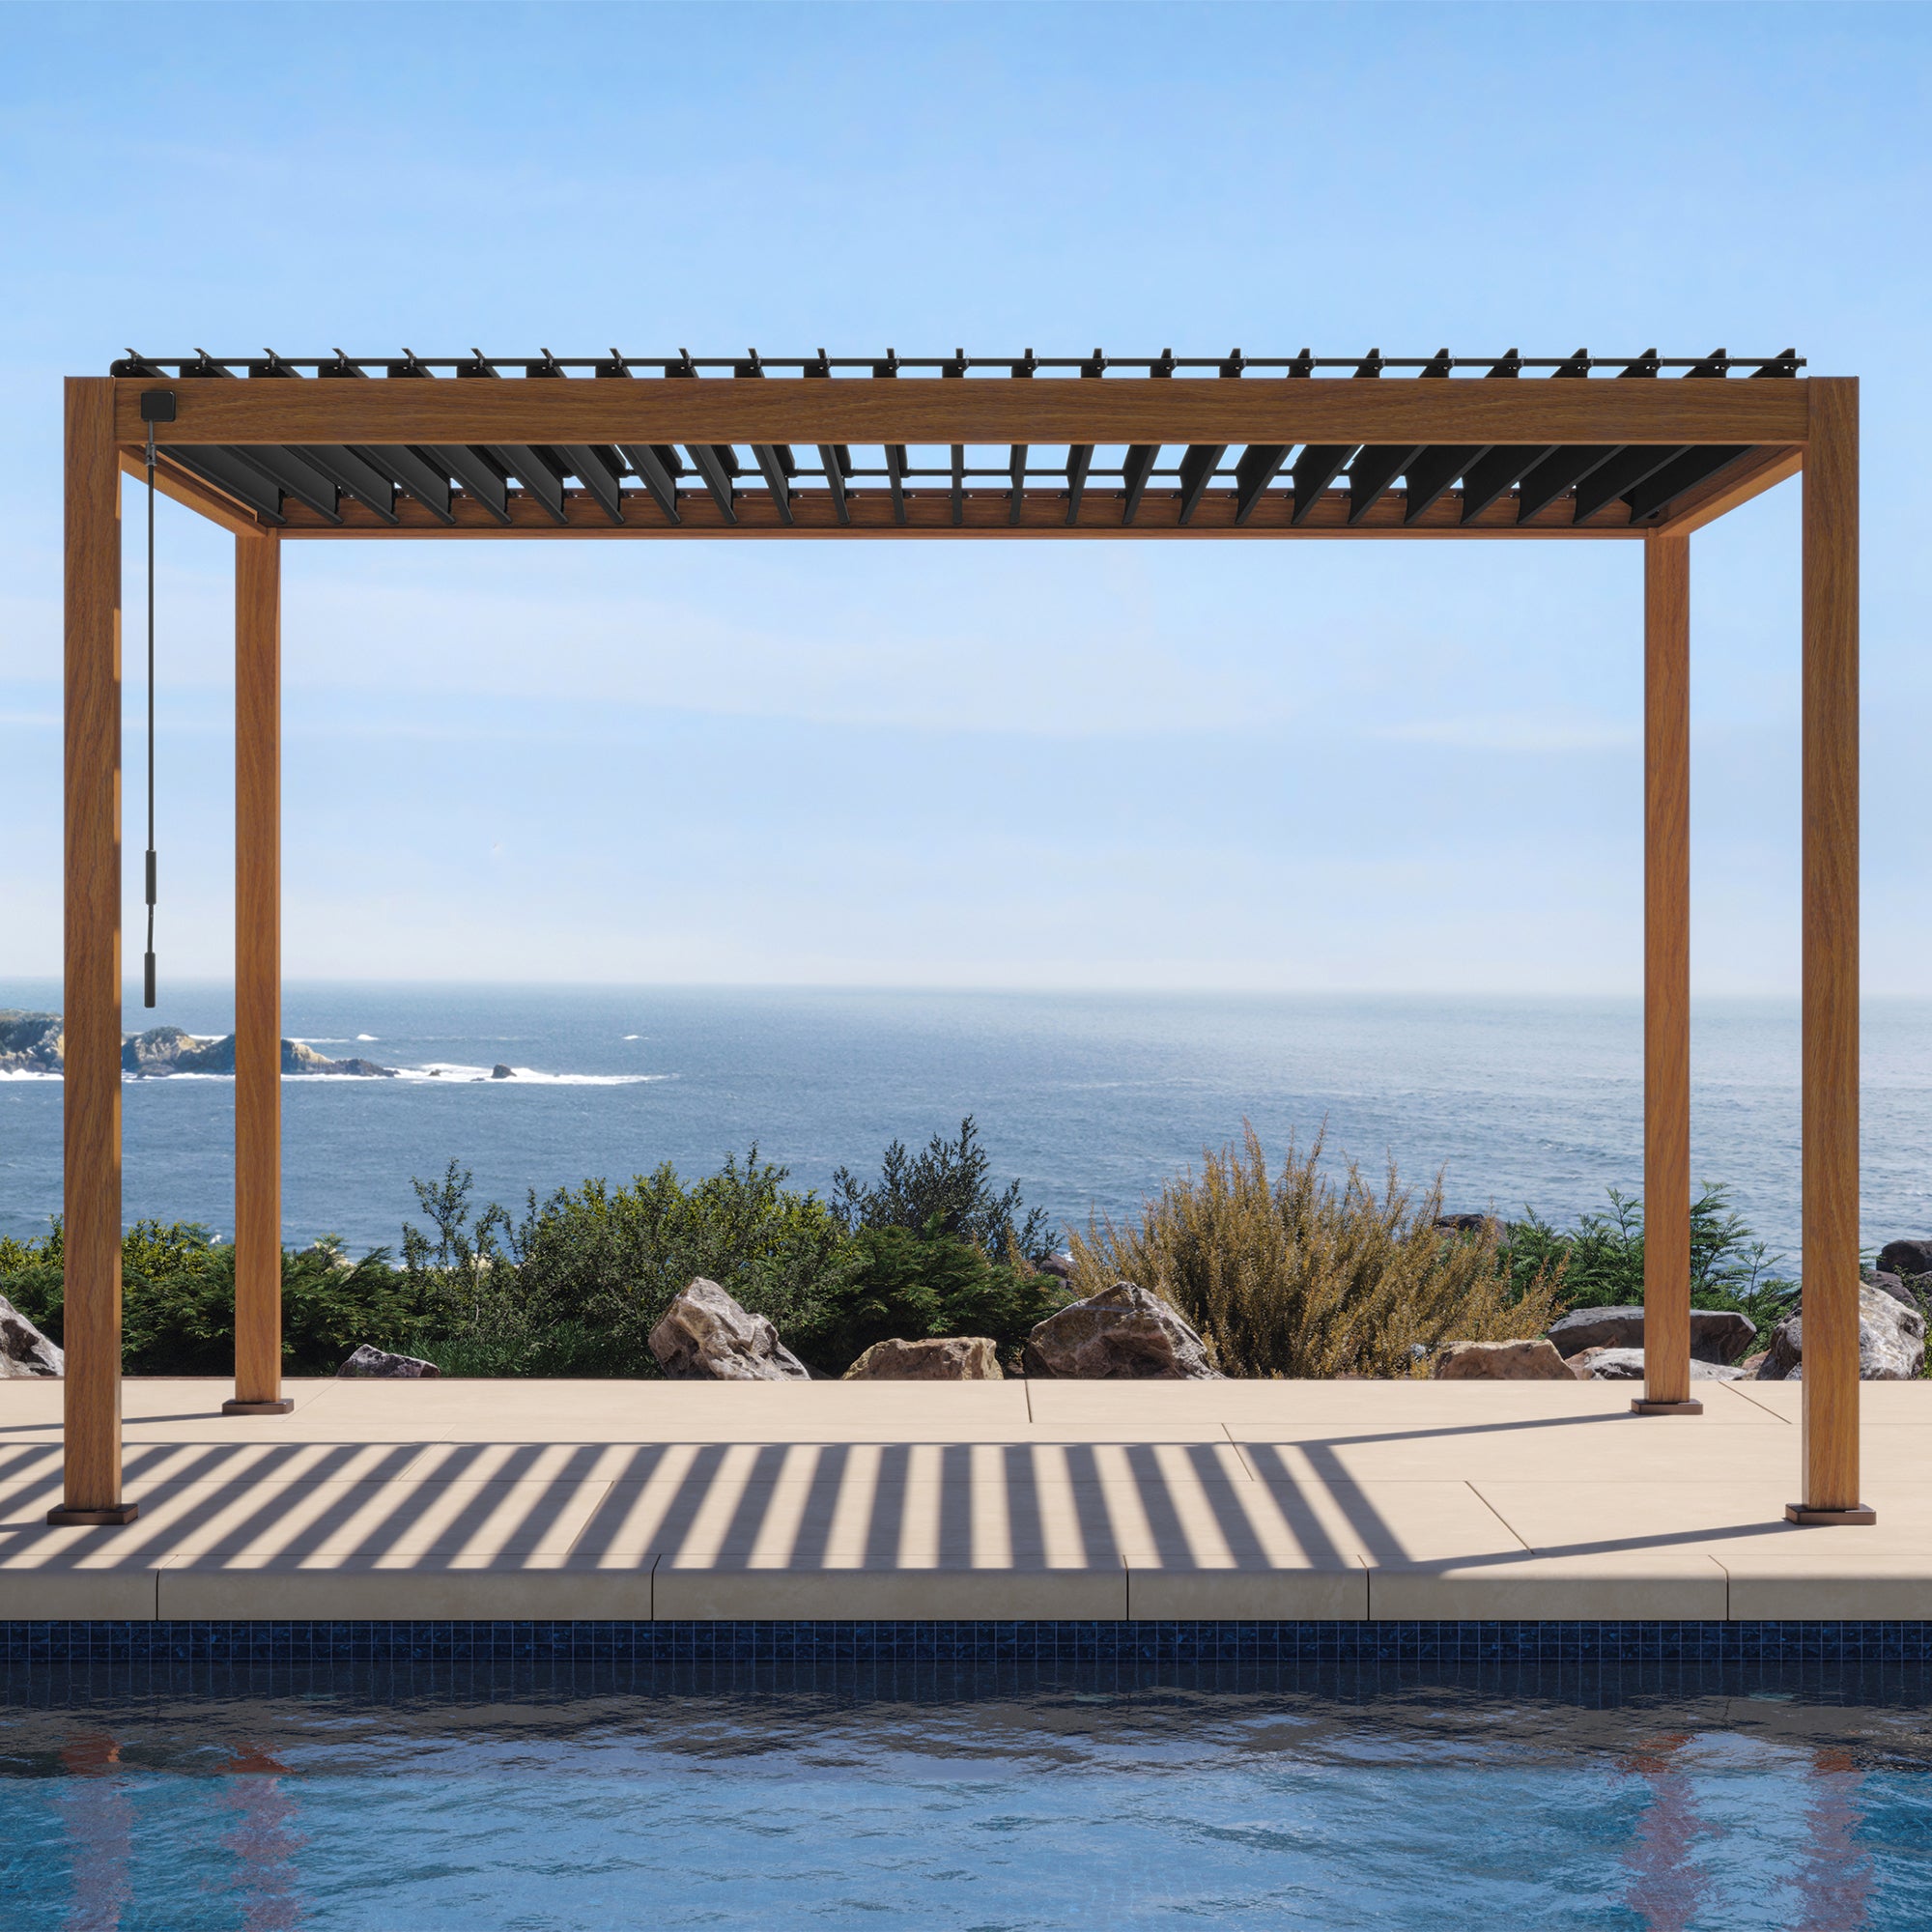

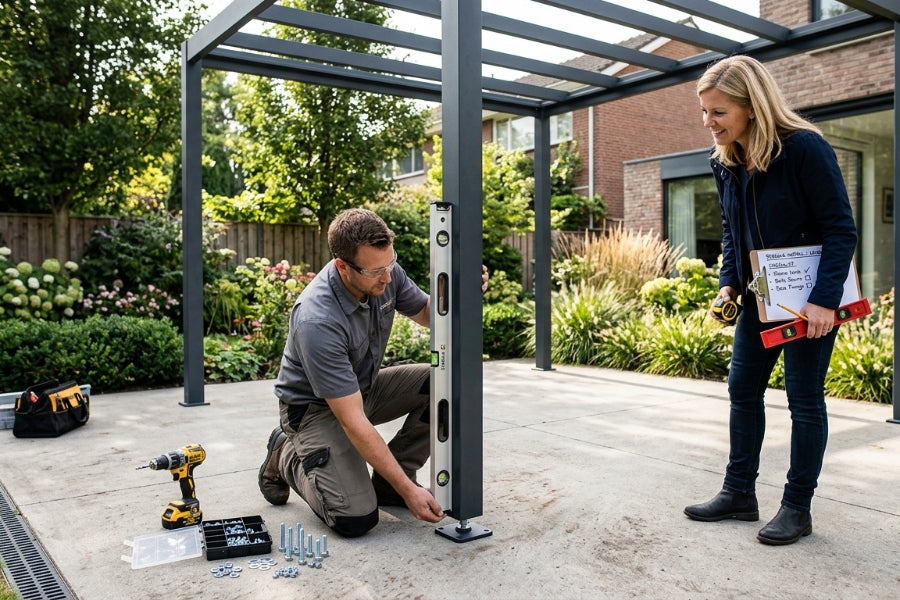
If your patio or slab is already flat, Mirador pergola installation is a moderate two-person DIY project, not a major construction job. Mirador Outdoor’s Help Center says two people with basic tools can install a Mirador pergola in roughly four hours, but the part that decides how smooth the day feels is prep: anchoring, leveling, drainage direction, and checking local rules before you drill.
Mirador Pergola Installation Basics
1. Plan on two adults, basic tools, and roughly four hours for standard models.
2. Build on a flat, stable surface.
3. Square and level the frame before tightening everything down.
4. Anchor only after the posts are plumb, the louvers line up, and water drains away from the house.

That’s the short answer to “How hard is it to install a Mirador pergola?” The assembly itself is straightforward if you follow the manual in order. The hard part is resisting the urge to rush the base. A small slope in the patio, one post sitting high on a paver edge, or one beam tightened too early can turn an easy install into an afternoon of loosening bolts and rechecking corners.
Mirador Outdoor includes hardware support and provides manuals and installation help, so start there before opening every box. Match the manual to your exact model. A 10'x10' Mirador 111DA is not the same install experience as a larger 12'x24' layout or an L-shape pergola, mostly because longer beams need better staging and more careful squaring.
If you’re still choosing the structure, compare sizes and roof styles on the Mirador louvered pergola collection page before you commit to an install location. The right size is the one your patio can support, not just the one that looks best in a product photo.
Ground Surface And Anchoring
Concrete is the cleanest surface for most Mirador pergola installation projects. Mirador’s FAQ says the pergola comes with anchor bolts for securing it to a flat concrete surface, which is exactly why we usually recommend a fixed installation over a freestanding, weighted setup.

Pavers are different. A paver patio can look solid under your feet and still shift under uplift, freeze-thaw movement, or soil settlement. If you anchor only into loose pavers, you’re trusting the weight of individual stones instead of a structural base. That’s not a good tradeoff.
|
Surface |
Better move |
Watch point |
|
Concrete slab |
Anchor into the flat concrete surface per the manual |
Check slab thickness, cracks, and edge distance |
|
Paver patio |
Anchor through to a proper concrete footing or base if approved |
Don’t rely on loose pavers alone |
|
Wood or composite deck |
Confirm joists, blocking, loads, and fasteners with a pro |
Deck boards are not the structure |
|
Rooftop or balcony |
Ask a structural professional before buying |
Wind exposure and waterproofing matter |
Decks deserve their own warning. The surface boards may feel rigid, but the real question is what’s underneath: joist direction, blocking, ledger attachment, post supports, and whether the deck was designed for this kind of point load. This is where DIY forums, including HomeImprovement-style deck discussions, tend to get heated for a reason. A pergola failure isn’t just “my shade structure moved.” It can mean damaged siding, a cracked slab, a bent railing, or a neighbor’s property claim.
Wind changes the math fast. The National Weather Service advises homeowners to tie down or put away outdoor items before high wind events because loose objects can cause damage or injury. A pergola is larger than patio furniture, so don’t treat anchoring as a cosmetic step.
Permits are local. Mirador’s Help Center says a permit usually isn’t required in most cases, but you should check with your local government. Use that as a starting point, not a permission slip. HOAs, coastal wind zones, snow regions, insurance carriers, and setback rules can all change the answer.
Leveling The Pergola Frame
The pergola doesn’t care that your patio “looks level.” It cares where the post bases actually sit.

Before assembly, place the post locations and check the surface with a 4-foot level or laser level. Then check it again across the diagonals. A patio can pitch 1/4 inch per foot for drainage and still look perfectly normal when you’re standing on it with a coffee. Once you build a square aluminum frame on top of that slope, the error becomes visible.
A practical order works best:
1. Mark the footprint.
2. Dry-fit the post bases.
3. Check plumb at each post.
4. Measure diagonals before final tightening.
5. Tighten gradually, moving around the frame.
6. Drill anchors only after the frame is square.
Don’t use the anchor bolts to “pull” the frame into place. That’s how holes get enlarged, brackets twist, and louvers start rubbing later. If a bolt hole is slightly off, pause. Loosen nearby connections and let the frame relax before forcing anything.
Shims can help, but use the right kind for outdoor structural leveling and follow the manual. Scrap wood under a post base is a short-term fix with a long-term problem: it compresses, holds moisture, and looks bad. If the surface is too uneven to correct cleanly, fix the base first. Boring answer. Correct answer.
Louvers And Drainage Direction
Decide where rain should go before the frame is fully tightened. That one decision affects louver orientation, gutter behavior on applicable models, splash zones, and where water exits during a storm.

For a louvered roof, water management starts with orientation. Closed louvers can help direct rain into the pergola’s drainage path, but the exact behavior depends on the Mirador model and installation details. Check the model manual and product page rather than assuming every Mirador roof drains the same way. If the source data isn’t explicit, ask Mirador support before drilling permanent anchors.
A simple test: stand where the pergola will go and imagine a hard rain.
Water should not dump toward the house foundation, over a doorway, onto a grill station, across a step, or into the neighbor’s side yard. It should also avoid low spots in pavers where algae and ice can become a problem. On a deck, think about the boards below. Concentrated water at one edge can stain, splash, or run toward the ledger.
If you’re installing near a wall, leave enough working room to open louvers, clean gutters, and reach fasteners later. Tight-to-the-house layouts look tidy in sketches, then someone realizes the ladder can’t fit. Ask anyone who has tried to service a roof edge with six inches of clearance. It’s not a fun Saturday.
Tools, Time, And People
Mirador says two people with a basic tool set can install a pergola in roughly four hours. That’s a fair expectation for a prepared site, organized parts, and a standard model. For larger formats, tight patios, deck installs, or first-time DIYers, give yourself more time and start early enough that you’re not aligning louvers at dusk.

Lay out the boxes by step, not by excitement. Long beams together. Posts together. Louver parts together. Hardware in a tray, grouped by label. The goal is to avoid the classic moment where one person is holding a beam overhead while the other person is digging through cardboard for the right bolt.
Bring these before you start:
- 4-foot level or laser level
- Tape measure and pencil
- Socket wrench or ratchet set
- Drill/driver and bits listed in the manual
- Hammer drill and masonry bit if anchoring into concrete
- Step ladders for both installers
- Rubber mallet
- Safety glasses and gloves
- Painter’s tape or bins for labeled hardware
A third helper is useful for larger beams, even if they only stay for the frame stage. You don’t need a crowd. You need one extra set of hands at the awkward moments, especially when aligning long top rails without scratching the finish.
If you’re looking at a smaller footprint first, a 10'x10' pergola is usually the friendliest size for a prepared patio because the pieces are easier to stage and the frame is easier to square. Larger models can still be DIY-friendly, but the margin for sloppy leveling gets thinner.
Installation Mistakes To Avoid
The biggest mistake is anchoring too early. Once the posts are drilled into concrete, every small alignment error gets harder to fix. Build, square, level, test the roof movement, then anchor. In that order.

The next mistake is treating “flat” and “level” as the same thing. A patio can be flat but sloped for drainage. That slope may be fine, but you need to know where it runs so the pergola doesn’t fight it. If the frame starts slightly twisted, louvers may feel tight on one side and loose on the other.
Watch these trouble spots:
- Mixing similar-looking bolts before the step that uses them
- Tightening one corner fully while the opposite corner is still loose
- Installing with the louvers pointed toward the wrong drainage side
- Drilling too close to a cracked concrete edge
- Using pavers as the only anchor surface
- Treating weighted planters as structural anchors
- Ignoring HOA, setback, snow, or wind-zone rules
- Closing the louvers during severe weather when the model guidance says otherwise
Weighted planters are tempting because they avoid drilling. They also shift the risk from “proper anchoring” to “how much weight is enough in real wind?” For a premium outdoor room, that’s the wrong place to improvise. Planters can finish the space. They shouldn’t be the safety system.
Call a professional when the pergola sits on a deck, a raised patio, a rooftop, a questionable slab, or a site with heavy wind exposure. Also call if you’re adding electrical accessories and don’t already know the local electrical rules. This isn’t about making the project sound scary. It’s about knowing where DIY ends.
FAQ
Do I need to anchor it?
Usually, yes. Mirador provides anchor bolts for flat concrete surfaces, and we recommend a fixed installation unless Mirador support or a qualified local professional confirms another method for your exact site.
Can I anchor on pavers?
Don’t anchor only into loose pavers. If the location has pavers, the safer path is anchoring through to an approved concrete footing, slab, or structural base beneath them.
Can I use weighted planters?
Weighted planters shouldn’t be your main anchor method. They can look good around the posts, but they don’t replace code-aware anchoring on concrete or another approved structural surface.
Do I need a permit?
Mirador says permits usually aren’t required in most cases, but local rules decide. Check your city, county, HOA, and insurer before installation, especially in wind, snow, coastal, or setback-sensitive areas.
How hard is installation?
For a flat concrete surface, Mirador pergola installation is a moderate two-person DIY job. Expect easier assembly when parts are staged, the frame is leveled before anchoring, and drainage direction is decided early.
Before you order or drill, match your exact model to the manual, confirm your base, and contact Mirador Outdoor support if the site raises a question about anchoring, drainage, or local conditions. A clean install starts before the first bolt goes in.